Published: Autumn 2026 | Post-Harvest Storage Tested Across Basements, Crawlspaces, Sand Bins, and Modern Pantries
⚡ Quick Answer: How to Store Potatoes Long Term
To master how to store potatoes long term for 7 to 9 months without sprouting or rotting, never wash freshly harvested tubers. Cure unwashed potatoes immediately in complete darkness at 55°F to 65°F with 85%–95% relative humidity for 10 to 14 days to allow suberization (skin toughening and wound periderm formation). After curing, cull any bruised tubers and transfer firm spuds into slatted crates, cardboard boxes with ventilation holes, or dry sand bins held at a steady 42°F to 45°F. Keep tubers in 100% darkness to prevent toxic solanine greening, and store them at least 15 feet away from onions and apples to prevent ethylene-induced sprouting.
Digging up a heavy autumn potato crop brings unmatched homestead satisfaction. Rows of plump, earth-covered spuds line the garden path, promising months of hearty winter stews, creamy mashes, and crisp roasted wedges. Just as mastering how to start a vegetable garden from seed gives you control over early seedling vigor, understanding post-harvest curing dictates whether your harvest feeds your family through April or rots by Thanksgiving.
Potatoes are not inert root stones you can simply dump into a dark kitchen cupboard. They are living, breathing modified underground stems (tubers) undergoing active cellular respiration. Similar to the delicate physiological water balances we explore in our soil moisture physics and transpiration principles, potatoes continuously exchange moisture, heat, and gases with their storage atmosphere. Without the correct post-harvest curing process and strict temperature and humidity controls, potatoes either dehydrate into rubbery sponges or turn to mush from bacterial soft rot.
Whether you harvest fifty pounds from backyard raised beds alongside your tips for planting tomatoes or preserve several hundred pounds from an open acreage plot, keeping potatoes firm and edible through the following spring requires following verified post-harvest agronomy. This step-by-step master guide outlines exact protocols on how to store potatoes long term using simple, reliable methods with or without a traditional root cellar.
📊 Key Takeaways: The Realities of Long-Term Potato Storage
- Never wash potatoes before curing or storage: Water introduces fungal spores and soft-rot bacteria directly into microscopic skin lenticels. Let dry garden soil protect the skin; brush off excess dirt by hand with a soft cloth once completely dry.
- Curing (suberization) is mandatory: Freshly dug potatoes have fragile ‘feathering’ skins that peel at a fingernail touch. Curing them for 10 to 14 days at 55°F–65°F and 85%–95% humidity thickens the skin into a tough protective armor that blocks rot pathogens.
- Keep temperatures strictly between 42°F and 45°F: Temperatures above 50°F break dormancy and trigger rapid sprouting. Temperatures below 38°F cause ‘cold-induced sweetening,’ converting starches into bitter sugars that burn black during cooking.
- Never store potatoes with onions or apples: Ripening onions and apples emit moisture and ethylene gas, which triggers premature sprouting and rapid bacterial decay in adjacent potatoes.
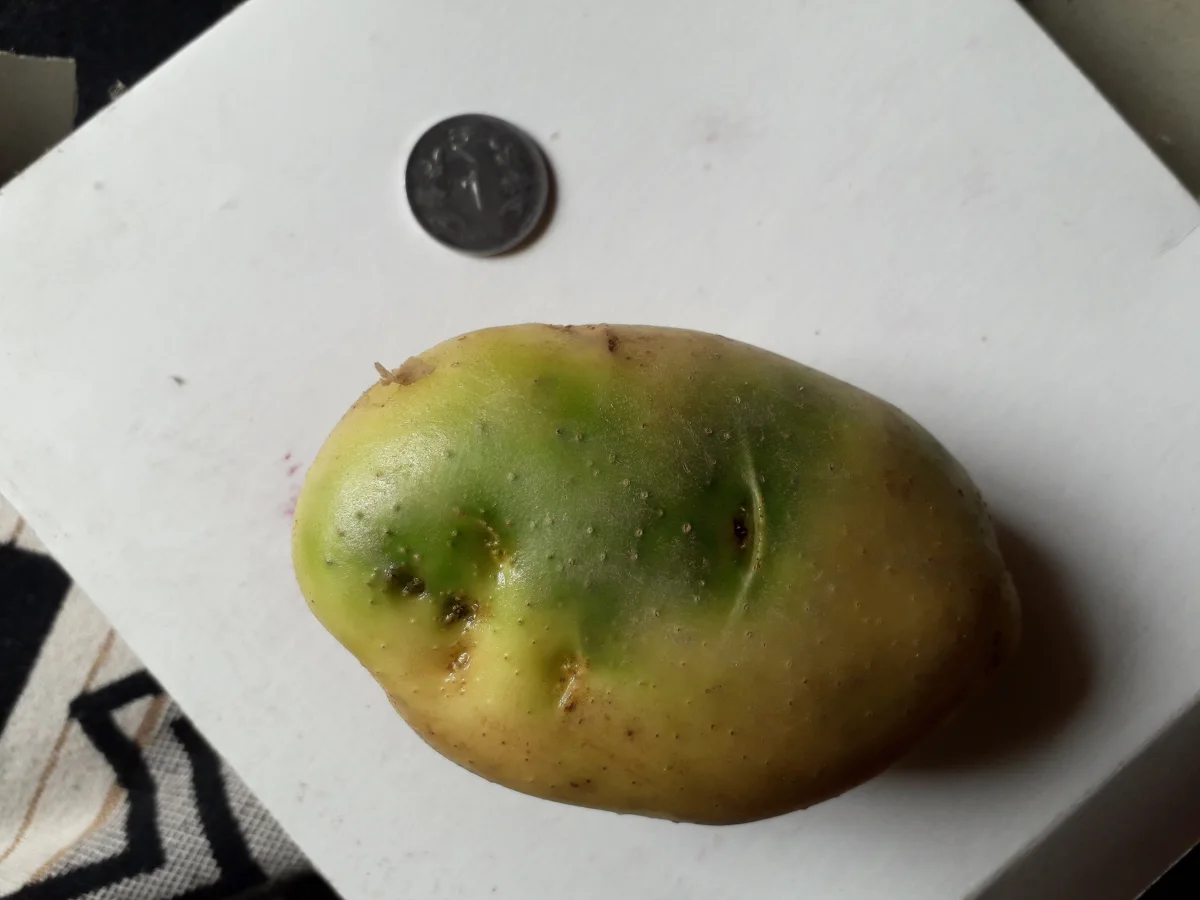
- Green skin is a toxic warning: Light exposure triggers chlorophyll production alongside toxic solanine and chaconine. If greening penetrates deep into the flesh, discard the tuber entirely.
1. The Science of Long-Term Potato Storage: Dormancy & Suberization
A potato tuber remains biologically active long after detachment from its mother plant. It absorbs oxygen and releases carbon dioxide, moisture, and sensible heat. According to post-harvest research from the University of Idaho Potato Post-Harvest Research Center, the storage longevity of table potatoes depends on preserving endodormancy—a natural internal hormonal state where the tuber eyes cannot sprout regardless of environmental conditions.
🔄 The 4 Critical Phases of Potato Post-Harvest Biology
Successfully keeping potatoes rock-firm until spring requires aligning your environmental controls with each biological phase:
Leave tubers in dry ground for 2 to 3 weeks after haulms die down. Allows the outer periderm cells to fully lignify so skins won’t slip during digging.
Hold at 55°F–65°F and 85%–95% RH for 10–14 days. Triggers rapid suberin deposit, healing shovel scrapes and sealing out fungal rot spores.
Drop temperature to 42°F–45°F at 90% RH in total darkness. Respiration plummets, starch stays stable, and natural dormancy locks for 5–8 months.
As ambient spring temps rise above 50°F, dormancy naturally breaks. Tubers must be consumed immediately, cold-canned, dehydrated, or used as seed spuds.
When you harvest potatoes, their skins are thin, delicate, and prone to ‘feathering’ (peeling off under light friction). Uncured wounds allow fungal pathogens like Fusarium dry rot and Pythium leak to invade the flesh. Curing initiates suberization: the potato deposits layers of suberin and wound periderm beneath damaged cells, effectively cauterizing cuts and building a durable barrier against moisture loss and bacterial infection.
2. Ideal Environmental Parameters: Temperature, Humidity, and Darkness
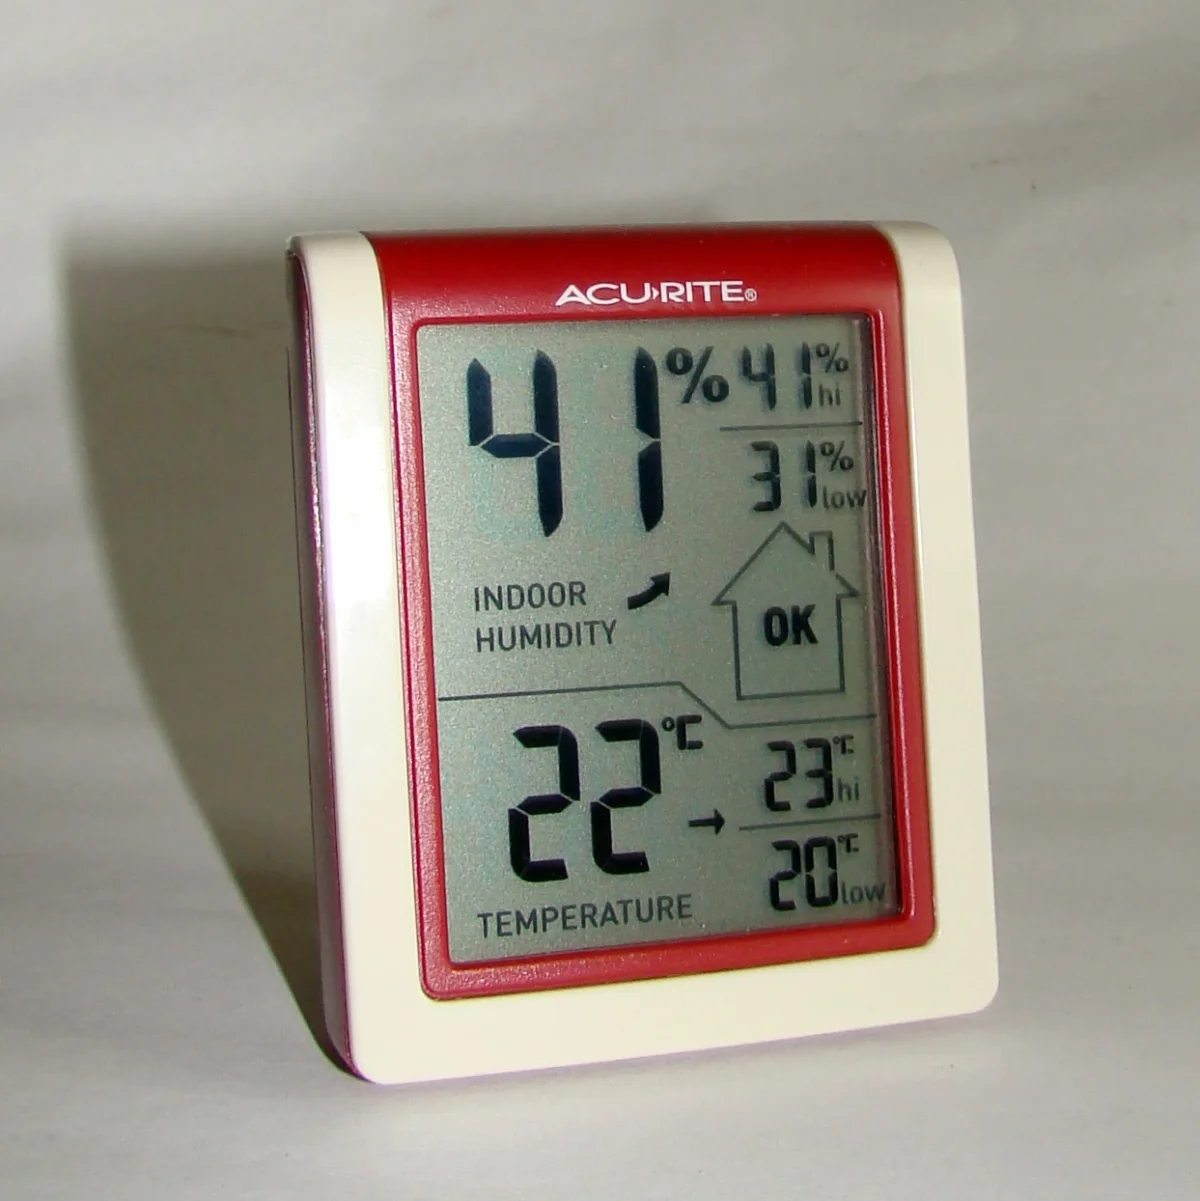
Commercial potato cellars operate on strict environmental metrics. Home growers do not need industrial computerized chillers, but understanding three core environmental variables prevents 95% of storage failures:
Cold-Induced Sweetening
Starches convert to reducing sugars. Potatoes turn unpleasantly sweet and scorch black when fried.
Optimal Holding Range
Maximum endodormancy with low cellular respiration. Retains pristine culinary texture for 7–9 months.
Rapid Sprouting & Shrinkage
Warm air awakens eyes into sprouts. Tubers rapidly shrivel and dehydrate within 6 to 8 weeks.
The 42°F–45°F Sweet Spot: At standard room temperature (68°F–72°F), potatoes respire rapidly, exhausting their moisture and starch reserves within 60 days. Conversely, temperatures below 38°F trigger ‘cold-induced sweetening’ (CIS). The potato converts starches into glucose and fructose, resulting in an off-putting sweet flavor and causing potatoes to scorch black when fried or roasted due to excess caramelization.
Relative Humidity (85% to 95%): Potatoes consist of approximately 80% water. If indoor relative humidity drops below 75%, moisture evaporates through the skin lenticels, leaving tubers rubbery and wrinkled. High humidity maintains weight and turgidity, provided passive air circulation prevents water droplets from condensing directly onto the skins.
Total Darkness: Light exposure triggers chlorophyll production alongside poisonous steroid alkaloids (solanine and chaconine). Even indirect ambient light or overhead garage LEDs will turn tubers green within days, making strict light exclusion mandatory.
3. Best Potato Varieties for Long-Term Storage
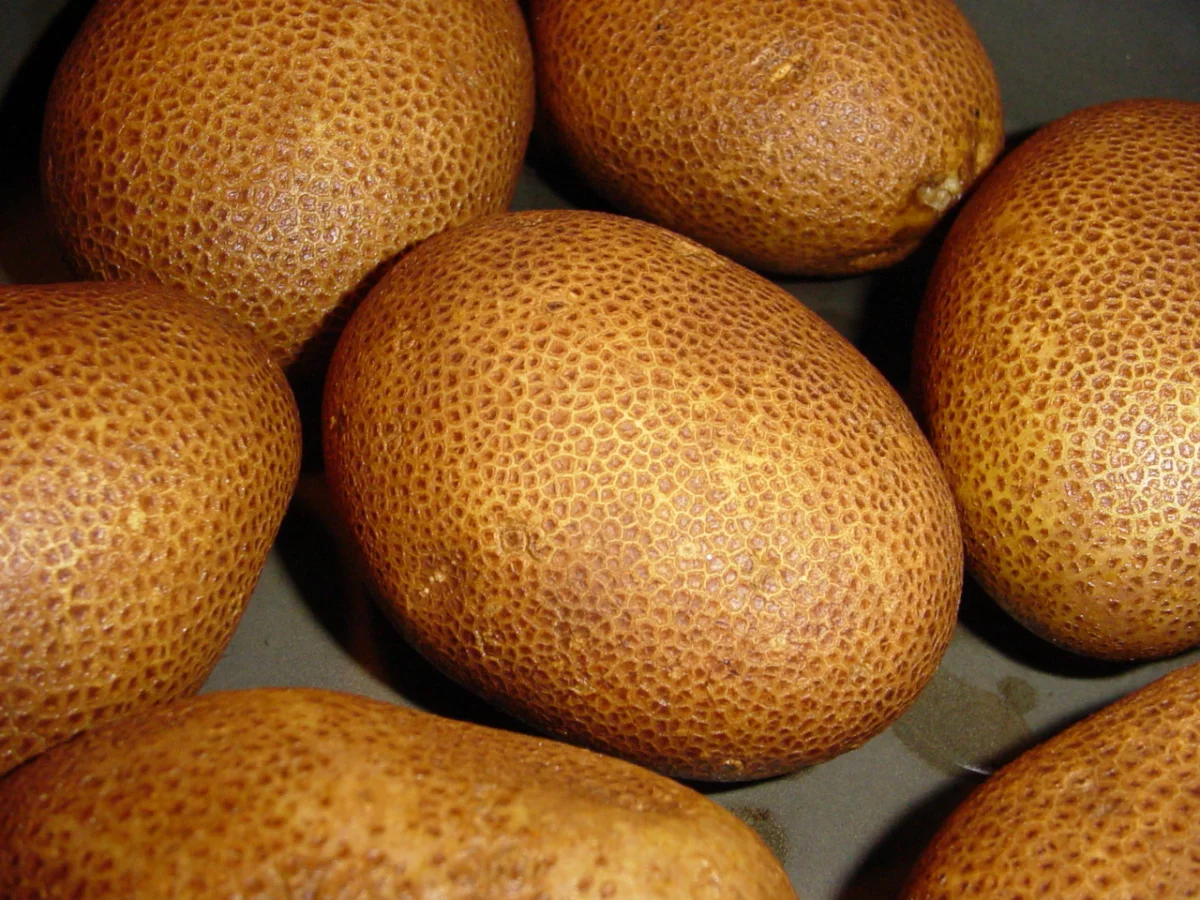
Storage capability is deeply genetic. Thin-skinned early summer potatoes cannot survive multi-month holding, whereas late-season high-starch varieties retain firm textures well into the following spring. When planning a productive vegetable plot with crops like Royal Burgundy bush beans growing guide and nightshades, selecting proven storage cultivars is essential.
4. Step-by-Step: How to Harvest & Cure Garden Potatoes
Improper harvesting ruins potatoes before they ever reach storage bins. Piercing a single tuber with a digging fork introduces bacterial soft rot (Pectobacterium carotovorum) that can liquify twenty pounds of neighboring potatoes within weeks.
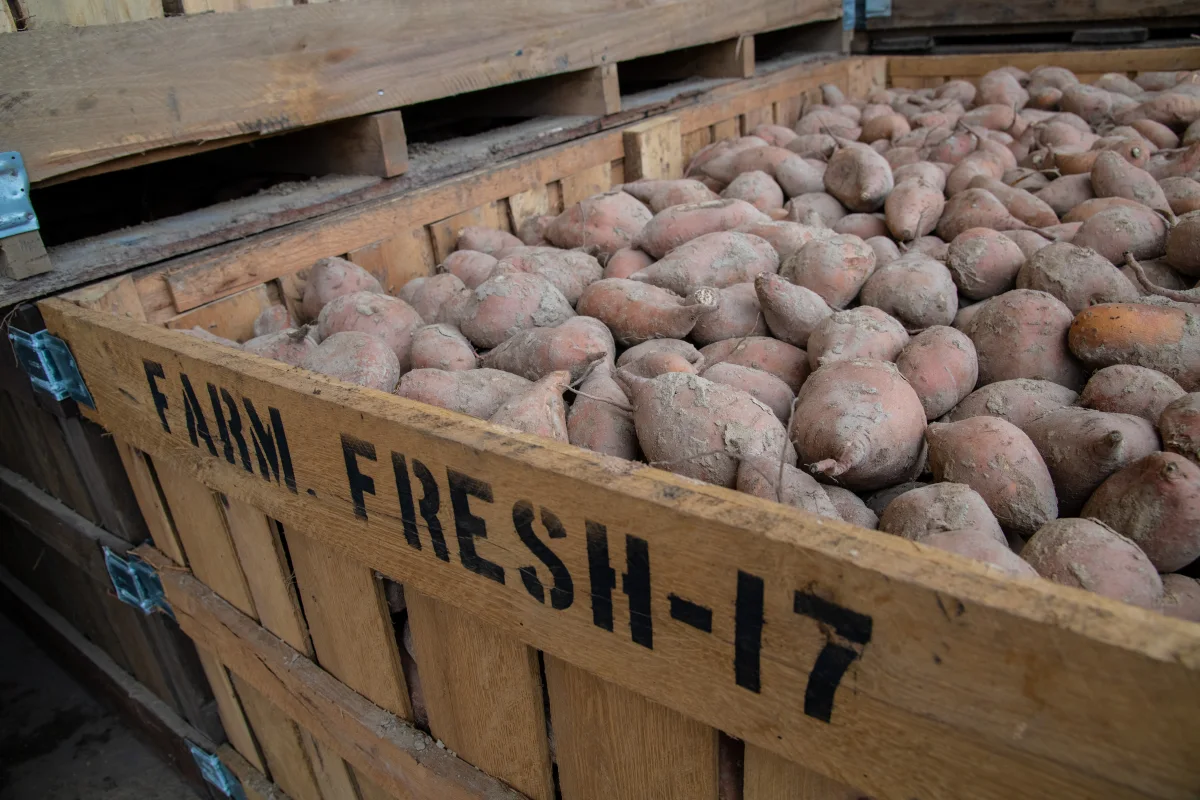
The 5-Step Harvest & Curing Protocol:
- Step 1: Wait for Natural Vine Dieback: Do not harvest storage potatoes while vines are still lush and green. Wait until the foliage naturally yellows, wilts, and collapses. For maximum skin set, cut the dead vines down to ground level and leave the tubers undisturbed in dry soil for 10 to 14 days before digging.
- Step 2: Dig on a Warm, Dry Day: Wet soil clings to tubers and traps surface moisture. Dig when topsoil is crumbly and dry. Insert a garden broadfork 14 to 16 inches away from the plant stem and lever upward gently to roll the hill open without puncturing tubers.
- Step 3: Never Wash Before Storage: Never spray storage potatoes with a garden hose. Water softens the delicate skin and forces bacteria into skin pores. Instead, let freshly dug tubers sit on top of the dry garden soil in the shade for two hours so surface soil dries into a loose powder that easily brushes away by hand.
- Step 4: The 10-to-14-Day Curing Phase: Arrange unwashed tubers in single or double layers inside slatted wooden crates, shallow cardboard boxes with punched 1-inch ventilation holes, or breathable burlap sacks. Place them in a well-ventilated, dark room kept at 55°F to 65°F with 85% to 95% relative humidity. Cover crates with clean burlap or cotton cloth to block all light.
- Step 5: The ‘Cull and Sort’ Inspection: Once curing is complete, inspect every potato individually. Any tuber with a fork cut, soft spot, green edge, or insect borehole must be separated immediately. Damaged potatoes are perfectly safe to eat fresh within a few days, but will rot in long-term storage.
5. 4 Reliable Storage Methods (With and Without a Root Cellar)
Few modern homes have traditional 19th-century dirt-floor root cellars. Fortunately, several simple, tested alternatives keep potatoes cold, dark, and humid without requiring specialized construction. Extension field trials from the Cornell University Cooperative Extension demonstrate that home basements and insulated garage containers achieve identical storage success when managed properly.
Unheated Basement
Elevate slatted crates on cedar pallets 4″ off concrete against a north wall. Drapes burlap over bins to block light.
Dry Sand Packing
Layer potatoes in wooden boxes alternating with 2″ of dry builder’s sand or peat. Buffers temperature and blocks light.
Insulated Ice Cooler
Place in an unheated garage with lid propped open 1/2″ for air exchange. Insulates against freezes while maintaining 90% RH.
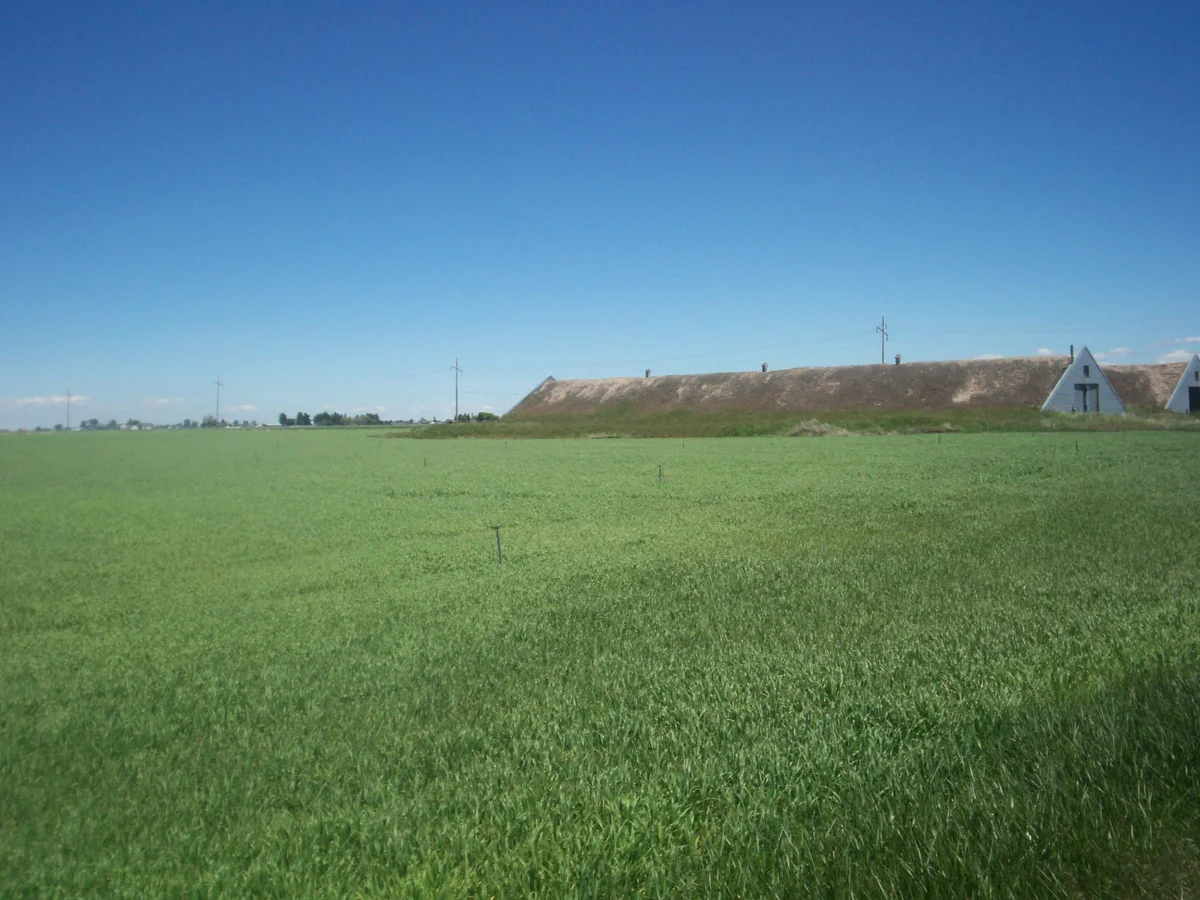
Traditional Clamp (Pit)
Outdoor straw-lined trench covered with 8″ straw and 6″ soil mound with a central straw ventilation chimney.
6. Why You Should Never Store Potatoes with Onions or in the Fridge
Two of the most persistent food storage habits in modern kitchens cause rapid potato spoilage:
The Onion Contradiction: Many kitchen pantries feature tiered wire baskets holding potatoes on the bottom and onions on top. This is an immediate failure point. Onions release high levels of ethylene gas along with ambient moisture. The ethylene triggers dormant potato eyes to sprout, while moisture from the potatoes causes onions to soften and rot. Store them in separate rooms or at least 15 feet apart.
The Refrigerator Mistake: Modern refrigerators run between 33°F and 38°F with very dry air circulation. Storing potatoes below 40°F triggers cold-induced sweetening. When cold-stored potatoes are baked or fried, reducing sugars react with free asparagine amino acids (the Maillard reaction) to create dark, burnt discolorations and significantly elevated levels of acrylamide, a recognized dietary neurotoxin.
7. Safety & Quality: Sprouting, Greening, and Solanine Toxicity
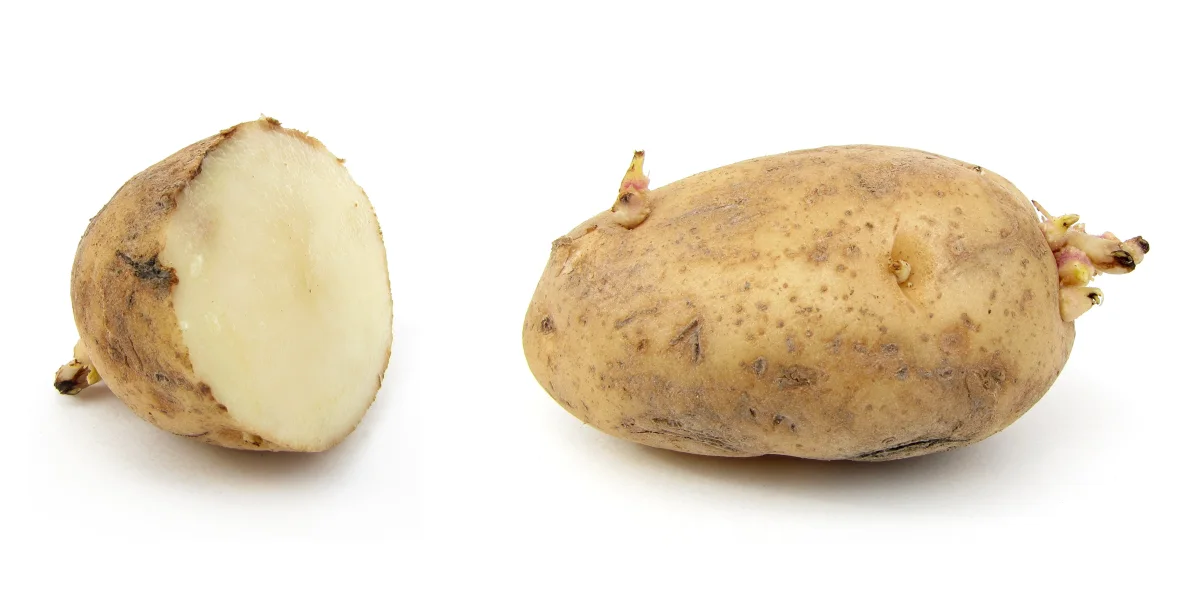
Potatoes produce natural glycoalkaloid defense toxins—predominantly solanine and chaconine—to ward off insects and fungi. Normal tubers contain trace levels (under 10 mg per 100g) that are harmless. However, light exposure and physical bruising cause glycoalkaloid levels to spike above 20 mg per 100g, causing a distinctly bitter, burning taste and toxic symptoms including stomach cramps, nausea, and headaches.
Frequently Asked Questions About Long-Term Potato Storage
The Master Long-Term Potato Storage Checklist
2 Weeks Before Digging
- Wait for vines to naturally yellow and collapse.
- Mow/cut dead vines down to soil line.
- Leave tubers in dry ground 10–14 days to set skins.
Harvest Day Protocol
- Dig on a dry morning 16 inches from plant stems.
- Never wash tubers with water.
- Cull nicked spuds immediately for fresh use.
14-Day Curing Window
- Single-layer in slatted crates or boxes.
- Hold at 55°F–65°F with 85%–95% RH.
- Cover with breathable cloth in 100% darkness.
Months 1 to 9 Storage
- Maintain steady 42°F–45°F holding temperature.
- Keep at least 15 feet away from onions and apples.
- Inspect bins monthly; cull any soft tubers promptly.
📚 Explore More Harvest & Storage Guides
Protect and maximize your backyard food yields with our tested horticultural guides:
- Warm-Season Crops: Read our essential tips for planting tomatoes for maximizing fruit production before autumn frost.
- Legume Preservation: Explore our complete Royal Burgundy bush beans growing guide for growing and preserving cold-soil crops.
- Indoor Container Crops: Discover how to grow a Thai pepper plant for continuous indoor winter harvesting.
- Pest Prevention: Check our guide on managing indoor pantry and storage pests to protect indoor root cellars and pantries.
- Controlled Growing: Learn the principles of growing vegetables indoors across compact spaces.