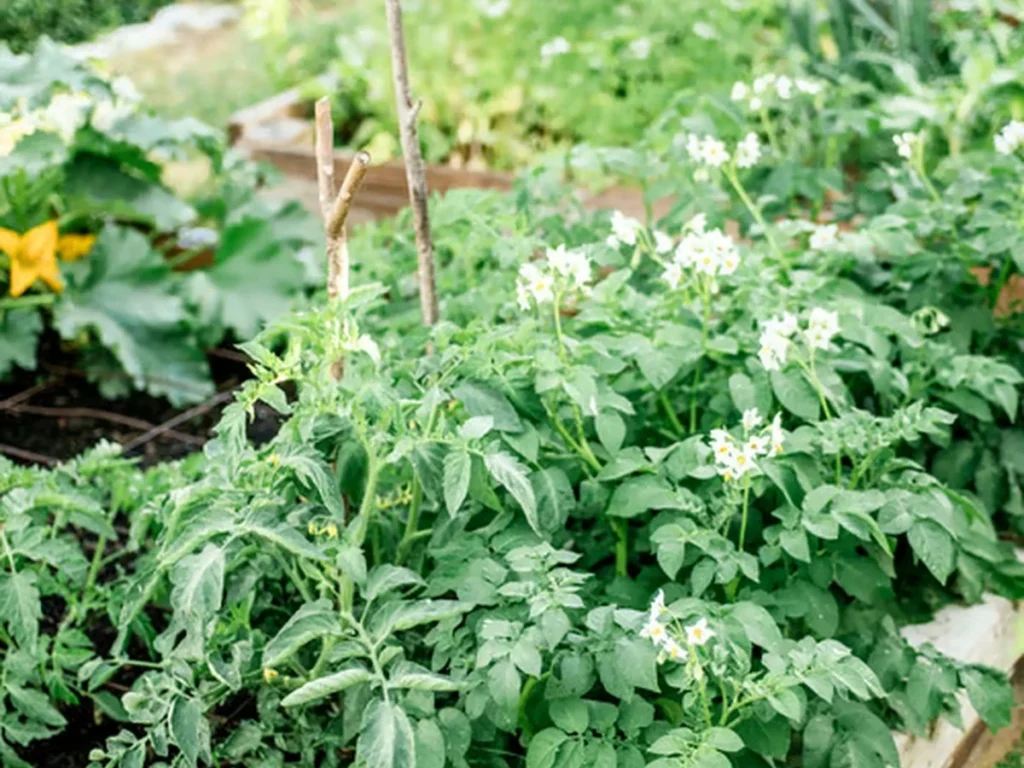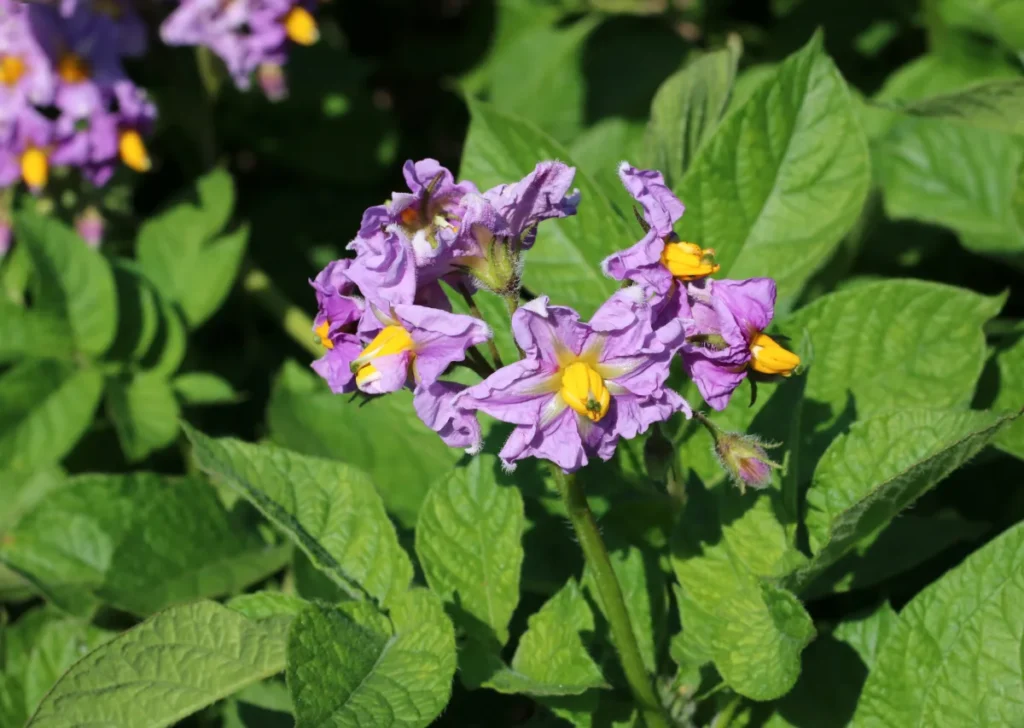
Published: Spring 2026 | Field Tested Across 7-Gallon, 10-Gallon Fabric Grow Bags, Burlap Sacks, and Patio Containers
⚡ Quick Answer: How to Grow Potatoes in Bags
To master how to grow potatoes in bags and achieve 7 to 10+ pounds per container, use a 10-gallon non-woven fabric grow bag with drainage and reinforced handles. Roll the top cuff down to an initial height of 8 to 10 inches and add 4 inches of fluffy, well-draining potting soil (50% potting mix, 25% compost, 25% perlite at pH 5.5 to 6.0). Plant 3 to 4 chitted seed pieces eyes-up and cover with 3 inches of soil. As leafy vines grow, unroll the bag and add 4 inches of soil (progressive hilling) every time shoots reach 6 to 8 inches until the bag is full. Water consistently to maintain sponge-like moisture, feed with low-nitrogen organic fertilizer, and harvest in 90 to 120 days by simply dumping the bag onto a clean tarp.
Traditional in-ground potato cultivation requires extensive garden acreage, deep trenching, heavy manual hilling, and a tedious, back-breaking harvest that inevitably punctures half your prize tubers with the tines of a spading fork. For suburban gardeners with heavy clay soil, small patios, or apartment balconies, growing potatoes in the ground is often impractical. Much like learning how to start a vegetable garden from seed gives you total environmental control over fragile seedlings, learning how to grow potatoes in bags empowers any home grower to produce a bountiful harvest in compact spaces.
Growing potatoes in fabric grow bags and breathable sacks transforms the entire experience. It allows you to create an ideal, loose, disease-free soil blend from day one, manage moisture with precision, and harvest your entire crop in under two minutes simply by tipping the container onto a clean tarp. No digging, no damaged skins, and zero weed competition. When paired with our comprehensive guide on how to store potatoes long term, your container harvest can provide fresh, firm spuds straight through the winter months.
However, container potato growing is not as simple as dropping a supermarket spud into a bag of dirt. Poor variety selection, overcrowded seed spacing, and improper hilling techniques frequently leave container gardeners with a disappointing handful of marble-sized tubers. This field-tested guide provides the definitive agronomic framework to harvest seven to ten pounds of full-sized, delicious potatoes from every single 10-gallon grow bag.
📊 Key Takeaways: High-Yield Container Potato Rules
- Select indeterminate varieties for multi-tier yields: Determinate potatoes (Yukon Gold, Red Norland) form tubers in a single shallow layer; hilling them all the way up a 24-inch bag wastes soil and yields nothing extra. Indeterminate varieties (Russet Burbank, German Butterball, Elba) produce tubers continuously along the buried stem nodes.
- Never overcrowd your bags: Planting too many seed pieces is the primary cause of marble-sized tubers. A standard 10-gallon grow bag supports exactly 3 to 4 seed pieces. A 7-gallon bag holds 2 to 3 pieces.
- Cuff the bag down on planting day: Roll the top edges of your fabric bag down like a shirt cuff to an initial height of 8 to 10 inches. This allows direct sunlight to reach emerging shoots without shading them inside a deep fabric cavern.
- Maintain a slightly acidic pH (5.2 to 6.0): Alkaline or neutral potting soil encourages Common Scab (Streptomyces scabies), causing rough, corky skin lesions. Keep soil acidic and free of fresh uncomposted manure.
- Fabric bags dry out twice as fast as in-ground soil: In 85°F+ summer heat, porous fabric walls transpire moisture rapidly. Check containers daily and elevate them on pallets to prevent baking on hot concrete patios.
1. Why Growing Spuds in Bags and Sacks Outperforms In-Ground Plots
Growing spuds in bags and breathable sacks offers distinct cultural and ergonomic advantages over traditional in-ground planting, especially for growers managing compact spaces, urban patios, or heavy clay soils. Similar to the root aeration principles we see when comparing fabric pots to plastic nursery containers in our how to grow a Thai pepper plant, potato root systems benefit tremendously from oxygen-rich, non-restrictive environments.
Key cultural advantages include:
- Zero Digging Damage: Harvesting in-ground potatoes with a spading fork damages 10% to 20% of your crop through accidental cuts. With fabric bags, you simply tip the container over onto a clean tarp or wheelbarrow and sort through loose, crumbly soil by hand without scratching tender skins.
- Soil Pathogen Isolation: Native garden soils often harbor verticillium wilt, wireworms, potato cyst nematodes, and fungal blights that linger for years. Growing in bags using fresh soilless potting mix guarantees a clean, pathogen-free root zone every single season.
- Portability & Microclimate Management: If an unexpected late spring frost threatens in May, or if scorching 95°F heat bakes your patio in July, container bags can easily be shifted into dappled shade or moved onto a covered porch to prevent tuber heat stress.
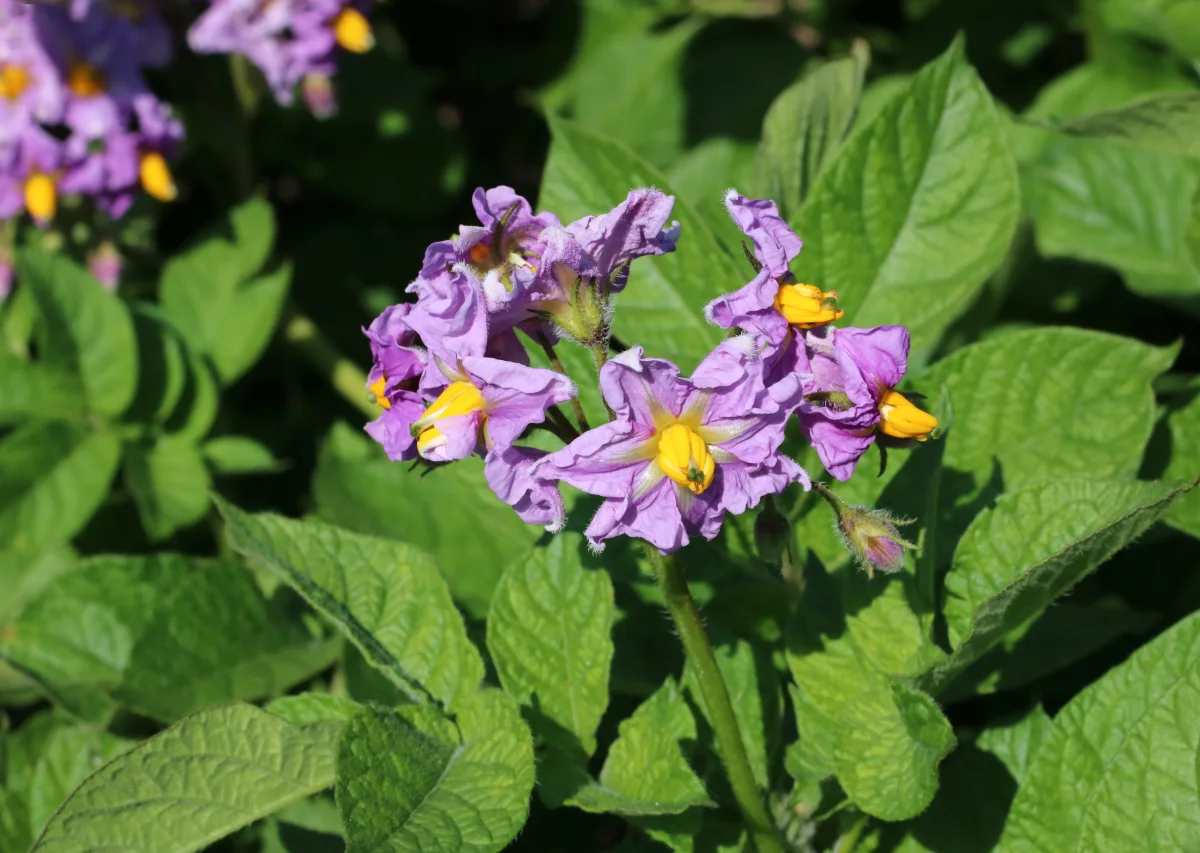
2. Choosing Your Container: Fabric Grow Bags vs. Burlap Sacks vs. Reusable Totes
While you can technically grow potatoes in almost anything that holds soil, container materials differ drastically in drainage, root health, thermal regulation, and seasonal durability. Understanding these material characteristics helps you avoid common pitfalls like waterlogged root rot or premature bag decay.
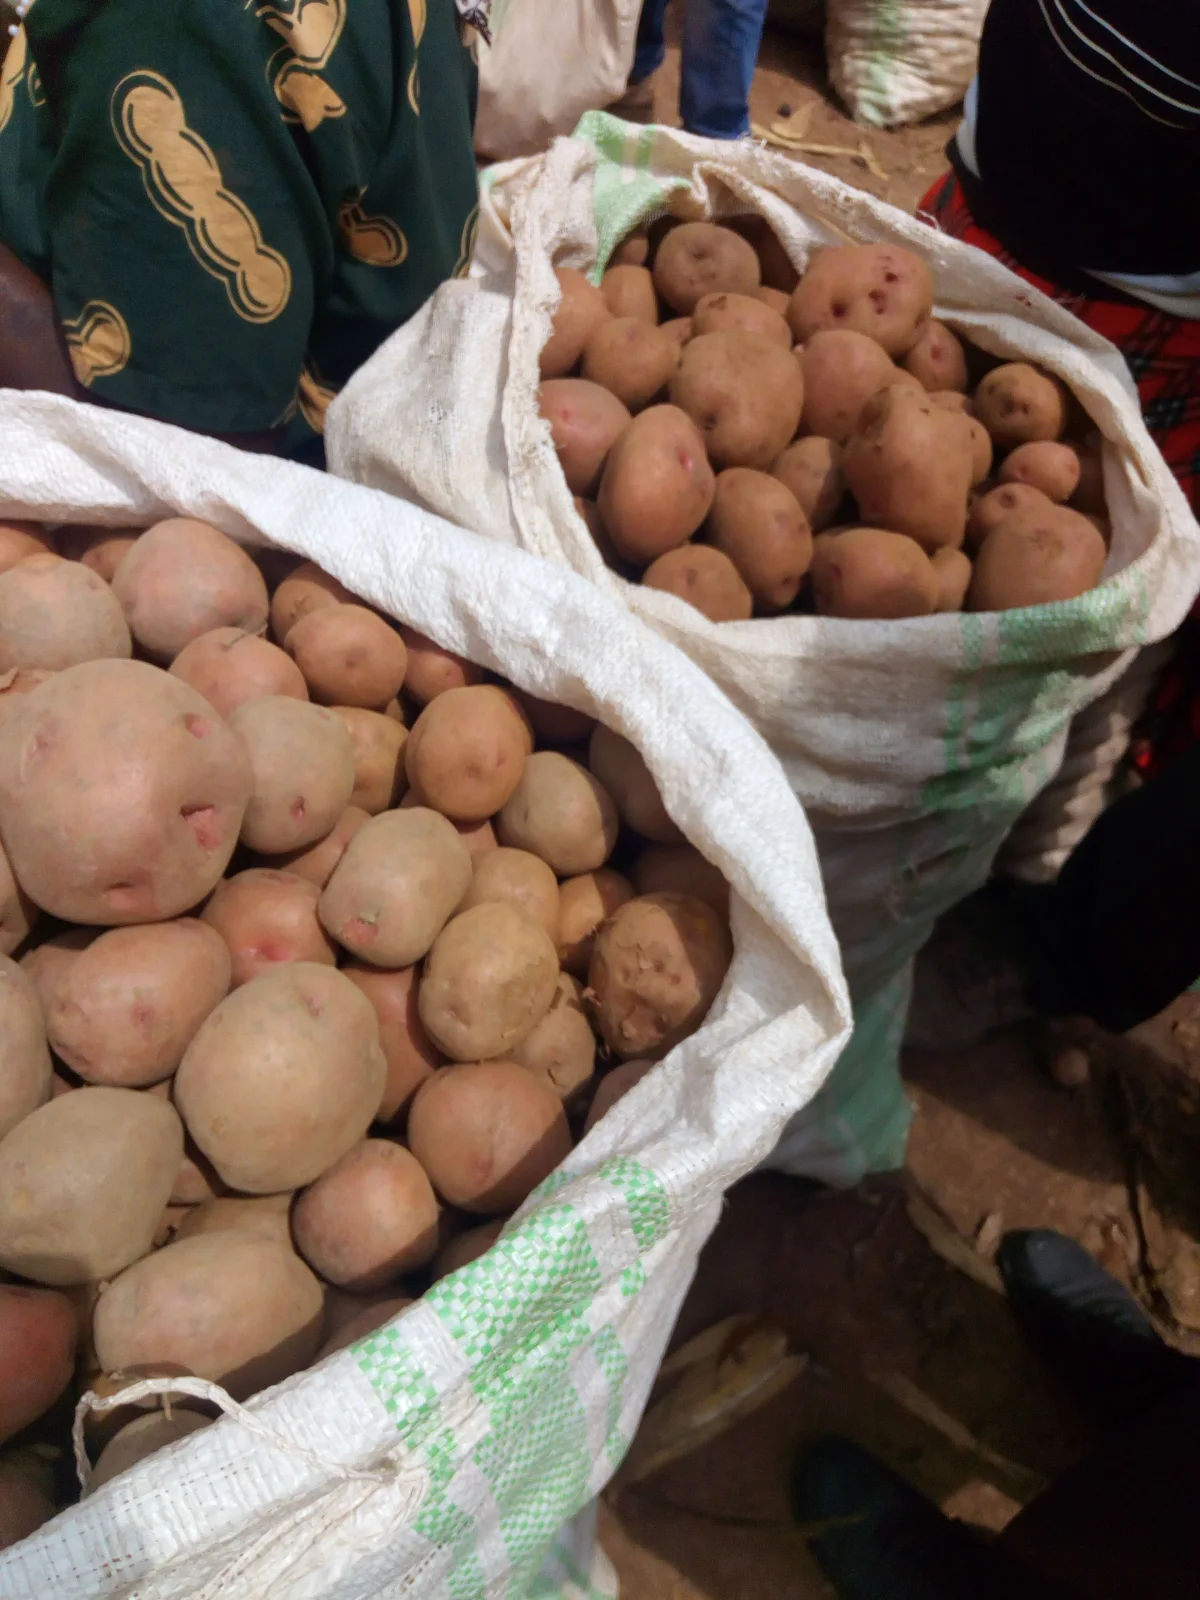
3. The Variety Secret: Determinate vs. Indeterminate Potatoes in Bags
Failing to understand potato growth habits is the single most common reason container growers are disappointed by their yields. Online gardening tutorials frequently instruct gardeners to “keep adding soil as the plant grows to build a towering vertical column of potatoes.” In reality, whether this technique succeeds depends entirely on plant genetics, as documented by horticultural trials from Cornell University College of Agriculture and Life Sciences.
🧬 Determinate vs. Indeterminate Tuber Setting Architecture
Notice how indeterminate varieties produce multiple vertical tiers along the buried stem nodes, while determinate varieties set all tubers in a single horizontal plane:
📈 The Step-by-Step Progressive Hilling Timeline
Unroll your fabric grow bag progressively in rhythm with potato stem elongation to trigger new stolon tuber sets:
Follow this hilling cadence:
- The First Hill: When green leafy shoots reach 6 to 8 inches above the soil line, unroll the cuff of the bag slightly. Gently shovel 3 to 4 inches of fresh potting soil (or a 50/50 mix of compost and clean straw) around the stems, covering them until only the top 2 inches of vibrant green leaves remain exposed.
- The Second Hill: Two to three weeks later, when the vines have grown another 6 to 8 inches, repeat the process. Unroll the cuff another 3 to 4 inches and add another 4-inch layer of soil mix.
- Final Top-Off: Continue until the bag is unrolled to its full height and filled with soil to within 2 inches of the top rim. Allow the foliage to branch out freely across the top into a lush canopy. Never bury the foliage entirely; maintaining active photosynthesis is essential for fueling subterranean tuber expansion.
8. Watering, Feeding & Summer Heat: Essential Rules for Growing Potatoes in Containers
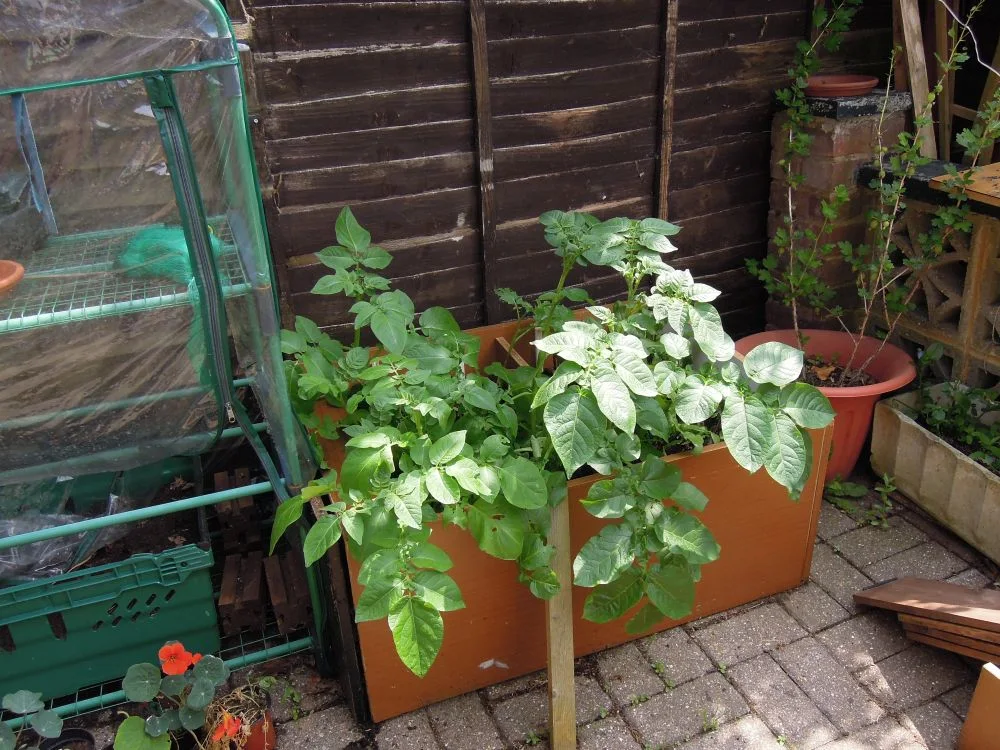
Watering Dynamics When Growing Potatoes in Containers: Because fabric containers are breathable and elevated above ground, they lose moisture much faster than plastic pots or in-ground garden beds. During peak July and August heat, a 10-gallon grow bag full of lush foliage transpires up to a gallon of water every day. As we detailed in our analysis of soil moisture physics and transpiration principles, fluctuating soil moisture wreaks havoc on tuber cellular structure. If the soil completely dries out during tuber initiation and is subsequently flooded with water, potatoes develop hollow heart, internal necrosis, or unsightly growth cracks. Water deeply until moisture drips freely from the bottom seams, keeping the mix consistently damp like a wrung-out sponge.
Fertilizing for Tubers, Not Leaves: Avoid high-nitrogen chemical fertilizers. Excess nitrogen stimulates massive 4-foot leafy vines but severely delays tuber initiation, leaving you with vigorous foliage and tiny spuds. When hilling your containers, top-dress each 10-gallon bag with 1/4 cup of organic low-nitrogen, high-phosphorus, high-potassium fertilizer (such as an organic 5-10-10 or a blend of steamed bone meal and sulfate of potash). Proper phosphorus availability promotes strong stolon branching, while potassium fuels starch conversion inside the swelling tubers.
Heat Wave Mitigation on Patios: According to post-harvest research from the University of Idaho Potato Extension, potato tuber formation stalls completely when soil temperatures exceed 85°F (29°C). On dark stone or concrete patios, black fabric bags absorb thermal radiation rapidly. Elevate your grow bags on wooden shipping pallets or pot feet to encourage cooling airflow underneath, and consider wrapping dark bags with light burlap or placing shade cloth on the southwest side during extreme midsummer heatwaves.
9. Harvesting & Curing: The ‘Dump and Sift’ Method
The greatest reward of growing potatoes in bags is harvest day. There is no back-breaking digging with a spade and zero anxiety about slicing into prize potatoes hidden underground. Just like picking tender Royal Burgundy bush beans growing guide at their crisp peak, timing your potato harvest ensures optimal flavor and long-term storability.
Recognizing Maturity: Roughly 90 to 120 days after planting (depending on cultivar), the vines will flower, yellow, and collapse naturally. When 75% of the vine canopy is brown and dry, stop watering entirely for 7 to 10 days. Withholding water allows the fragile potato skins to ‘set’ and firm up underground, building resistance to bruising and skin feathering.
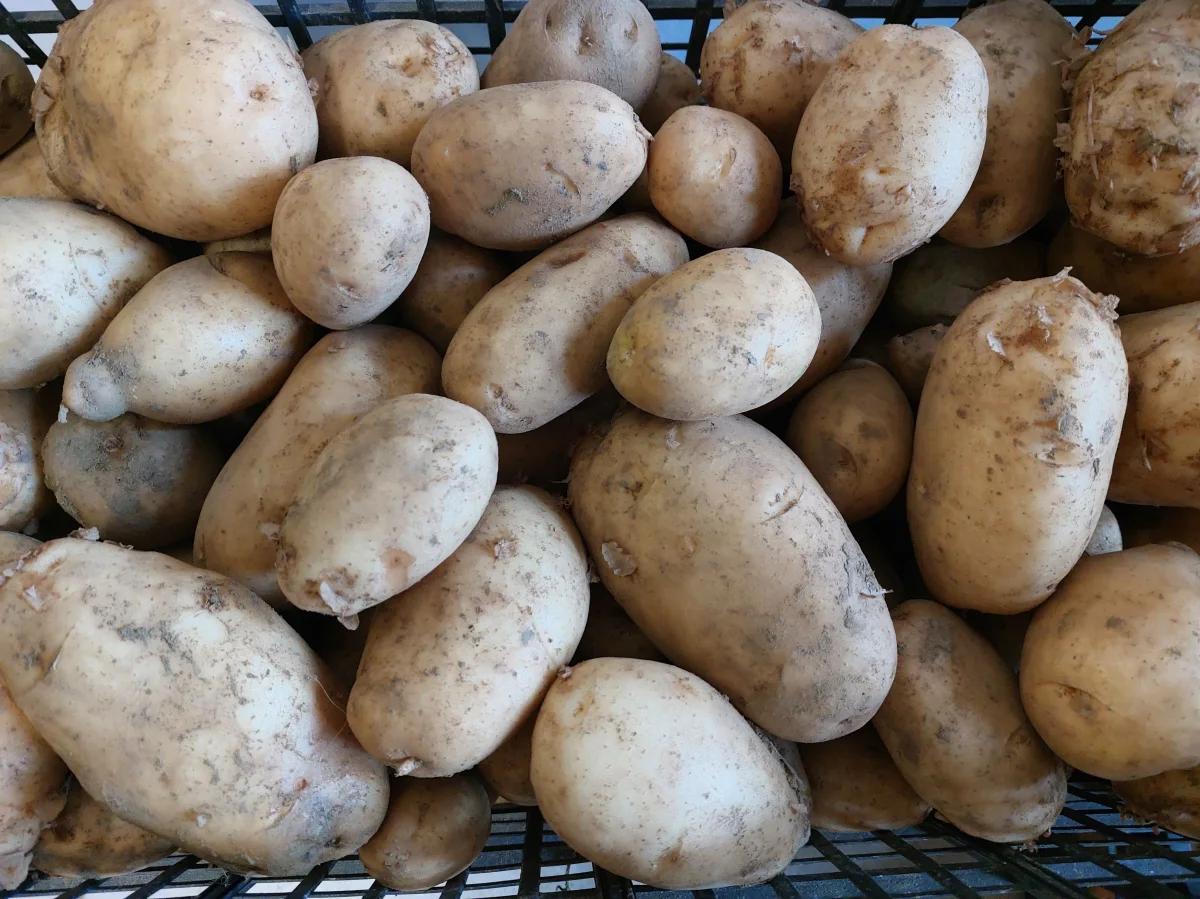
The ‘Dump and Sift’ Technique: Spread a large clean plastic tarp or wheelbarrow on the lawn or patio. Grasp the heavy-duty reinforced handles of your fabric grow bag, lift it up, and gently invert the container onto the tarp. The loose potting soil crumbles away effortlessly. Run your fingers through the mix to collect your harvest, pulling clean, unblemished potatoes out of the fluffy substrate without a single fork scratch.
Curing for Long-Term Storage: Do not wash freshly harvested potatoes with water. Washing introduces moisture into microscopic skin pores, triggering bacterial soft rot. Instead, follow our step-by-step protocols in how to store potatoes long term: spread unwashed spuds in single layers inside dark, well-ventilated crates held at 55°F to 65°F and 85%–95% humidity for 10 to 14 days to cure. Once suberized, store them in complete darkness at 42°F to 45°F for multi-month culinary enjoyment.
Frequently Asked Questions
❓ What is the single biggest mistake when growing spuds in bags? ▾
❓ How often should I water when growing potatoes in containers? ▾
❓ Can I grow potatoes in bags using grocery store potatoes? ▾
❓ Can I reuse the soil from my potato bags next year? ▾
❓ Can you grow sweet potatoes in grow bags the exact same way? ▾
The Container Potato Master Checklist
📋 Step-by-Step Container Potato Action Checklist
3 Weeks Before Planting
- Buy certified disease-free seed potatoes (indeterminate for max yield).
- Place in open egg cartons in cool (55°F–60°F), bright room to chit 1/2″ sprouts.
- Cut large tubers into 2-oz chunks 48 hours before planting to cure the cuts.
Planting Day Setup
- Cuff 10-gallon fabric grow bag down to 8–10 inches in height.
- Add 4–5 inches of fluffy potting mix (50% mix, 25% compost, 25% perlite; pH 5.5).
- Place 3 to 4 seed pieces eyes-up; cover with 3 inches of mix and soak thoroughly.
Progressive Hilling (Months 1 & 2)
- When shoots reach 6″–8″, unroll cuff 3″ and add 4″ soil (keep leaves exposed).
- Repeat every 2–3 weeks until bag is fully unrolled within 2″ of top rim.
- Top-dress with 1/4 cup organic 5-10-10 or bone meal and greensand.
Summer Care & Harvest
- Water deeply when top 2 inches feel dry; elevate bags on pallets if concrete is hot.
- When vines yellow and collapse, withhold water completely for 7 to 10 days.
- Tip bag onto clean tarp, sift through loose mix by hand, and cure for 10 days.