⚡ Quick Answer: Growing Peppers Indoors
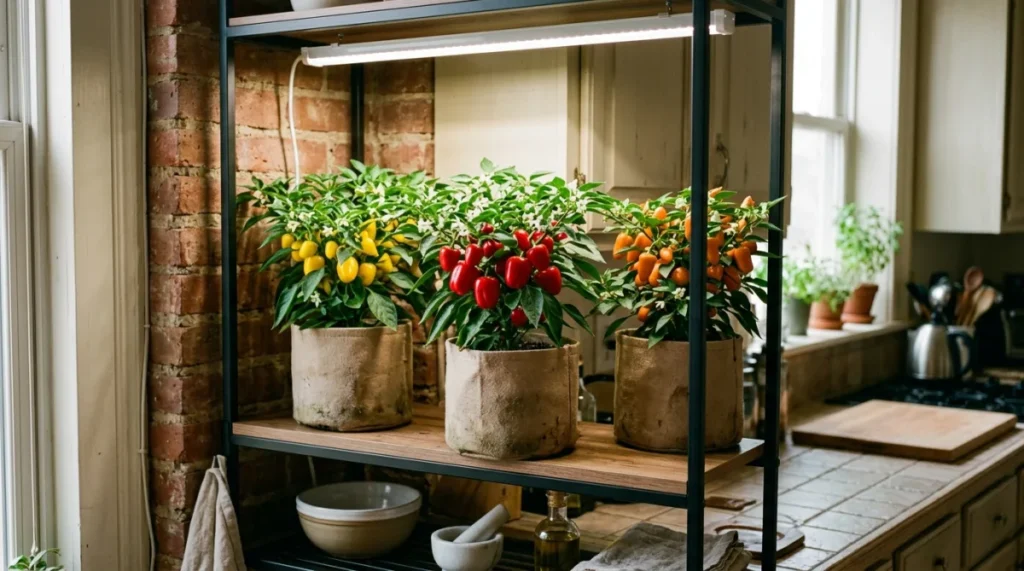
To master growing peppers indoors and harvest continuous sweet and hot peppers year-round, you must avoid the windowsill trap. Deploy a full-spectrum LED grow light delivering 400 to 600 PPFD (15 to 20 Daily Light Integral) for 14 to 16 hours daily. Select naturally compact or dwarf cultivars (such as Mohawk, Mini Belle, Apache, or Thai Hot) planted in 1.5- to 2-gallon breathable fabric grow bags with a porous, high-perlite potting mix (pH 6.2–6.8). Maintain daytime temperatures around 75°F to 82°F (24°C to 28°C) with 24/7 gentle oscillating fan airflow to prevent leaf edema. To stop blossom drop, vibrate open flowers daily for 2 seconds with an electric toothbrush, and feed with low-nitrogen, high-potassium bloom nutrients plus supplemental Cal-Mag once flower buds emerge.
Growing peppers indoors transforms a winter apartment living room, sunny basement workbench, or utility shelving rack into a continuous year-round culinary harvest zone. While outdoor pepper growers wrestle with unseasonable June hail, invasive tobacco hornworms, flea beetles, and abrupt early autumn frosts that truncate harvest potential, an indoor grower commands complete microclimatic sovereignty. Much like mastering growing strawberries indoors or growing garlic in containers, moving high-value crops indoors gives you total control over pests, soil pathogens, and fruiting cycles.
Yet many enthusiastic gardeners fail during their first indoor attempt. They set a nursery transplant on a south-facing windowsill, watch the stems stretch into pale, spindly vines, and lament as dozens of delicate white blossoms open only to shrivel and drop onto the floor without setting a single pepper. This failure is not a botanical mystery. It stems directly from the ‘windowsill illusion’—the misconception that light passing through modern low-E double-pane window glass provides sufficient photonic energy for a heavy-fruiting tropical solanaceous plant. Understanding internal water transport and vapor pressure—principles we explore in our guide on transpiration physics and soil moisture—is essential for sustaining robust canopies indoors.
Peppers (Capsicum annuum, C. chinense, and C. frutescens) are high Daily Light Integral (DLI) crops. To trigger robust branching, sustain heavy flower flushes, and ripen thick, juicy fruit walls when growing peppers indoors alongside staples like your how to grow a Thai pepper plant or growing vegetables indoors, you must satisfy three non-negotiable physical conditions: targeted full-spectrum photosynthetic photon flux density (400 to 600 PPFD), active acoustic or vibration pollination, and continuous gentle canopy airflow to prevent cellular edema. This master guide outlines the exact, step-by-step horticultural system to cultivate vigorous pepper plants indoors from seed to harvest.
🌶️ Key Takeaways: Indoor Pepper Cultivation Rules
- Windowsills are insufficient for fruiting: Low-E glass filters out vital photosynthetic wavelengths, delivering an inadequate 3 to 6 mol/m²/day DLI. Fruiting peppers require 400 to 600 µmol/m²/s PPFD for 14 to 16 hours daily under full-spectrum LEDs (15 to 20 mol/m²/day DLI).
- Manual vibration stops blossom drop: Pepper flowers are self-fertile but need physical agitation to dislodge sticky pollen from the anthers onto the stigma. Vibrate open flower clusters for 2 seconds with the back of an electric toothbrush or run an oscillating fan across the canopy.
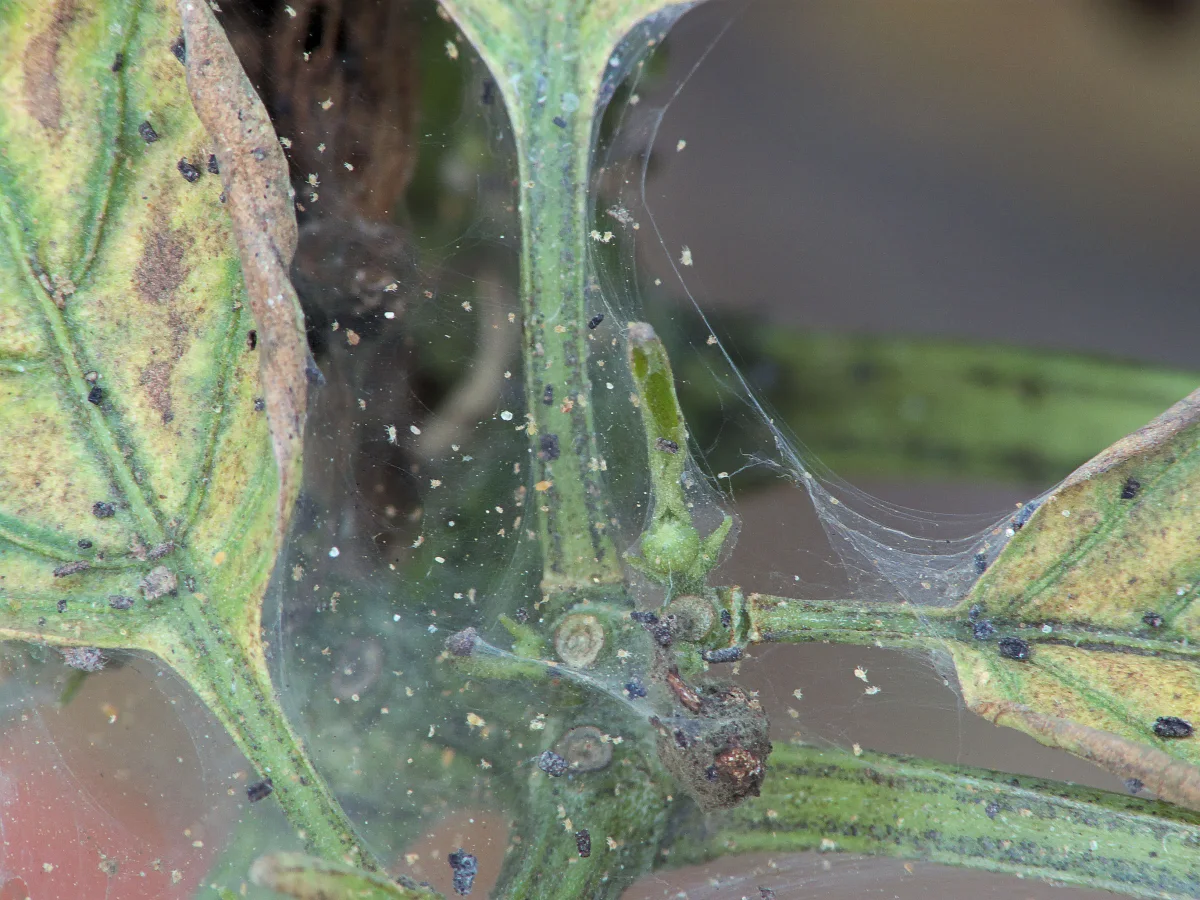
- Edema is not an insect pest: White crystalline crusts or blisters forming under leaves in still indoor air are physiological edema caused by transpiration collapse, not scale or spider mites. Position an oscillating fan on low to keep leaves breathing.
- Select compact cultivars: Standard outdoor bell peppers reach 4 feet tall and require 7-gallon containers. Indoors, prioritize micro-dwarfs and compact cultivars like Mohawk, Mini Belle, Apache, and Thai Hot that cap out at 10 to 18 inches in 1- to 2-gallon pots.
- Phase feeding between foliage and fruit: Apply balanced 3-1-2 nitrogen during vegetative framing; switch immediately to high-phosphorus, high-potassium 1-3-4 bloom nutrition with supplemental Cal-Mag once buds appear to avoid blossom end rot.
1. Why Grow Peppers Indoors? The Pros, Friction & Year-Round Yields
Choosing to grow peppers indoors shifts gardening from a seasonal gamble into a predictable culinary supply chain. When you cultivate indoor pepper plants, you completely eliminate the catastrophic external vectors that plague outdoor garden beds:
• Total Pest Exclusion: Outdoors, nightshade crops battle aphids, thrips, spider mites, cutworms, and the voracious defoliation of hornworms. By starting from clean seed in sterile soilless media, your indoor pepper canopy remains pristine without synthetic chemical sprays, eliminating risks discussed in indoor pest and fungus gnat prevention.
• Elimination of Weather Shock: Outdoor peppers stall in vegetative shock whenever overnight temperatures dip below 55°F (13°C) in spring, and drop their flowers when July heatwaves spike above 92°F (33°C). Indoors, a steady 72°F to 78°F ambient environment keeps cellular metabolism humming at peak efficiency.
• The Reality of Indoor Friction: The trade-off is environmental responsibility. Indoors, there is no wind to strengthen stems, no pollinating bumblebees to buzz-pollinate flowers, and no natural rain to flush fertilizer salts. You become the weather, the pollinator, and the sun.
2. Selecting the Best Indoor Pepper Plant: Compact Sweet & Chili Cultivars
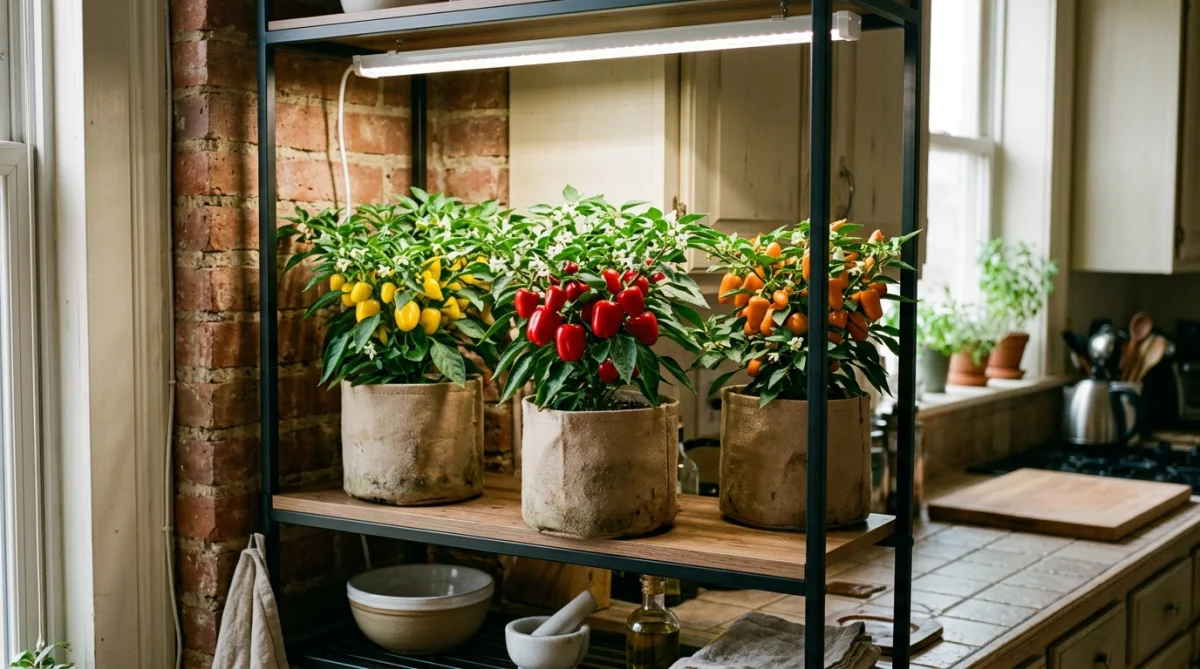
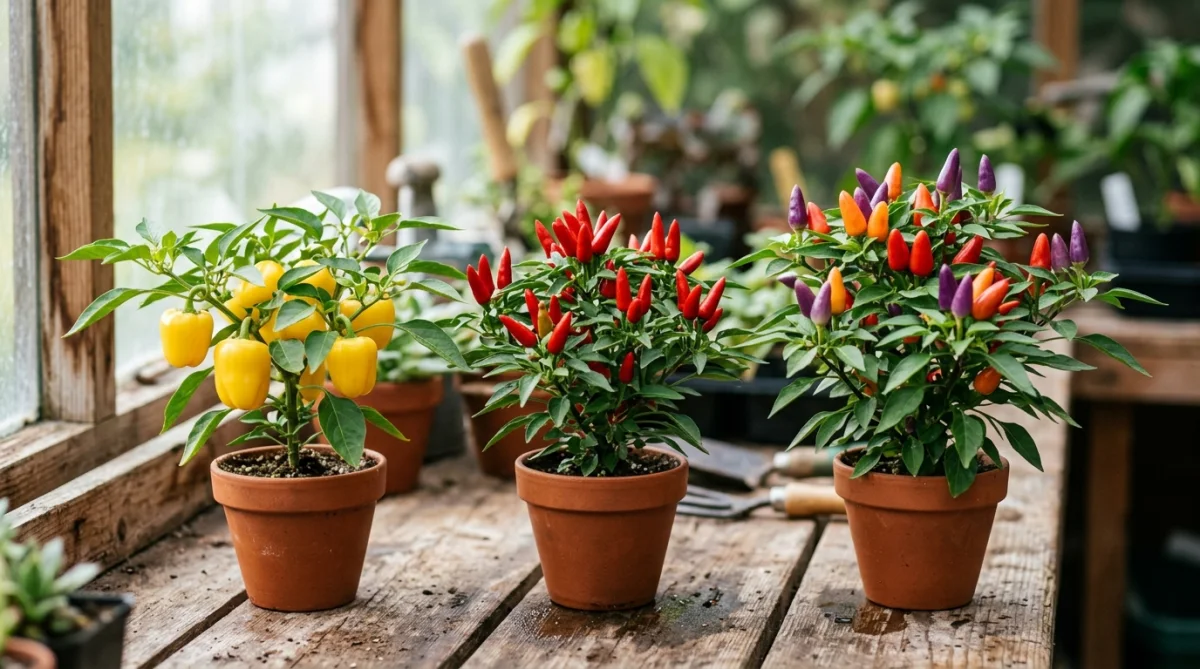
Selecting the right cultivar is the single greatest determinant of success when growing peppers indoors. If you attempt to plant an outdoor indeterminate standard bell pepper like ‘California Wonder’ inside a small apartment, the plant will stretch 48 inches tall, consume an immense 7-gallon root container, and produce two lonely peppers after six months of electricity consumption. Extension research from Cornell Cooperative Extension CEA Research emphasizes prioritizing compact genetic traits for CEA production.
For indoor pepper plants, prioritize genetic dwarfism, compact branching, and high fruit-to-canopy ratios:
3. The Lighting Blueprint: DLI, PPFD & Escaping the Windowsill Trap
Light is the caloric fuel that powers photosynthesis, stem node development, and capsaicin synthesis. When growing peppers indoors, relying on natural window light results in failure during winter months. A clean, south-facing residential window in northern latitudes provides a Daily Light Integral (DLI) of only 3 to 6 mol/m²/day from November to February. Peppers require a minimum DLI of 15 to 20 mol/m²/day to produce flowers that successfully set fruit.
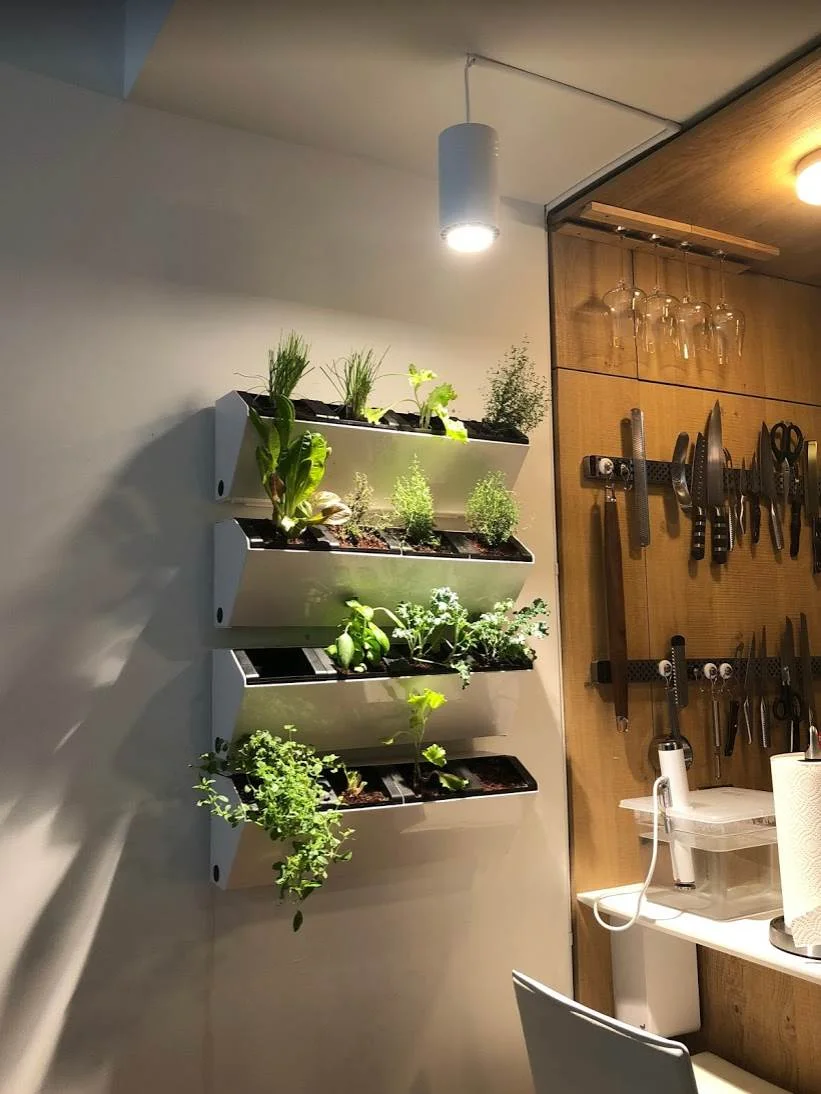
Choose full-spectrum white LEDs (balanced 3000K to 5000K daylight spectrum with 660nm deep red diodes) such as a full-spectrum LED grow light panel over outdated monochromatic ‘blurple’ (pink/blue) lights. Modern white LED diodes provide the broad spectrum necessary for human living spaces while driving superior photosynthetic quantum efficiency. Connect your grow light to a digital timer set to run 14 to 16 hours on and 8 to 10 hours off.
4. Environmental Controls: Temperature, Humidity & Airflow Dynamics
Peppers are native to the tropical and subtropical Americas. When growing peppers indoors, their cellular enzymes are biologically tuned for warm days, temperate nights, and buoyant air movement:
• Temperature Thresholds: Maintain daytime temperatures between 75°F and 82°F (24°C to 28°C). At night, allow temperatures to drop gently to 65°F–70°F (18°C–21°C). Never allow temperatures around an indoor pepper plant to plunge below 60°F (15°C); cold ambient air halts metabolic nutrient uptake, causing leaves to turn purple and flower buds to abort.
• The Critical Role of Oscillating Airflow: Still indoor air is deadly to peppers. Without air movement, a stagnant boundary layer of moisture forms across the stomata on the leaf undersides. Furthermore, lack of physical stem flex prevents the synthesis of lignin, leaving plants floppy and weak. Direct a small, 6-inch oscillating fan on low speed toward your plants 24/7. The gentle breeze thickens the main trunk into a woody stalk and eliminates leaf stagnation.
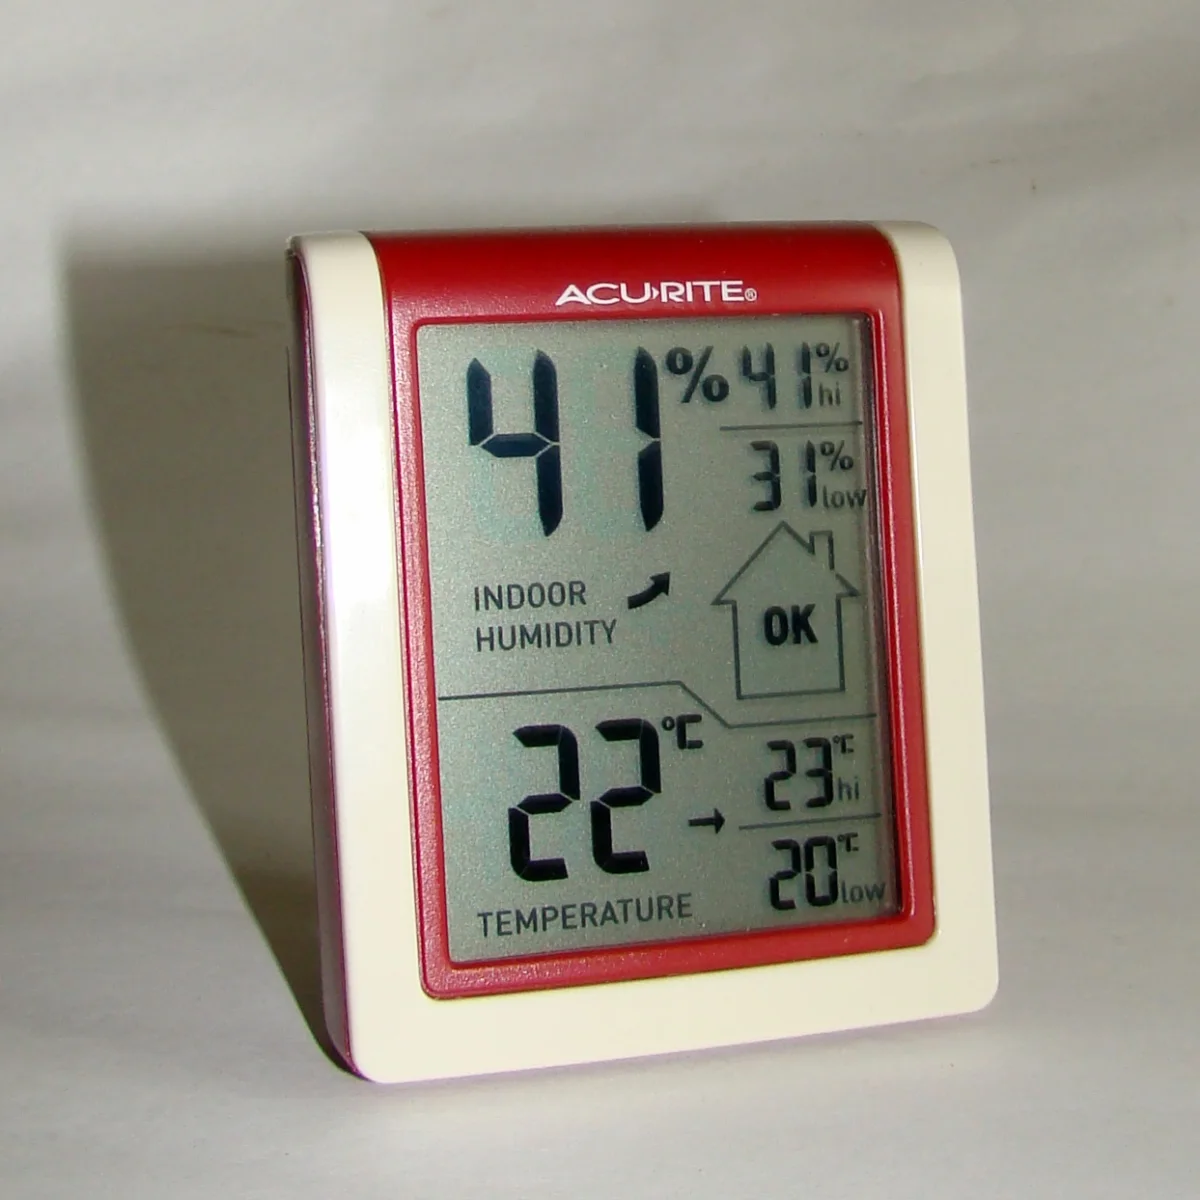
• Relative Humidity (VPD): Maintain relative humidity between 50% and 65% RH, verified using a digital thermo-hygrometer sensor. Extremely dry winter air from forced-air baseboard heating (under 30% RH) desiccates delicate flower stigmas, preventing pollen germination.
5. Formulating the Fast-Draining Indoor Soil Mix & Container Sizing
Indoor container culture demands an open, porous substrate that balances high water retention with rapid oxygen exchange. Never use heavy outdoor garden soil or cheap dense topsoil; both pack into oxygen-starved sludge in containers, breeding fungus gnats and root rot. Just as container selection is critical when growing potatoes in grow bags, indoor peppers require specialized potting aeration:
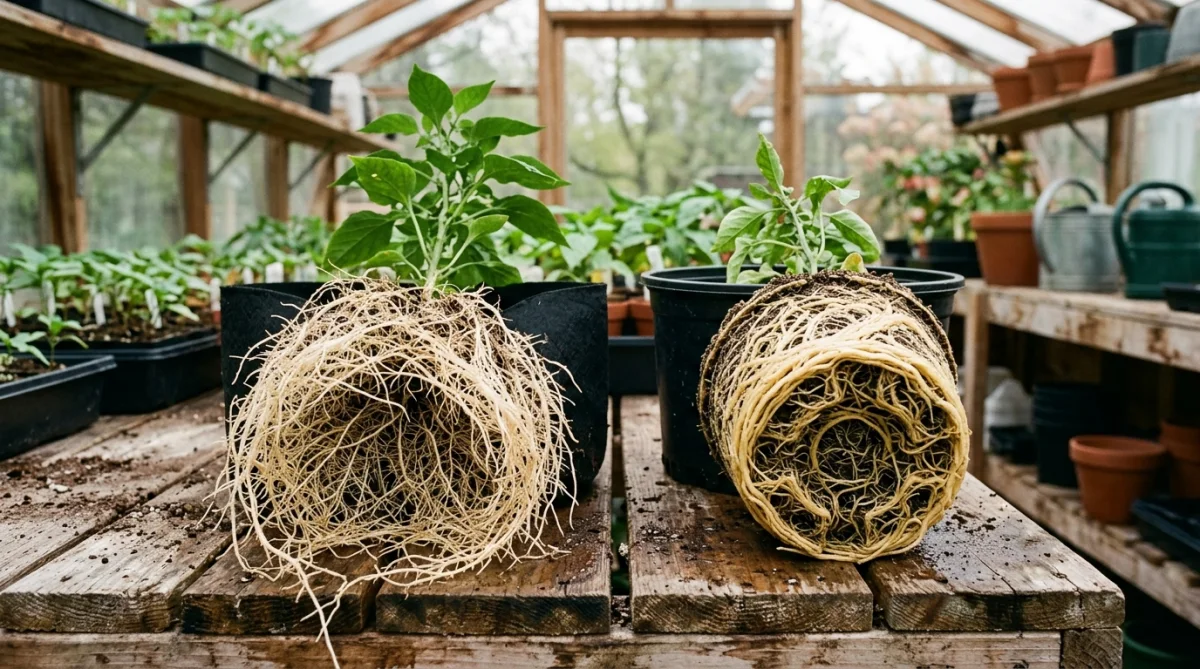
• Fabric Grow Bags vs. Plastic Pots: Breathable fabric grow bags (1.5 to 3 gallons) are superior for growing peppers indoors. Fabric walls naturally ‘air-prune’ roots when they reach the container edge, preventing root circling and building a dense, fibrous root ball. Always set fabric bags inside deep saucers elevated on plastic pot risers to prevent standing in drainage water.
6. Step-by-Step Germination & Seedling Establishment
Pepper seeds possess hard outer seed coats (testa) and demand warm soil to trigger gibberellic acid germination pathways. At 65°F (18°C), pepper seeds can take 21 to 30 days to sprout or rot in damp soil. At 82°F to 85°F (28°C to 29°C), germination occurs reliably in 6 to 10 days, as corroborated by seed trials at Penn State Extension Solanaceous Crops Program:
• Step 1: The Pre-Soak (Optional): Soak pepper seeds for 8 to 12 hours in lukewarm chamomile tea or a dilute seaweed extract solution. The mild tannins soften the tough seed coat and break seed dormancy.
• Step 2: Sow in Seed Starter Cells: Sow seeds 1/4 inch deep in sterile pre-moistened seed starter plugs (Rapid Rooter, peat pellets, or fine seedling mix amended with {VERMICULITE_LINK}). Cover lightly and press gently.
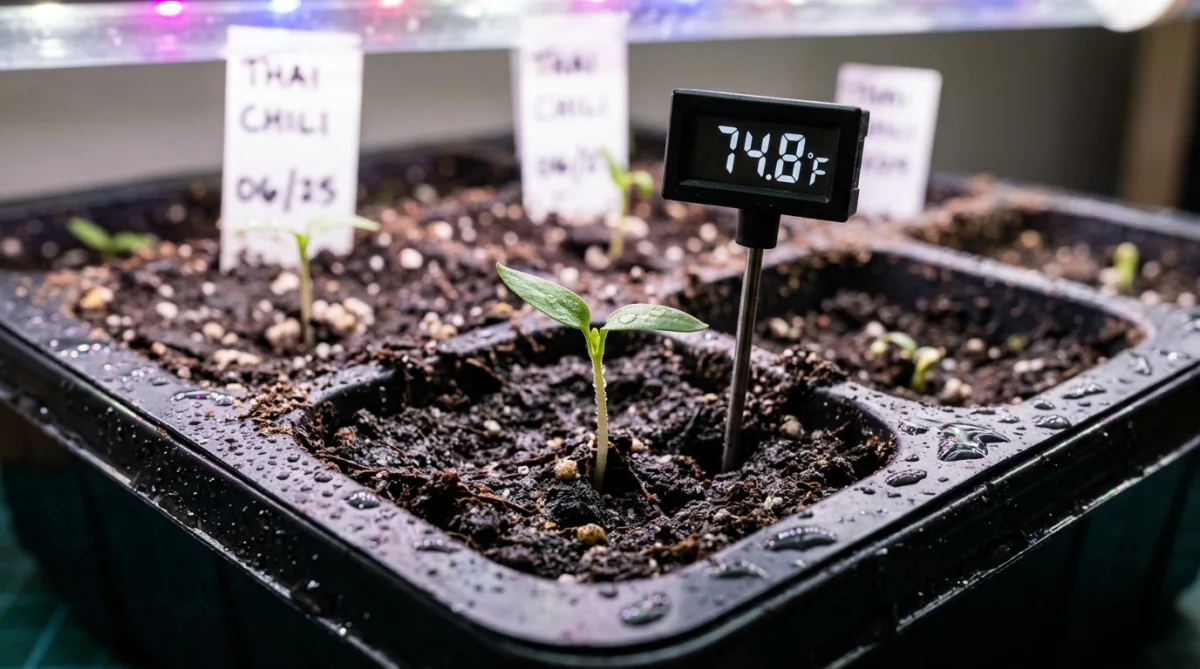
• Step 3: Deploy the Waterproof Seedling Heat Mat: Place the seed tray on a seedling heat mat with digital thermostat set to 82°F (28°C). Insert the probe into one of the central soil cells. Cover with a clear humidity dome.
• Step 4: Immediate Light upon Emergence: Inspect the tray twice daily. The second a green loop emerges from the soil, remove the humidity dome immediately and position your LED grow light 6 to 10 inches above the sprouts. Failing to remove the dome causes rapid ‘damping-off’ fungal collapse.
• Step 5: First True Leaves & Potting Up: When seedlings display two sets of true leaves (beyond the initial smooth cotyledons), transplant them into their final 1- to 2-gallon container. Bury the seedling slightly deeper—up to its cotyledons—to establish a stable root anchor.
7. Phased Indoor Nutrition: Nitrogen vs. Phosphorus & Cal-Mag Balance
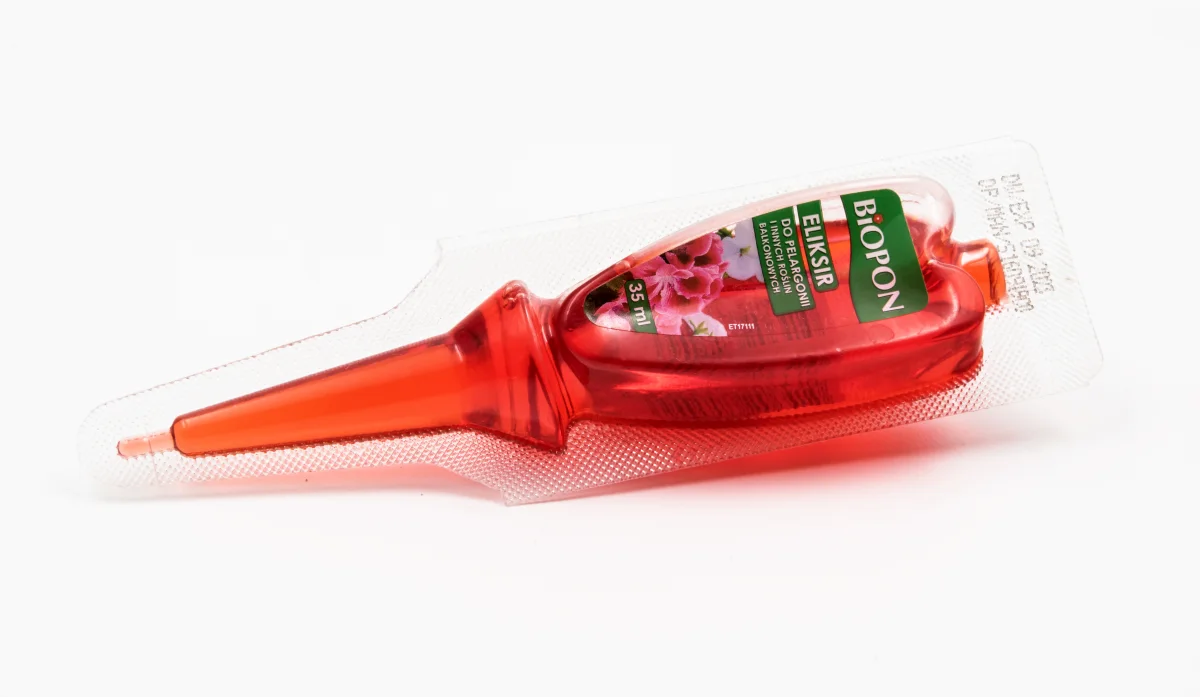
Indoor peppers cannot forage in garden soil for trace minerals; every milligram of nutrition must be delivered through your irrigation solution. Over-applying nitrogen during the flowering stage is the most common reason indoor plants look lush and green but never produce fruit when growing peppers indoors.
The Cal-Mag Imperative: Peppers have an exceptionally high demand for bioavailable calcium. Because calcium moves through plants via transpirational water pull (xylem transport), irregular watering or low indoor transpiration causes calcium deficiency at the cellular tips of developing peppers. This creates Blossom End Rot (sunken, black, leathery patches at the base of the fruit). Supplement 5ml of liquid Calcium-Magnesium (Cal-Mag) per gallon of water once every two weeks throughout the fruiting cycle.
8. The Art of Indoor Pollination: The Sonic Toothbrush & Blossom Drop Cure
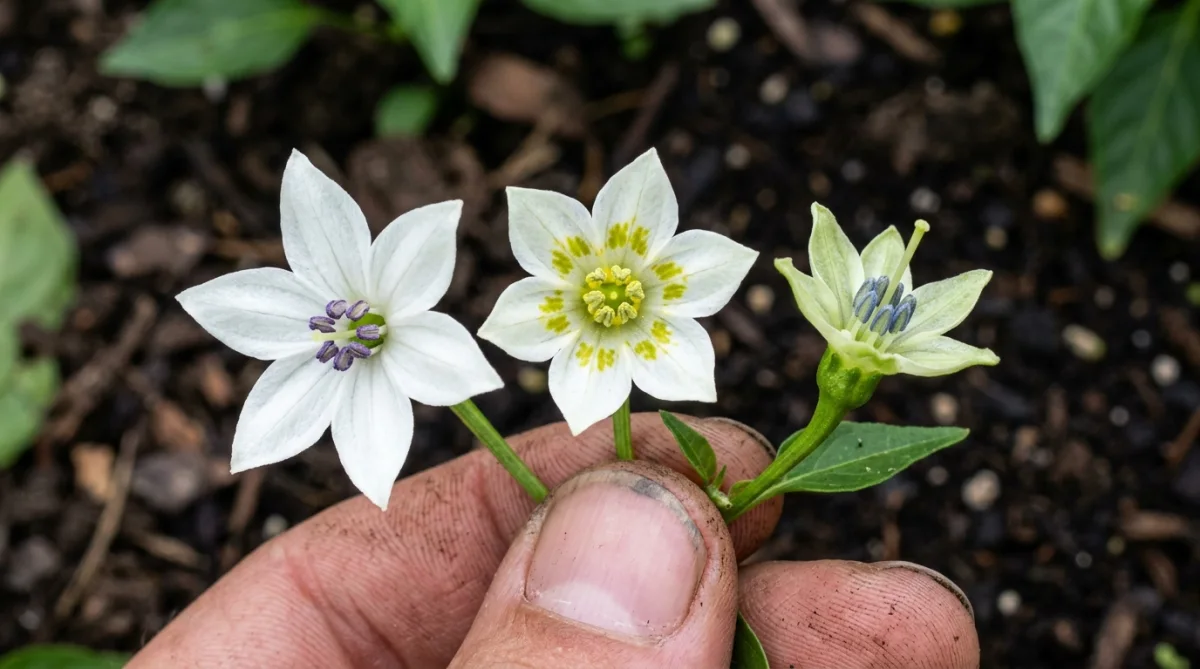
Blossom drop is the most demoralizing roadblock encountered when growing peppers indoors. A healthy plant produces dozens of star-shaped white blossoms, but within three days, the flower pedicel turns yellow and snaps off. Why? Because the flower was never pollinated.
Pepper flowers are hermaphroditic (‘perfect’ flowers containing both pollen-bearing male anthers and a central female pistil). In nature, outdoor winds and buzzing bumblebees vibrate the flower at specific acoustic frequencies (around 200–400 Hz), causing anther sacs to dehisce and shower golden pollen grains directly onto the sticky stigma, as detailed in pollination physiology papers from University of California Agriculture and Natural Resources (UC ANR). In a calm indoor living room, gravity alone is insufficient.
9. Troubleshooting Common Indoor Pepper Disorders (Edema vs. Pests, Leaf Curl)
Diagnosing indoor pepper plant disorders accurately prevents well-meaning gardeners from applying toxic or harmful treatments:
10. Frequently Asked Questions About Growing Peppers Indoors
How long does an indoor pepper plant live? +
Do I strictly need a grow light to grow peppers indoors? +
Why are my indoor pepper flowers dropping without setting fruit? +
What is the easiest pepper variety to grow indoors for beginners? +
Can you turn an indoor pepper plant into a bonsai (‘Bonchi’)? +
11. Master Annual Calendar & Checklist for Growing Peppers Indoors
Follow this chronological step-by-step roadmap to navigate your crops from seed germination through heavy, continuous indoor harvests:
Summary: Enjoying Fresh Peppers Year-Round
Mastering growing peppers indoors proves that fresh, fiery chilis and sweet miniature bells are not restricted to summer garden plots. By selecting genetically compact dwarf varieties, delivering 400 to 600 PPFD under high-efficiency full-spectrum LEDs, maintaining active oscillating airflow to prevent edema, and practicing daily acoustic pollination, you create an indoor culinary micro-orchard that produces crisp, vitamin-rich peppers 365 days a year.