Published: Spring 2026 | Field Tested Across Indoor Grow Tents, Windowsills, and Patio Containers
⚡ Quick Answer: How to Grow a Thai Pepper Plant Indoors
To master how to grow a thai pepper plant indoors successfully, start seeds on an 82°F–85°F seedling heat mat to ensure rapid germination within 8 to 12 days. Move seedlings into a 2-to-3-gallon fabric grow bag using an open potting mix blended with 30% perlite for optimal root aeration. Suspend a full-spectrum LED grow light supplying 400–600 µmol/m²/s PPFD for 14 to 16 hours daily to eliminate blossom drop. Water using a bottom-soaking saucer method once the top 2 inches dry out to starve fungus gnats, feed with low-nitrogen bloom nutrients upon bud emergence, and gently vibrate flower clusters daily between 9 AM and 1 PM for complete pollination.
Indoor windowsill pepper gardens often start with high hopes and end in leggy, pale green disappointment. Gardeners buy a nursery transplant or sow seeds in standard potting soil on a kitchen counter, only to watch the seedlings stretch toward weak winter light, drop their blossoms before setting fruit, or succumb to swarms of fungus gnats breeding in wet peat. When learning how to start a vegetable garden from seed, understanding biological microclimates is the first prerequisite for healthy harvests.
Thai chili plants behave fundamentally differently from standard bell peppers or oversized poblano vines. In their native Southeast Asian climates, these plants are woody, perennial shrubs that soak up intense solar radiation and pump out hundreds of small, upright, fiery pods across multiple seasons. For an all-in-one setup guide covering multi-tier LED racks, day-to-night temperature shifts, and high-yield pruning for all Capsicum cultivars, check our comprehensive master guide on growing peppers indoors. Understanding this tropical physiology is essential when exploring how to grow peppers indoors or container cultivation.
Because Thai peppers naturally maintain a compact footprint, they adapt remarkably well to container life and indoor grow spaces. Getting heavy harvests indoors does not require good luck; it requires matching their tropical biology: intense light levels, warm root zones, disciplined watering, and manual flower pollination. Whether you are growing on an apartment windowsill or inside a dedicated grow tent, this comprehensive agronomy guide reveals exactly how to grow a thai pepper plant for continuous, fiery yields year-round.
📊 Key Takeaways: The Realities of Indoor Thai Pepper Growing
- Heat mats are non-negotiable for germination: Thai pepper seeds have dense, hard seed coats. Sown at average indoor room temperatures (68°F–72°F), germination drags out past three weeks or ends in seed rot. Using a seedling heat mat with digital thermostat set to 80°F–85°F produces vigorous sprouts in 8 to 12 days.
- Winter windowsills drop flowers: A typical sunny window provides only 2 to 4 hours of usable direct light in winter. Thai peppers require a minimum Daily Light Integral (DLI) of 14–16 mol/m²/day to set fruit. Supplemental full-spectrum LED lighting is required for reliable indoor fruiting.
- Pots between 2 and 3 gallons hit the indoor sweet spot: A 2-to-3-gallon container restricts the root zone just enough to keep the plant manageable indoors (18–24 inches tall) while supporting several hundred peppers per season.
- Blossom drop indoors usually means zero pollination: Outdoor peppers rely on wind and native bees to dislodge pollen inside self-fertile blooms. Indoors, still air leaves flowers unpollinated, causing them to turn yellow and drop off. A daily five-second vibration routine solves this problem completely.
- Thai chilies are multi-year perennials: When outdoor temperatures drop in autumn, you do not need to discard your plant. Thai peppers can be pruned back into compact, woody ‘bonchi’ (bonsai chili) plants that produce fruit for three to five years indoors.
1. What Are Thai Chili Peppers? (Heat, Flavor & How to Grow a Thai Pepper Plant)
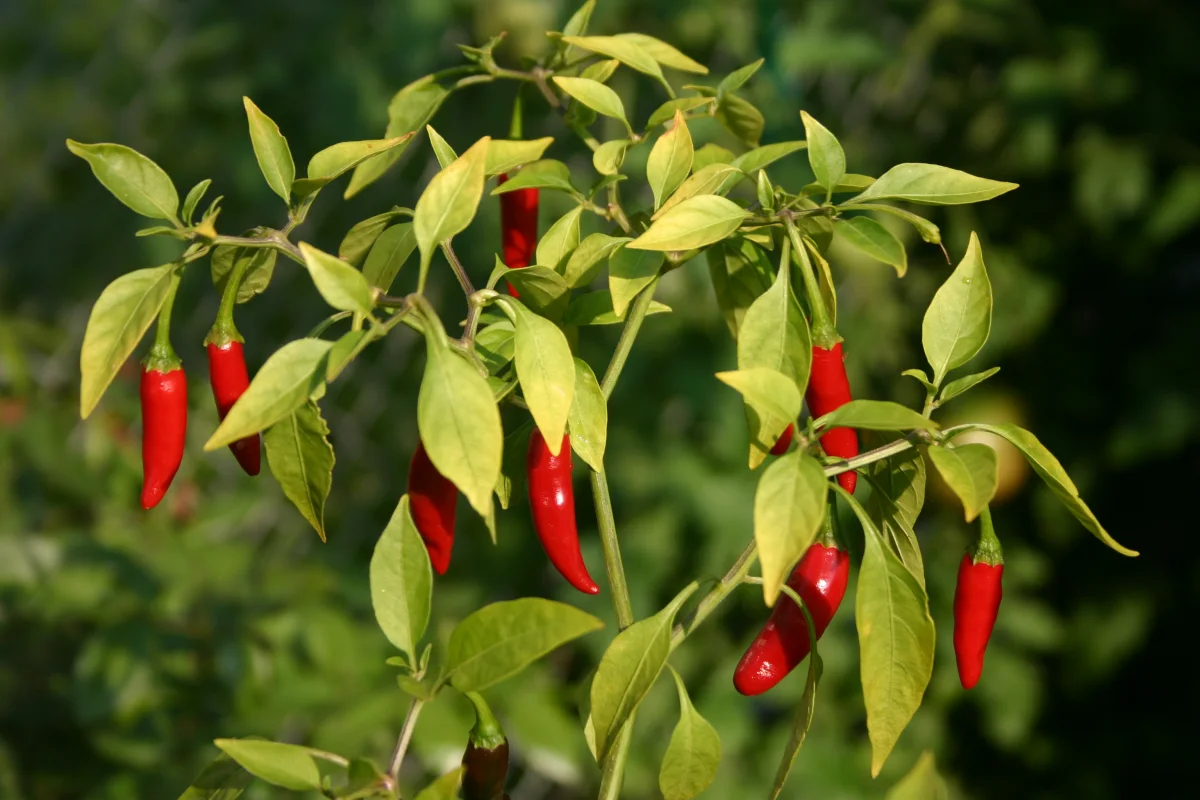
‘Thai chili’ does not refer to a single, uniform cultivar. It is an umbrella term covering several small, pungent cultivars primarily belonging to the species Capsicum annuum and Capsicum frutescens. Unlike common garden peppers whose pods hang downward beneath the canopy, traditional Thai pepper plants produce clusters of slender, conical fruits that point straight upward toward the sun like small flames.
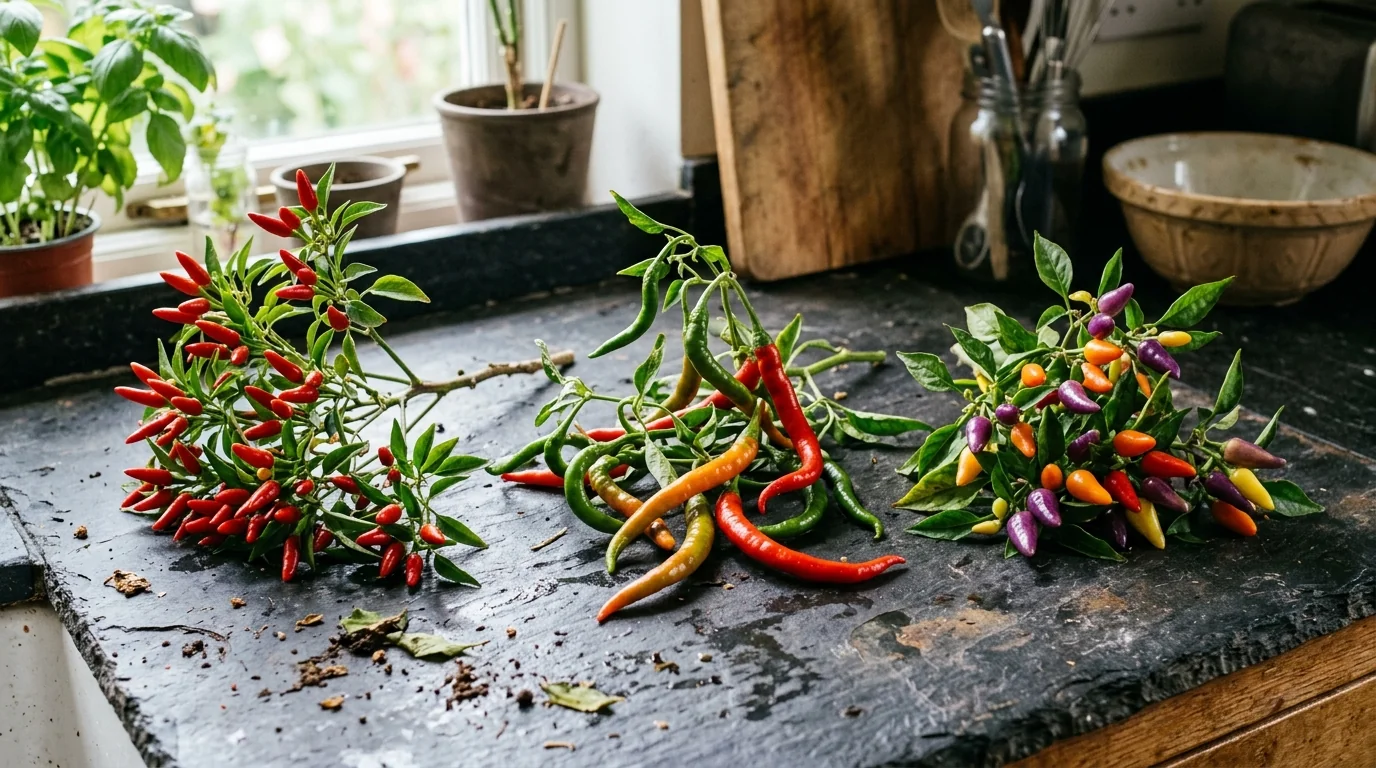
📐 Botanical Architecture: The Upward-Pointing Pod Habit
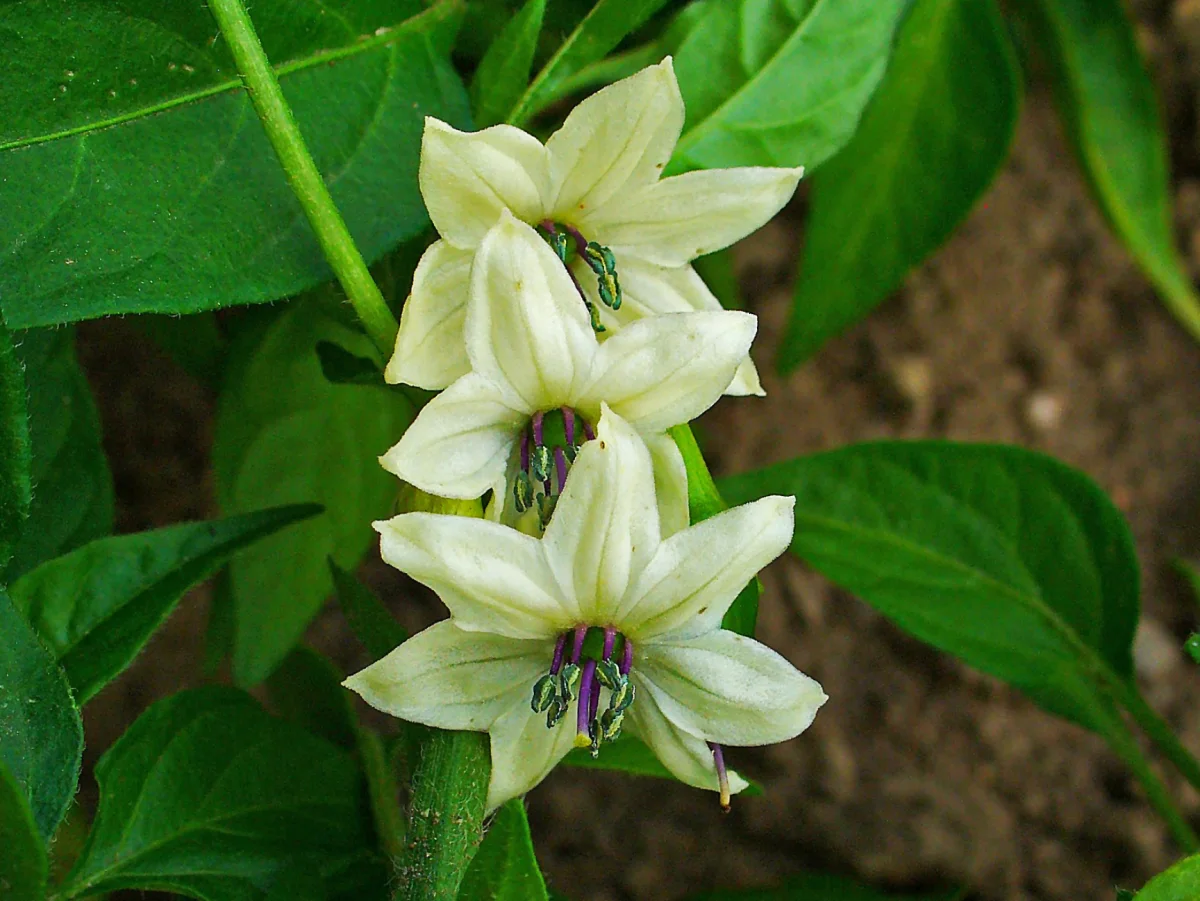
Unlike downward-hanging bell peppers or habaneros, traditional Thai pepper plants feature geotropic-inverted pedicels where fruit clusters point vertically toward the sun. This morphology exposes pods directly to maximum solar radiation and canopy airflow:
On the Scoville Heat Unit (SHU) scale, Thai peppers register between 50,000 and 100,000 SHU. That makes them roughly 10 to 20 times hotter than an average jalapeño (2,500–8,000 SHU) and comparable to a fiery cayenne or tabasco pepper. The heat hits fast and sharp on the tip of the tongue, accompanied by a clean, citrusy, grassy aroma that deepens into a sweet tang as the pods mature from deep emerald green to vibrant scarlet.
2. Choosing the Right Container: Sizing, Drainage & Material
Pot selection dictates plant size, watering frequency, and root respiration. Pepper roots require high oxygen levels around the root tips; placing them in oversized, poorly drained plastic pots often leads to anaerobic conditions and root rot. Just as container mechanics matter when learning how to grow specialty peppers, container volume directly shapes indoor Thai pepper architecture.
Windowsill & Bonchi
Dwarfs plant to 12″–14″. Dries rapidly; requires frequent hydration. Ideal for compact kitchen sills.
Recommended Indoor Size
Maintains a manageable 18″–24″ bushy canopy. Perfect moisture retention supporting 200+ peppers per harvest.
Patio & High-Yield Bush
Stretches 30″–36″ tall with heavy root expansion. Best suited for outdoor balconies or high-powered grow tents.
The 2-to-3-Gallon Indoor Sweet Spot: While commercial outdoor growers use 5-gallon nursery containers, a 2-to-3-gallon pot (10 to 12 inches in diameter) is ideal for indoor grow spaces. It restricts the root mass just enough to naturally dwarf the vegetative canopy to roughly 18 to 24 inches tall, prevents soil from remaining waterlogged for days under low air movement, and supports heavy yields of 150 to 300+ peppers per harvest cycle.
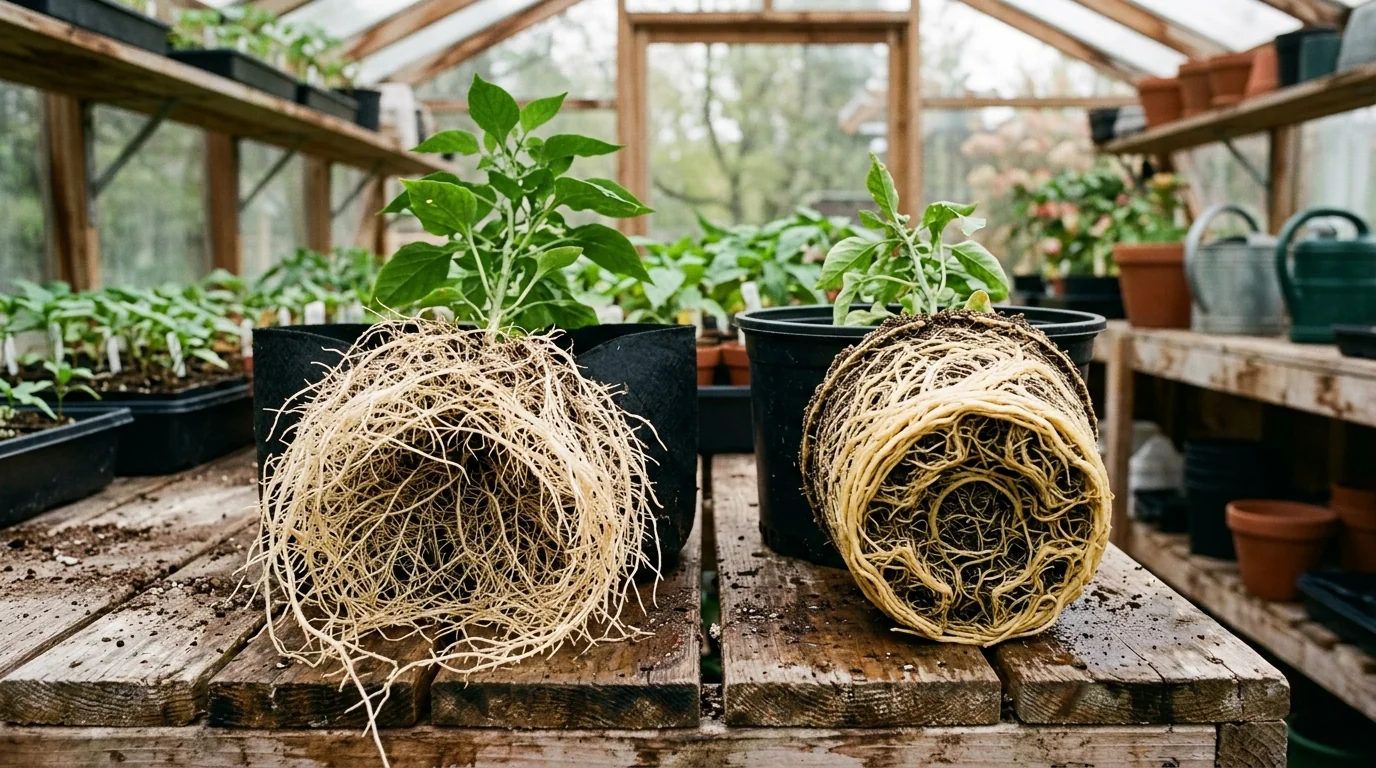
Fabric Grow Bags vs. Glazed Ceramic and Plastic: Porous fabric containers allow air to penetrate the substrate from all sides. When root tips reach the dry inner edge of the fabric, they undergo ‘air-pruning.’ Instead of circling the bottom and strangling the plant, the root stops elongating and initiates a dense network of fibrous feeder roots. In contrast, glazed ceramic and plastic retain moisture longer, making multiple bottom drainage holes strictly mandatory.
3. Germination Secrets: Heat Mats, Soil Chemistry & Seed Starting
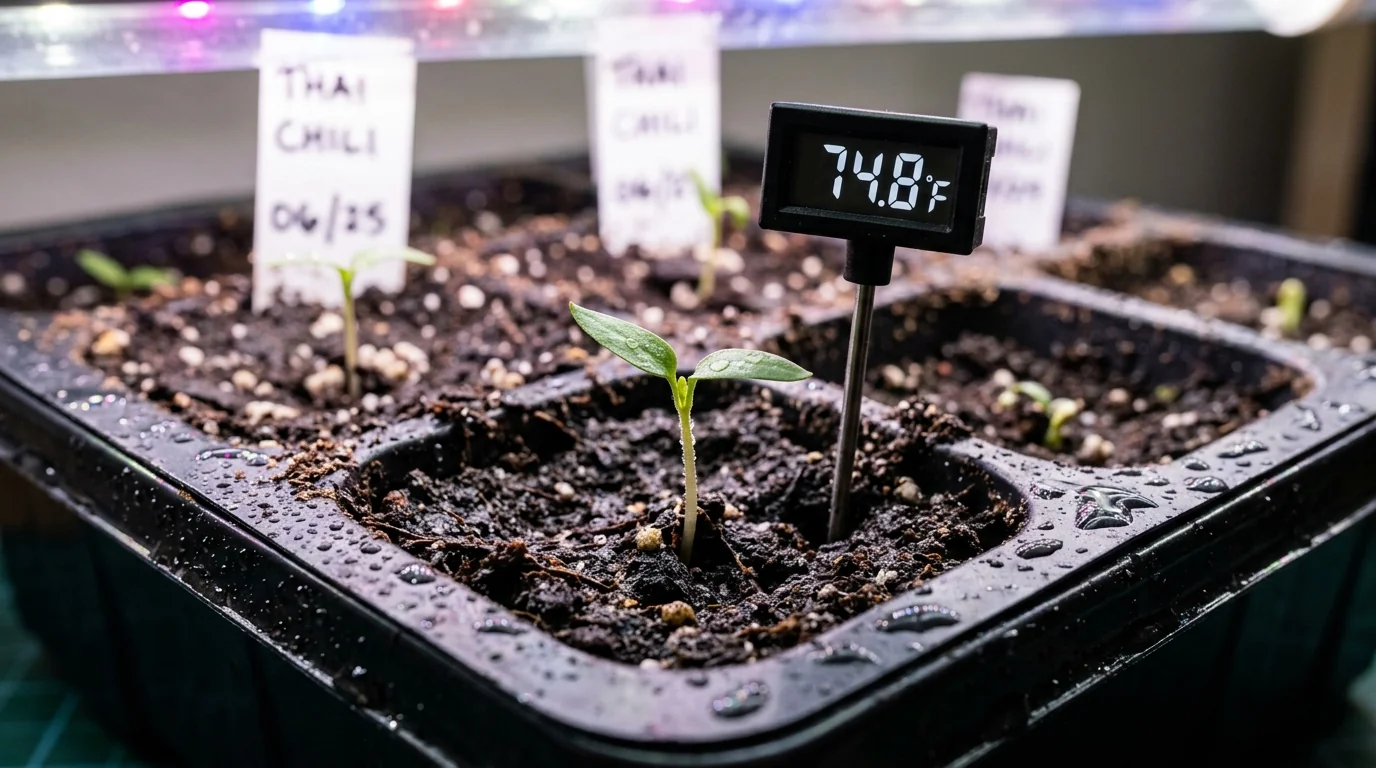
Starting Thai chili peppers from seed tests a grower’s patience. The seeds contain chemical germination inhibitors and thick seed coats adapted to pass intact through bird digestive tracts. Sowing trays in a cold basement or unheated room usually leads to poor emergence. Maintaining controlled warmth using a seedling heat mat with digital thermostat is the single most important factor determining success.
Step-by-Step Seed Starting Protocol:
- 1. Pre-Soak the Seeds: Soak dry seeds in a small dish of room-temperature chamomile tea or diluted kelp water for 8 to 12 hours. The mild tannins soften the fibrous outer seed coat and break down dormancy enzymes.
- 2. Use Fine, Sterile Seed-Starting Mix: Do not use garden soil or heavy potting soil. Use a fine-milled mix of 70% peat moss or washed coconut coir blocks and 30% coarse horticultural perlite. Moisten the substrate with warm water before filling your seedling cells.
- 3. Plant at 1/4-Inch Depth: Drop two seeds per cell, press them down gently to a depth of 1/4 inch, and lightly dust the surface with fine horticultural vermiculite. Vermiculite retains moisture while allowing light and air to reach the seed.
- 4. Use a Thermostat-Controlled Heat Mat: Insert the digital probe directly into one of the center soil cells. Dial the temperature to 82°F–85°F.
- 5. Maintain 90%+ Humidity Until Emergence: Cover the tray with a clear plastic humidity dome. The moment the first green arch of a seedling breaks the surface, immediately remove the dome and move the tray under direct grow lights. Leaving the dome on after germination invites damping-off disease.
4. Indoor Lighting Setup: PPFD, Photoperiod & Window Limitations
Peppers are sun-loving, photoperiod-insensitive tropical plants. Inadequate light is the primary reason indoor pepper plants fail to fruit. A plant grown in dim light develops broad, thin leaves, long internodes (leggy stems), and drops its flowers. Peer-reviewed research from the Utah State University Crop Physiology Laboratory demonstrates that fruiting nightshades require substantial Daily Light Integral (DLI) to support active flower set and capsaicin biosynthesis.
150 – 200 µmol/m²/s PPFD
Light height: 18″–24″ above canopy. Photoperiod: 16 hours daily. Prevents leggy seedling stretch.
300 – 400 µmol/m²/s PPFD
Light height: 14″–18″ above canopy. Photoperiod: 16 hours daily. Builds dense, stocky lateral nodes.
500 – 650 µmol/m²/s PPFD
Light height: 12″–14″ above canopy. Photoperiod: 14 hours daily. Fuels continuous heavy pod development.
Why Winter Windowsills Struggle: During the winter and spring months in temperate zones, an unobstructed south-facing window delivers roughly 30 to 75 µmol/m²/s of Photosynthetically Active Radiation (PAR) on overcast days, lasting only a few hours. Thai peppers require a minimum Photosynthetic Photon Flux Density (PPFD) of 400 to 600 µmol/m²/s across the canopy to support active fruit set. Without supplemental lighting, the plant can survive, but it will shed its flower buds.
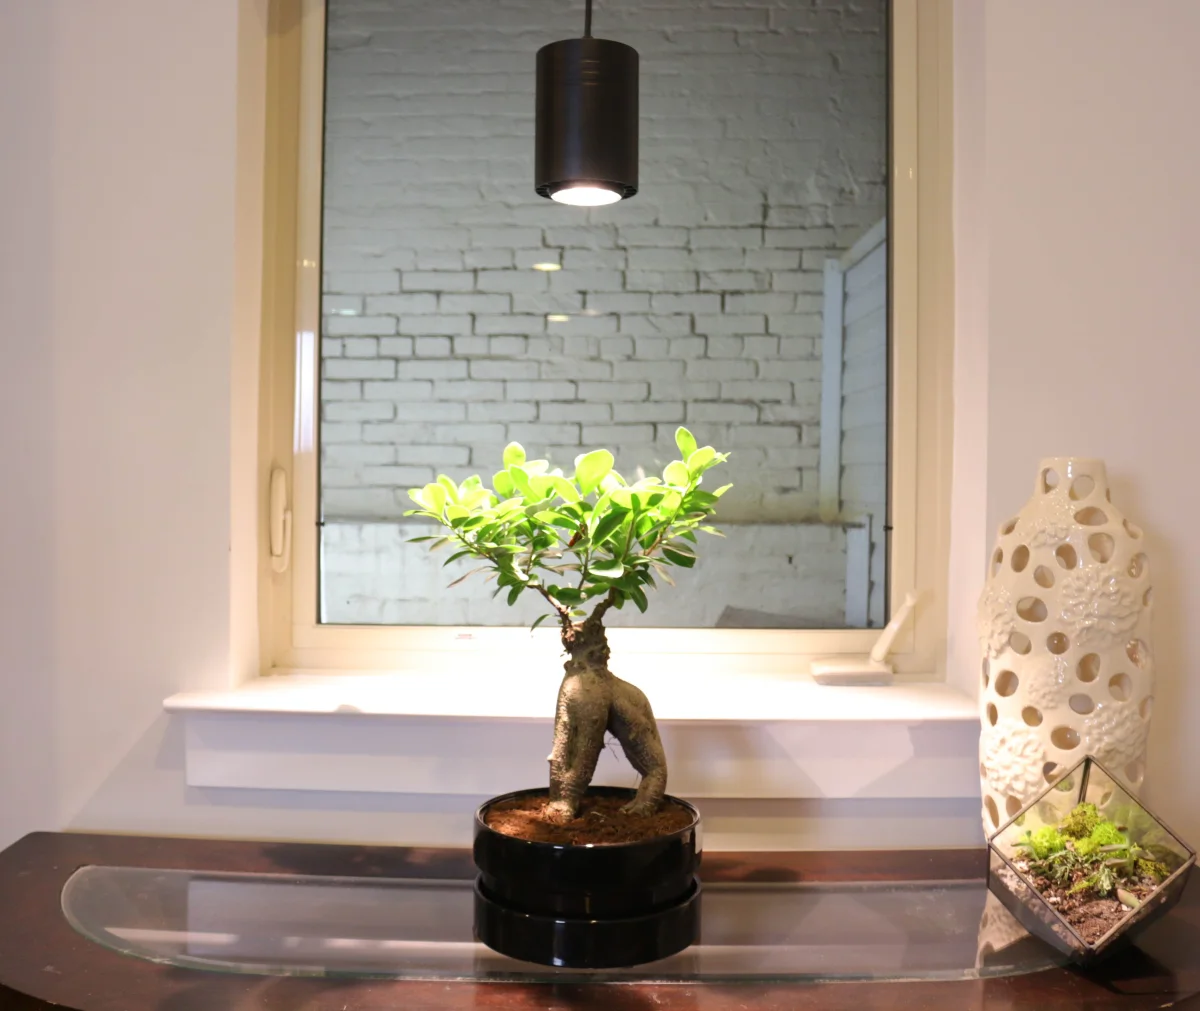
Choosing and Positioning LED Grow Lights: Use full-spectrum white LEDs (including 3000K, 5000K, and 660nm deep red diodes) that emit a balanced daylight spectrum. Positioning a quality full-spectrum LED grow light approximately 12 to 16 inches above the topmost leaves provides intense, uniform photon coverage. Set a digital timer for 14 to 16 hours of continuous light daily, followed by an 8-hour dark period so starches can translocate to the roots.
5. Soil Mix & Nutrition: The Veg-to-Bloom Fertilizer Transition
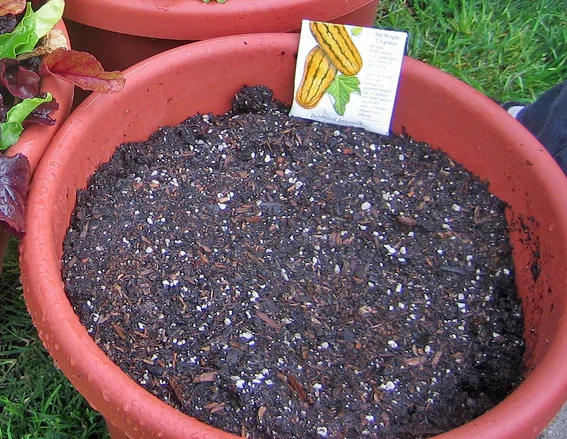
Because container root systems cannot forage for wild nutrients, you must provide an open, airy root substrate and targeted minerals. A tight, dense potting soil leads to soggy, anaerobic conditions. Blending in 30% coarse horticultural perlite creates the porous macro-pore channels pepper roots require for cellular respiration.
🌱 Sophia’s Tested Indoor Thai Pepper Soil Blend
To build a resilient container substrate with exceptional drainage and cation exchange capacity:
- 40% High-Grade Potting Soil or Peat Base: Structural foundation and organic matter.
- 30% coarse horticultural perlite (or Volcanic Pumice): Prevents compaction and guarantees 25%+ air porosity.
- 20% washed coconut coir blocks: Regulates moisture retention without hydrophobic shrinking.
- 10% Earthworm Castings: Living microbiology, humic acids, and slow-release micronutrients.
Phase 1: Vegetative Canopy Building: Feed every 10 to 14 days with an organic liquid fertilizer containing a balanced 5-5-5 or 4-3-2 NPK ratio. Ensure the mix contains trace micronutrients (iron, zinc, manganese). Test runoff pH periodically using a pH Up and Down control kit to maintain a steady root-zone pH between 6.0 and 6.8.
Phase 2: The Bloom & Fruiting Shift: The most common feeding mistake is continuing to apply high-nitrogen feeds after flower buds form. Excess nitrogen forces lush, vegetative foliage at the expense of floral development. As soon as the first tiny white flower buds appear in leaf axils, transition to a bloom fertilizer with high phosphorus and potassium (such as a 2-8-4 formula). Supplement monthly with Coco Cal calcium-magnesium supplement to prevent calcium lockup and blossom end collapse.
6. Watering Protocols: How to Prevent Root Rot and Fungus Gnats
Overwatering kills far more indoor pepper plants than underwatering. Pepper roots require alternating wet and dry cycles. Keeping the container continuously soaked displaces oxygen from soil pores, inviting root pathogens (Pythium) and providing a breeding ground for fungus gnats. Applying proven soil physics and hydration principles keeps root tips breathing.
The Lift Test and Knuckle Test: Forget rigid calendar watering schedules. Use the knuckle test: push your index finger two inches down into the potting mix near the edge of the pot. If you feel cool moisture, do not water. Also learn the physical weight of your container when it is bone dry versus fully saturated.
Bottom-Watering to Starve Fungus Gnats: Fungus gnats lay eggs in the top 1/2 inch of moist potting mix, where the larvae feed on decaying organic matter and root hairs. To prevent infestations (a common issue discussed in our guide on eradicating indoor fungus gnats), bottom-water your plants: fill a shallow saucer with 1 to 2 inches of water, let the pot absorb water through capillary action for 20 to 30 minutes, then discard any standing runoff water. The bottom root zone receives thorough hydration while the top inch of soil remains dry.
7. Indoor Flower Pollination: Stopping Blossom Drop
It is frustrating when an indoor Thai pepper plant produces dozens of white star-shaped flowers, only to have the stems turn yellow and drop off a few days later. In an outdoor garden, afternoon breezes and visiting bumblebees vibrate the flowers. Indoors, still air leaves the pollen trapped inside the anthers.
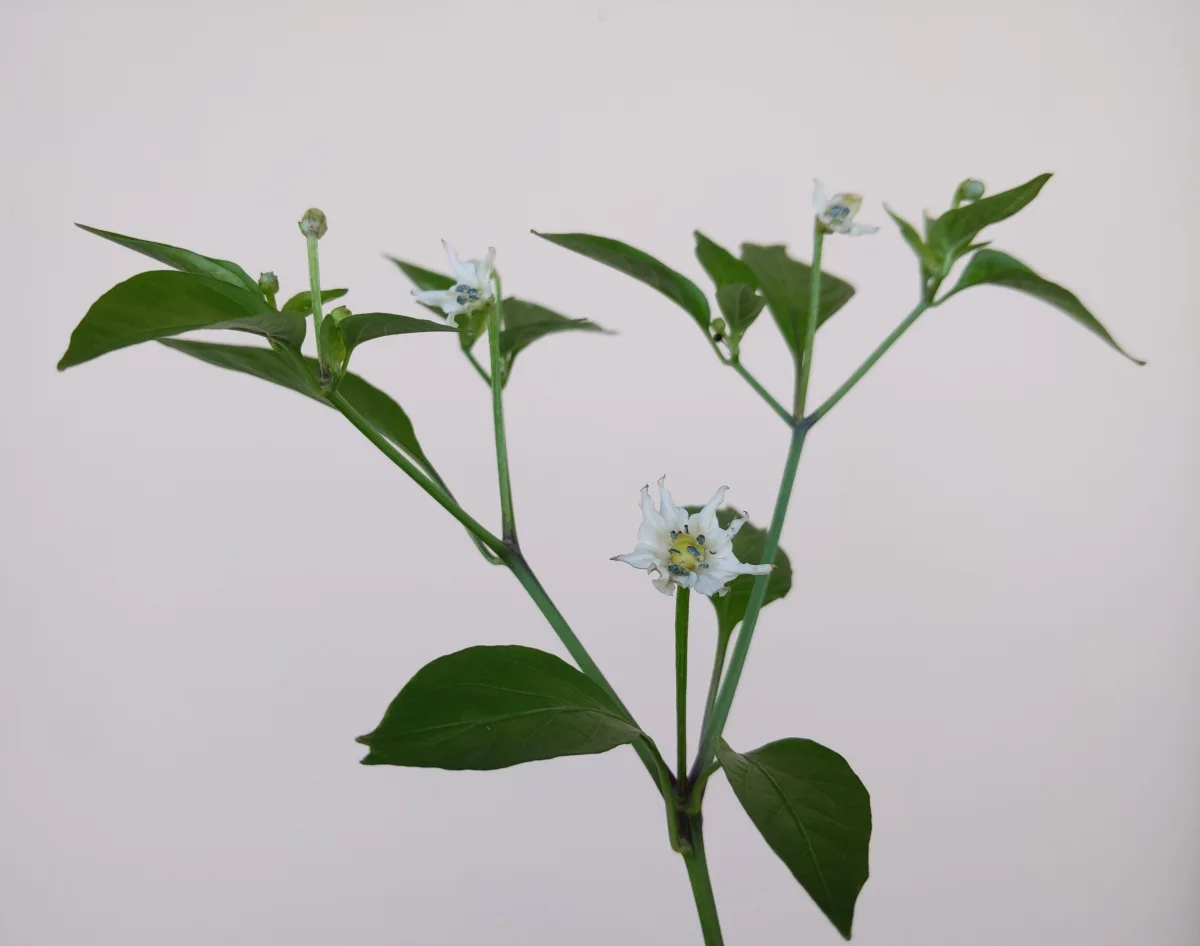
🌸 Anatomy of a Self-Fertile Pepper Bloom
Pepper flowers are hermaphroditic (perfect flowers containing both male anthers and female stigmas). For fertilization to occur, mature pollen grains must dislodge and settle onto the receptive center stigma:
Three Indoor Pollination Techniques (Perform Between 9 AM and 1 PM): Pollen releases most reliably during mid-morning when relative humidity hovers between 50% and 65%:
- The Stem Flick / Canopy Shake: Lightly tap the main stem or trellis lines with your finger for five seconds. A visible cloud of fine white pollen dust should drift through the light.
- The Electric Toothbrush Technique: Turn on an electric toothbrush and touch the back of the vibrating brush head against the stem supporting a flower cluster for two seconds. The high-frequency vibration mimics the natural buzz pollination of a bumblebee.
- The Soft Paintbrush Swirl: Take a dry #2 watercolor brush or cotton swab and roll the soft bristles inside open flowers, moving from blossom to blossom.
8. Pruning, Topping & Overwintering as a Perennial (‘Bonchi’)
Left to grow naturally from seed, a Thai chili plant produces a single tall central trunk with modest lateral branching. In indoor spaces with limited ceiling height, this growth habit is inefficient. Pruning and training shape the plant into a dense, productive canopy.
✂️ How and Where to “Top” a Young Pepper Seedling
Topping breaks apical dominance, sending auxin hormones into lateral dormant nodes to produce a stocky multi-branched bush:
Topping Seedlings for Maximum Pod Density: When your seedling reaches roughly 6 inches in height and has developed 4 to 6 sets of true leaves, pinch or snip off the central growing tip directly above the fourth leaf node. Removing apical dominance redirects growth hormones (auxins) down into dormant leaf axils, producing 4 to 6 strong lateral branches.
The Overwintering Blueprint: Turning Outdoor Plants into Indoor ‘Bonchi’: (1) Harvest all remaining pods; (2) Cut back the main branches to a compact Y-frame roughly 6 to 8 inches above the soil line, stripping all leaves; (3) Shave off the outer 1 to 2 inches of roots around the perimeter and bottom; (4) Repot into a clean 1-gallon pot with fresh pasteurized mix; (5) Water sparingly every two to three weeks under modest light. Fresh green shoots will sprout within a month, giving you a head start for next season.
9. Diagnostic Troubleshooting: Yellow Leaves, Curling & Pests
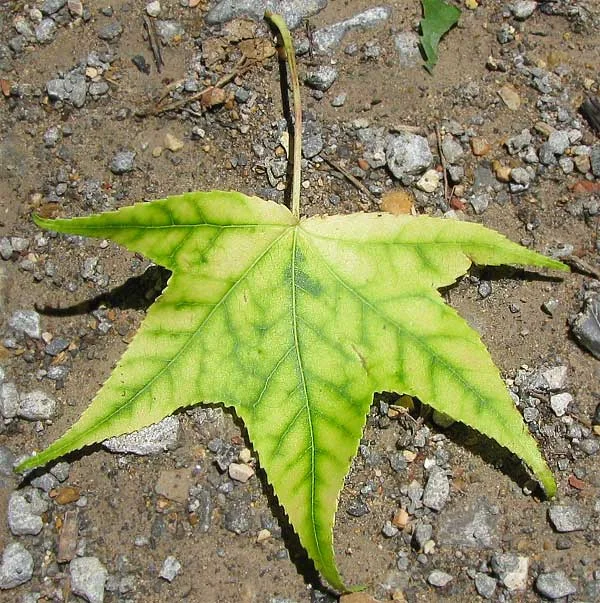
Quickly identify and address indoor pest and nutrient issues before they compromise your harvest. Compare your symptoms with this laboratory-tested diagnostic matrix:
Frequently Asked Questions
The Year-Round Indoor Thai Pepper Calendar
Germination & Emergence
- Maintain 82°F–85°F bottom heat on seedling heat mat with digital thermostat.
- Remove humidity dome immediately upon first sprout.
- Run full-spectrum LED grow light at 16 hours daily.
Vegetative Development
- Pot up into 3-inch containers when second leaf set emerges.
- Top the seedling above 4th leaf node at 6 inches tall.
- Begin light feeding with organic 5-5-5 liquid nutrients.
Final Potting & Bud Shift
- Move into final 2-to-3-gallon fabric grow bag with perlite mix.
- Shift to high-phosphorus bloom formula (2-8-4).
- Target canopy PPFD of 450–600 µmol/m²/s.
Pollination & Continuous Yield
- Vibrate flower clusters daily between 9 AM and 1 PM.
- Bottom-water when top 2 inches dry out completely.
- Harvest pods regularly with clean shears to spur new flushes.
📚 Explore More Indoor Gardening Guides
Deepen your indoor cultivation skills with our hands-on agronomy guides:
- Specialty Hot Peppers: Read our complete Habanada heatless habanero guide for growing habanero flavor without heat.
- Indoor Fruiting Crops: Master the secrets of growing vegetables indoors across compact spaces.
- Soil Pests & Cleanliness: Learn the proven methods for eradicating indoor fungus gnats safely indoors.
- Hydroponic Alternatives: Explore active setups in our indoor hydroponics for beginners guide.
- Outdoor Companion Guides: Check out our tested tips for planting tomatoes for summer garden success.