Published: Summer 2026 | Botanical Maturity Indices, Wrapper Anatomy, Hardneck vs. Softneck Signals, and Curing Verification | Comprehensive 2026 Edition
⚡ Quick Answer: When to Harvest Garlic
The exact time for when to harvest garlic is determined by the 50/50 Leaf Ratio Rule, not a calendar date. Harvest when the bottom 3 to 4 leaves have turned brown and papery, but the top 5 to 6 leaves remain vibrant green. In allium botany, each green leaf corresponds directly to one protective underground wrapper layer; harvesting while upper leaves are green guarantees 4 to 5 intact parchment skins. For hardneck varieties, harvest occurs almost exactly 21 to 28 days after removing curled scapes. For softneck varieties, harvest when 50% of the pseudostems have lodged (fallen over). Always stop watering 14 days before harvest, loosen soil 6 inches away with a digging fork, and cure in shaded, breezy air for 2 to 3 weeks.
Knowing when to harvest garlic represents one of the most critical turning points in allium horticulture. After tucking cloves into chilly autumn soil and waiting through nine long months of winter dormancy, spring vegetative feeding, and summer bulbing, your entire crop’s culinary flavor and storage longevity hinges upon a narrow two-week decision window. Dig too early, and the cloves are small, sticky, and underdeveloped, wrapped in thick wet necks that rot during curing. Wait too late, and the subterranean parchment wrappers split open in the soil, leaving naked cloves vulnerable to fungal decay and rapid desiccation. Similar to how our master guide on growing garlic in containers outlines exact root depth requirements, timing your harvest requires strict botanical precision.
Generic gardening advice often tells growers to “harvest when the foliage turns yellow or brown.” Following this vague guideline frequently leads to ruined harvests. Onions can be left in the dirt until their entire top canopy dries and collapses; garlic cannot. In allium botany, foliage leaves do not merely generate photosynthetic energy—their leaf sheaths extend downward through the neck to form the protective subterranean parchment tunics that seal the bulb for multi-month pantry storage, as detailed in our guide on how to store potatoes long term.
This master diagnostic guide breaks down the precise botanical leaf ratio, hardneck scape countdown, non-destructive shoulder check, and post-harvest curing protocols required to pull competition-grade garlic with parchment-tight wrappers that keep for eight to nine months without sprouting or rot.
📊 Key Takeaways: Garlic Harvest Diagnostic Rules
- The Leaf-to-Wrapper Biological Law: Each green leaf connects directly to one subterranean protective wrapper layer. Harvesting when 3 to 4 lower leaves are dead but 5 to 6 top leaves remain green guarantees 4 to 5 intact, air-sealed storage wrappers.
- The 30-Day Scape Stopwatch (Hardneck Garlic): Hardneck varieties provide an internal countdown. Harvest occurs almost exactly 3 to 4 weeks after flower scapes form their first 360-degree loop and are removed.
- Softneck garlic signals by lodging: Softnecks do not produce scapes; instead, the pseudostem softens at ground level and topples over. Harvest when 50% of the crop has collapsed, before leaves dry out completely.
- Never pull by the stalk: Tugging on garlic stems breaks the airtight seal between the neck and the bulb, introducing fungal spores into the moist clove core. Always loosen soil with a spading fork 6 inches away.
- Enforce the 14-day pre-harvest dry down: Stop irrigation completely two weeks before harvest. Saturated soil at pulling time leads to stained, muddy wrappers, neck rot, and extended curing failure.
1. Garlic Harvest Timing: Why the 2-Week Window Dictates Storage Life
Mastering when to harvest garlic is fundamentally about managing an anatomical trade-off between bulb diameter and protective wrapper integrity. During the final three weeks of growth, garlic cloves expand exponentially, drawing stored sugars and starch reserves from lower leaves. Understanding the physical consequences of harvesting too early versus too late allows you to make informed decisions in the garden.
Notice what happens if you wait for the whole plant to die back: you gain a negligible 5% in bulb weight, but sacrifice 100% of your protective wrapper layers. Once subterranean wrappers rot away in moist summer dirt, soil fungi and microscopic mites colonize the bare clove surfaces, ruining the crop for long-term storage.
2. The 3 Non-Negotiable Signs That Garlic Is Ready to Pick
Never rely on a calendar date alone. Microclimates, spring rainfall, and summer heatwaves shift harvest timing by up to three weeks from year to year. Instead, cross-reference these three physical diagnostic indicators before digging your crop:
The 50/50 Leaf Ratio Rule
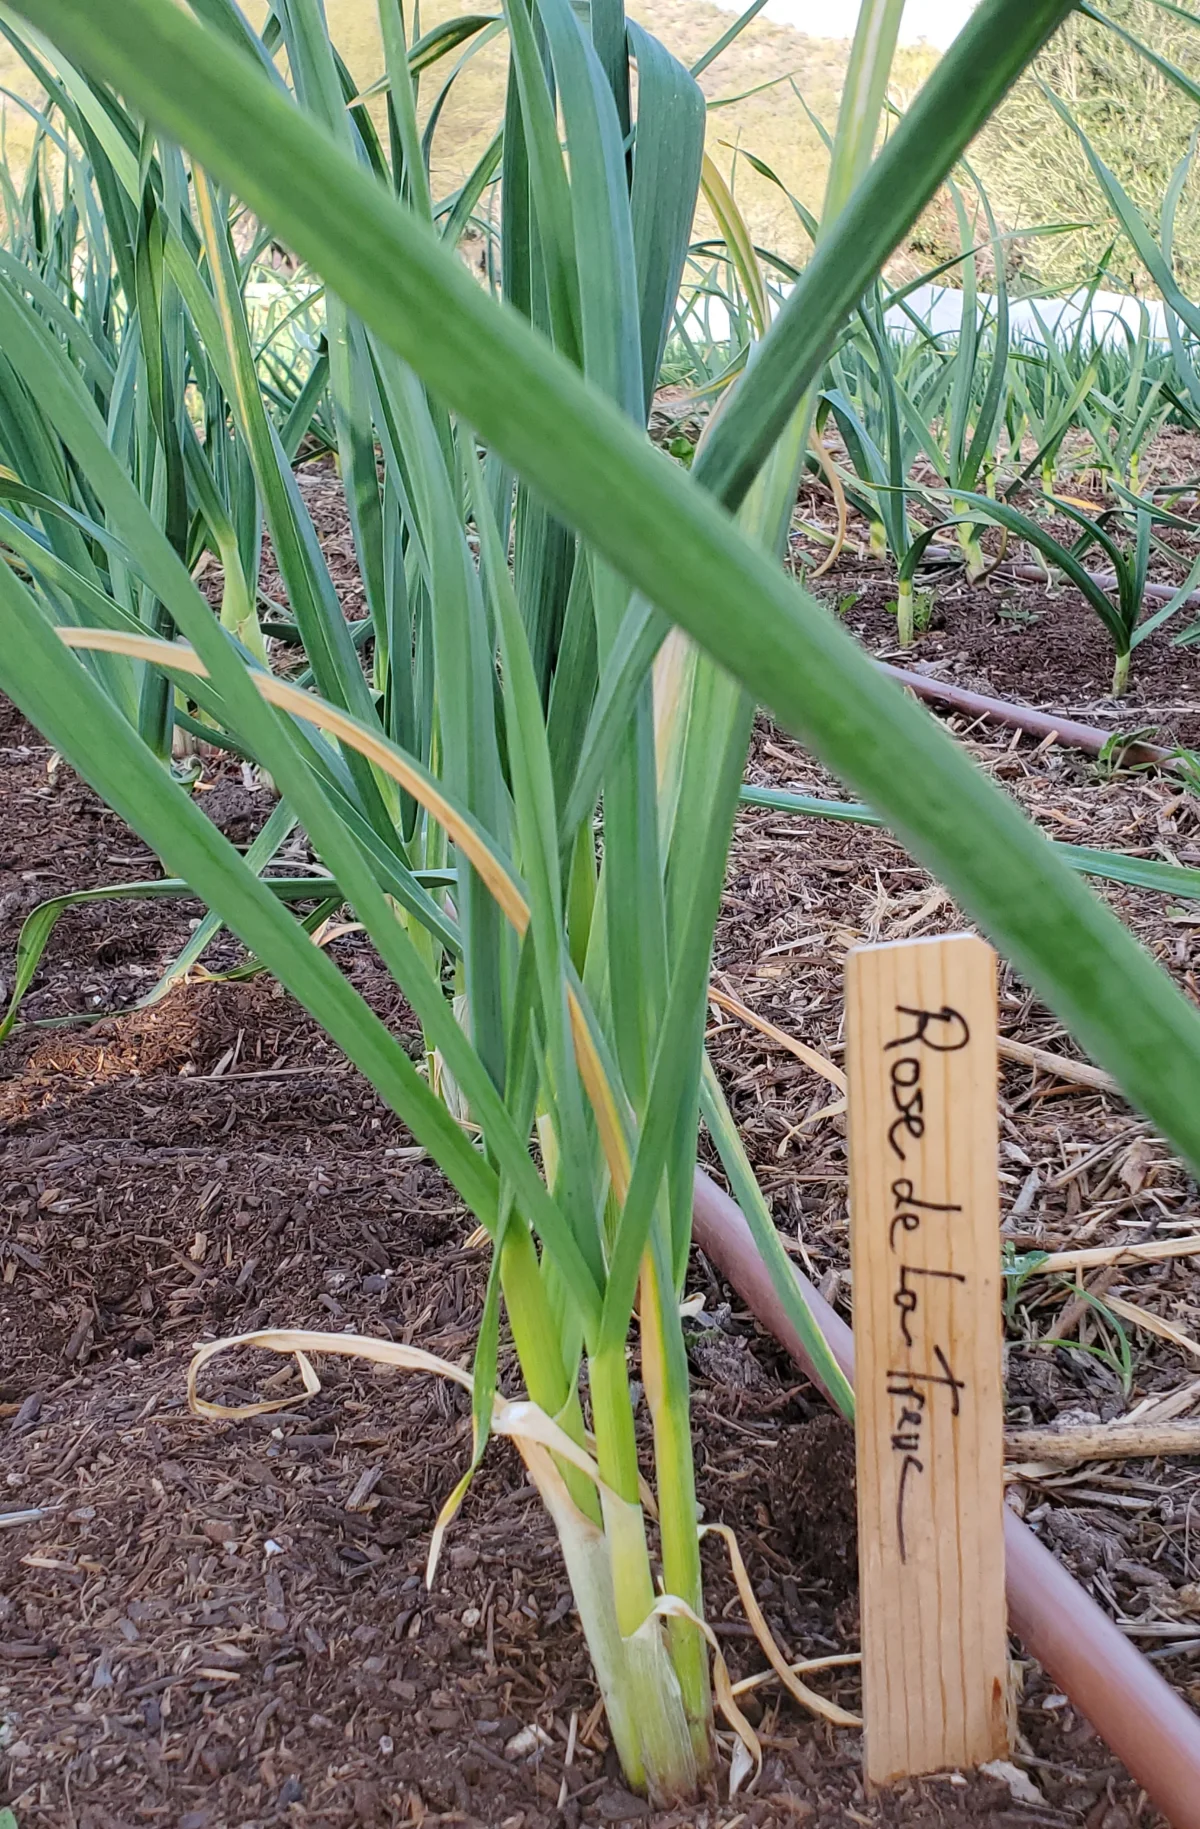
Count the leaves on a representative garlic plant, working from the soil surface upward. When the bottom 3 to 4 leaves have turned completely brown, dry, and papery, but the top 4 to 6 leaves remain vibrant green, your garlic is at peak biological maturity.
The ‘Shoulder Check’
Gently brush away 2 inches of soil from the stem base to expose the top shoulders of the bulb. If the bulb feels narrow and conical like a leek, give it another week. If the shoulders are rounded, convex, and display distinct clove ridges, harvest immediately.
The 30-Day Scape Stopwatch
For hardneck cultivars, removing the flower scape serves as an internal biological stopwatch. From the afternoon you snip the scape at its first 360-degree loop, set a calendar reminder for 21 to 28 days. Peak harvest arrives precisely during this fourth week post-scape removal.
3. The Anatomy of a Garlic Wrapper: Why Every Leaf Equals One Storage Layer
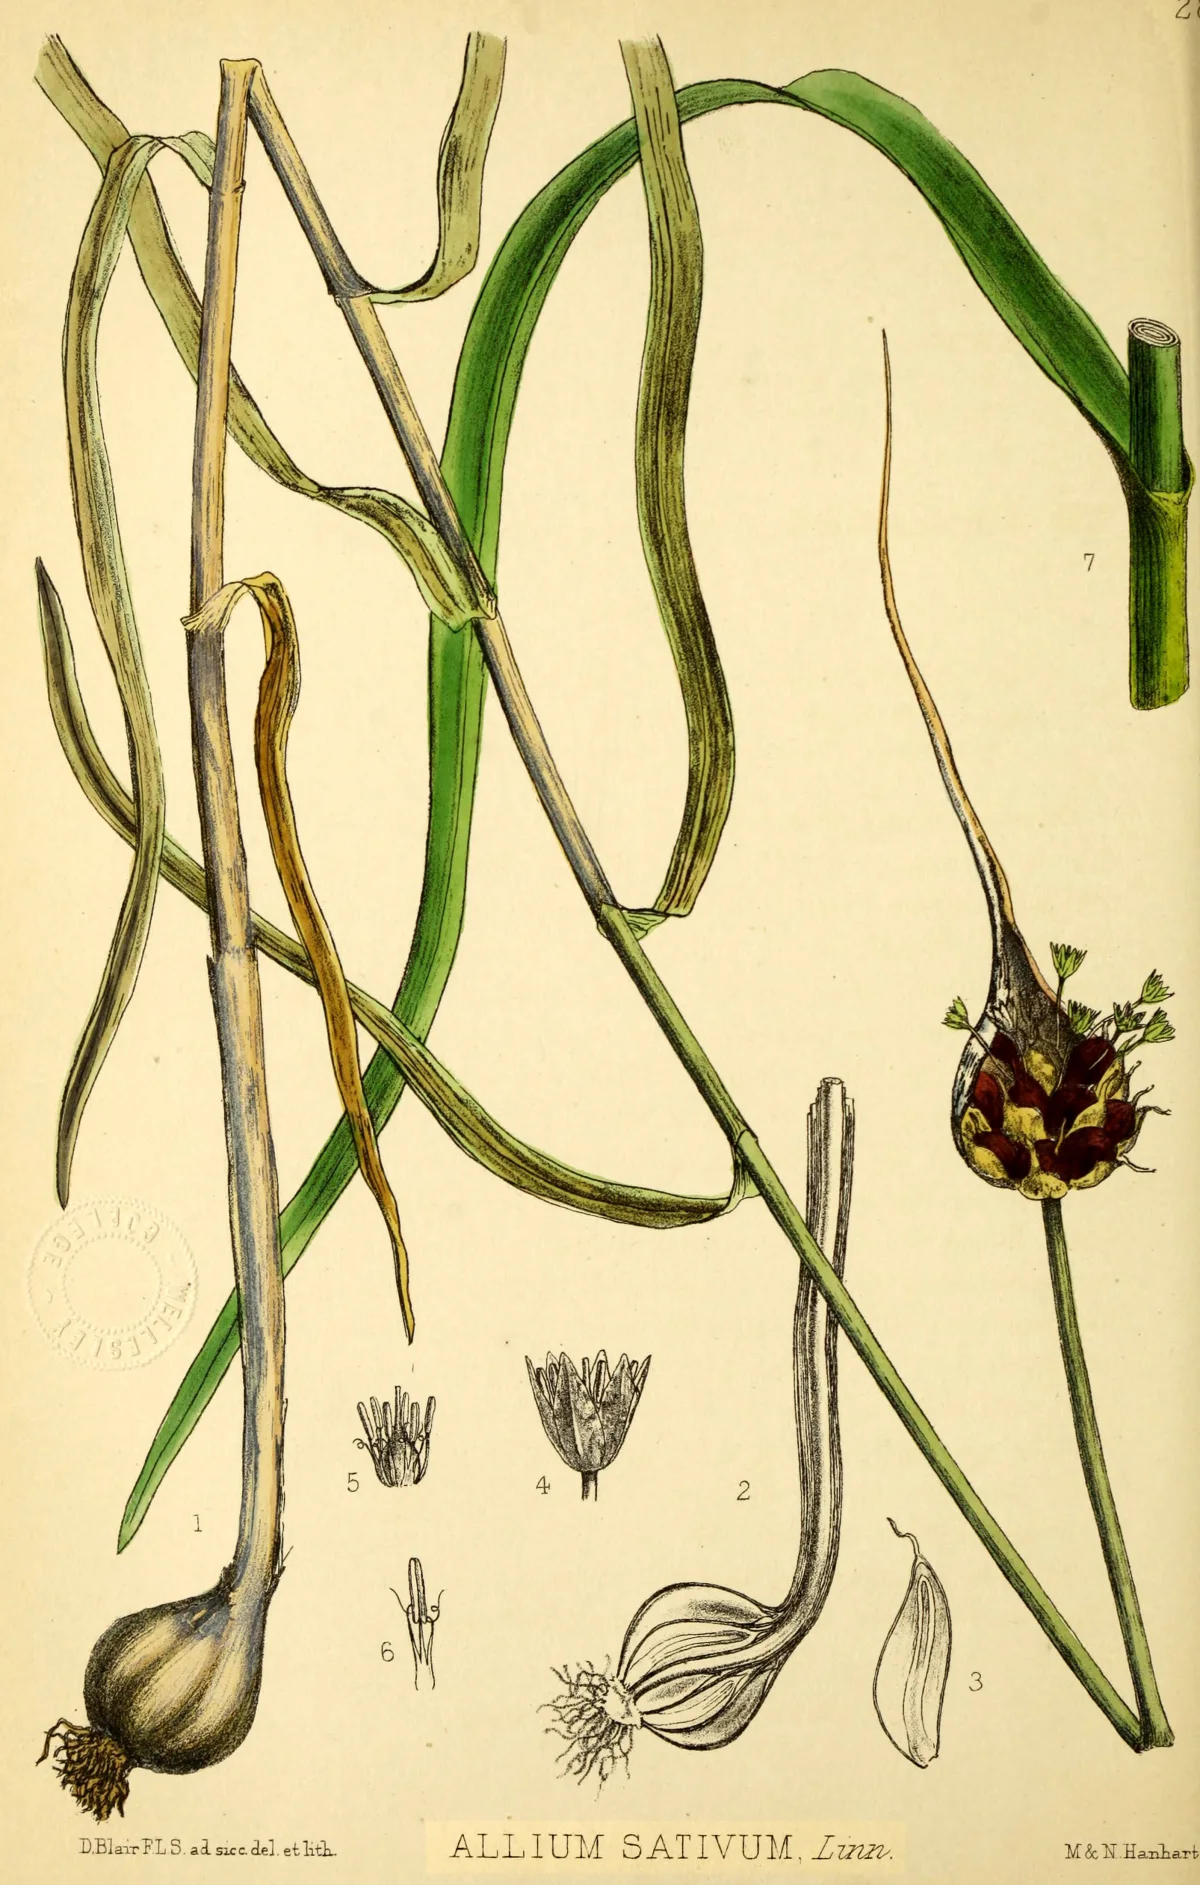
To understand why garlic cannot be left in the soil until all foliage dies back, one must examine allium morphology. Unlike true root crops like carrots or beets, garlic is a specialized underground storage stem surrounded by fleshy modified leaves, as demonstrated by allium anatomical research from Penn State Extension Allium Research.
🔬 The Leaf-to-Wrapper Morphological Connection
Observe how each functional green leaf corresponds directly to a subterranean protective tunic wrapper:
Each green leaf on your garlic plant corresponds directly to a subterranean tunic wrapper enclosing the developing bulb. As leaves turn brown and desiccate in summer heat, the subterranean portion of that leaf paperizes and eventually decays in the damp ground. If you wait until all leaves are brown, all wrappers have dissolved, leaving exposed cloves resting in raw soil. Furthermore, when cleaning garlic after harvest, gardeners typically peel off one or two dirty outer wrapper layers to expose clean parchment. If you harvested with only 3 green leaves, peeling two dirty wrappers leaves your bulb protected by a solitary paper-thin tunic—dramatically increasing dehydration rates in your winter pantry.
4. Hardneck vs. Softneck: Distinct Harvest Indicators
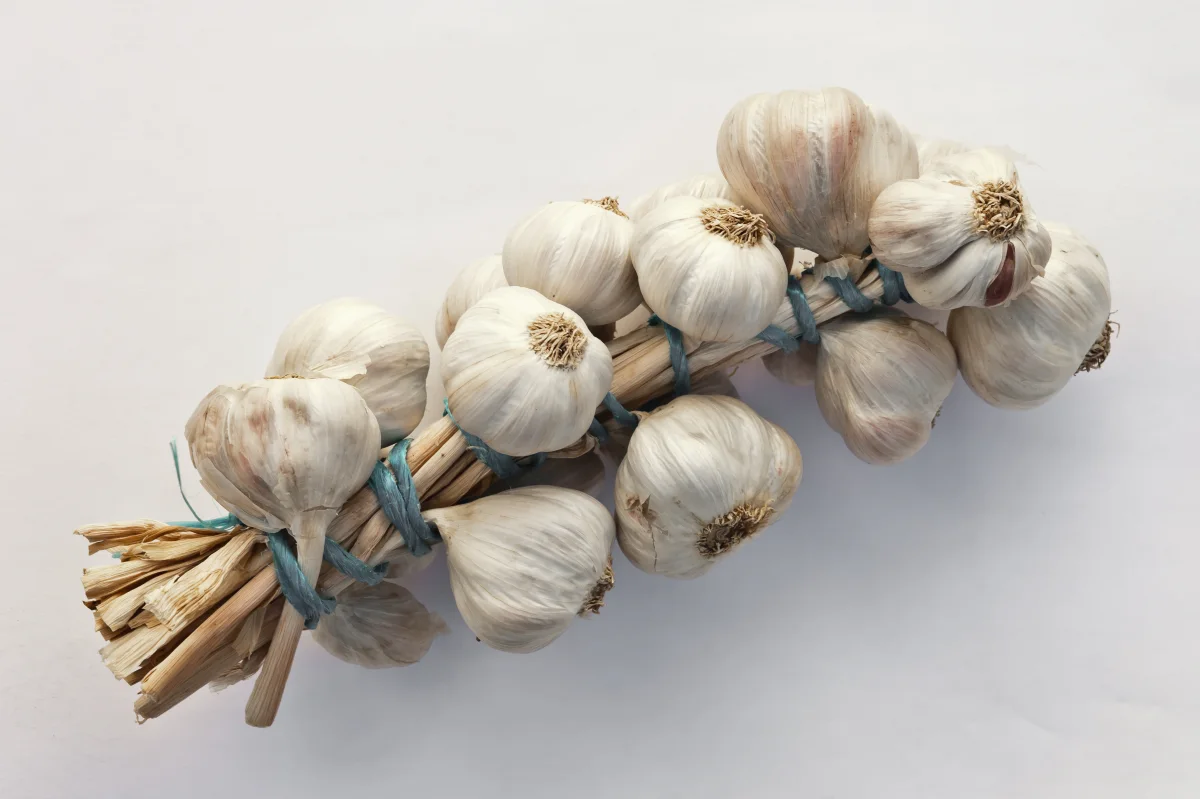
Hardneck and softneck garlic exhibit fundamentally different visual behaviors as they reach maturity. Evaluating softneck garlic using hardneck criteria (or vice versa) frequently results in misjudged harvest timing according to agronomy trials from Cornell University Cooperative Extension.
Key visual distinctions include:
- Hardneck Cultivars (Porcelain, Purple Stripe, Rocambole): Hardneck garlic features a rigid, woody central stem that remains rigidly upright throughout its entire lifecycle. It will never flop over naturally. The primary harvest clock is the 30-day countdown following scape removal, combined with counting lower leaf dieback. When the central stem is stiff, lower 4 leaves are straw-brown, and top 5 leaves are green, harvest immediately.
- Softneck Cultivars (Artichoke, Silverskin): Softneck garlic lacks a stiff flowering stem. As bulbs reach maturity, the pseudostem near the soil surface softens, loses turgor pressure, and bends over horizontally—a process agronomists call ‘lodging.’ Do not wait for 100% of your softneck bed to collapse, as the first plants to fall will over-mature while you wait for stubborn stragglers. The golden benchmark for softneck garlic is 50% lodging: when half the stems have fallen flat across the bed, harvest the entire crop.
5. Garlic Harvest Timing by USDA Hardiness Zone
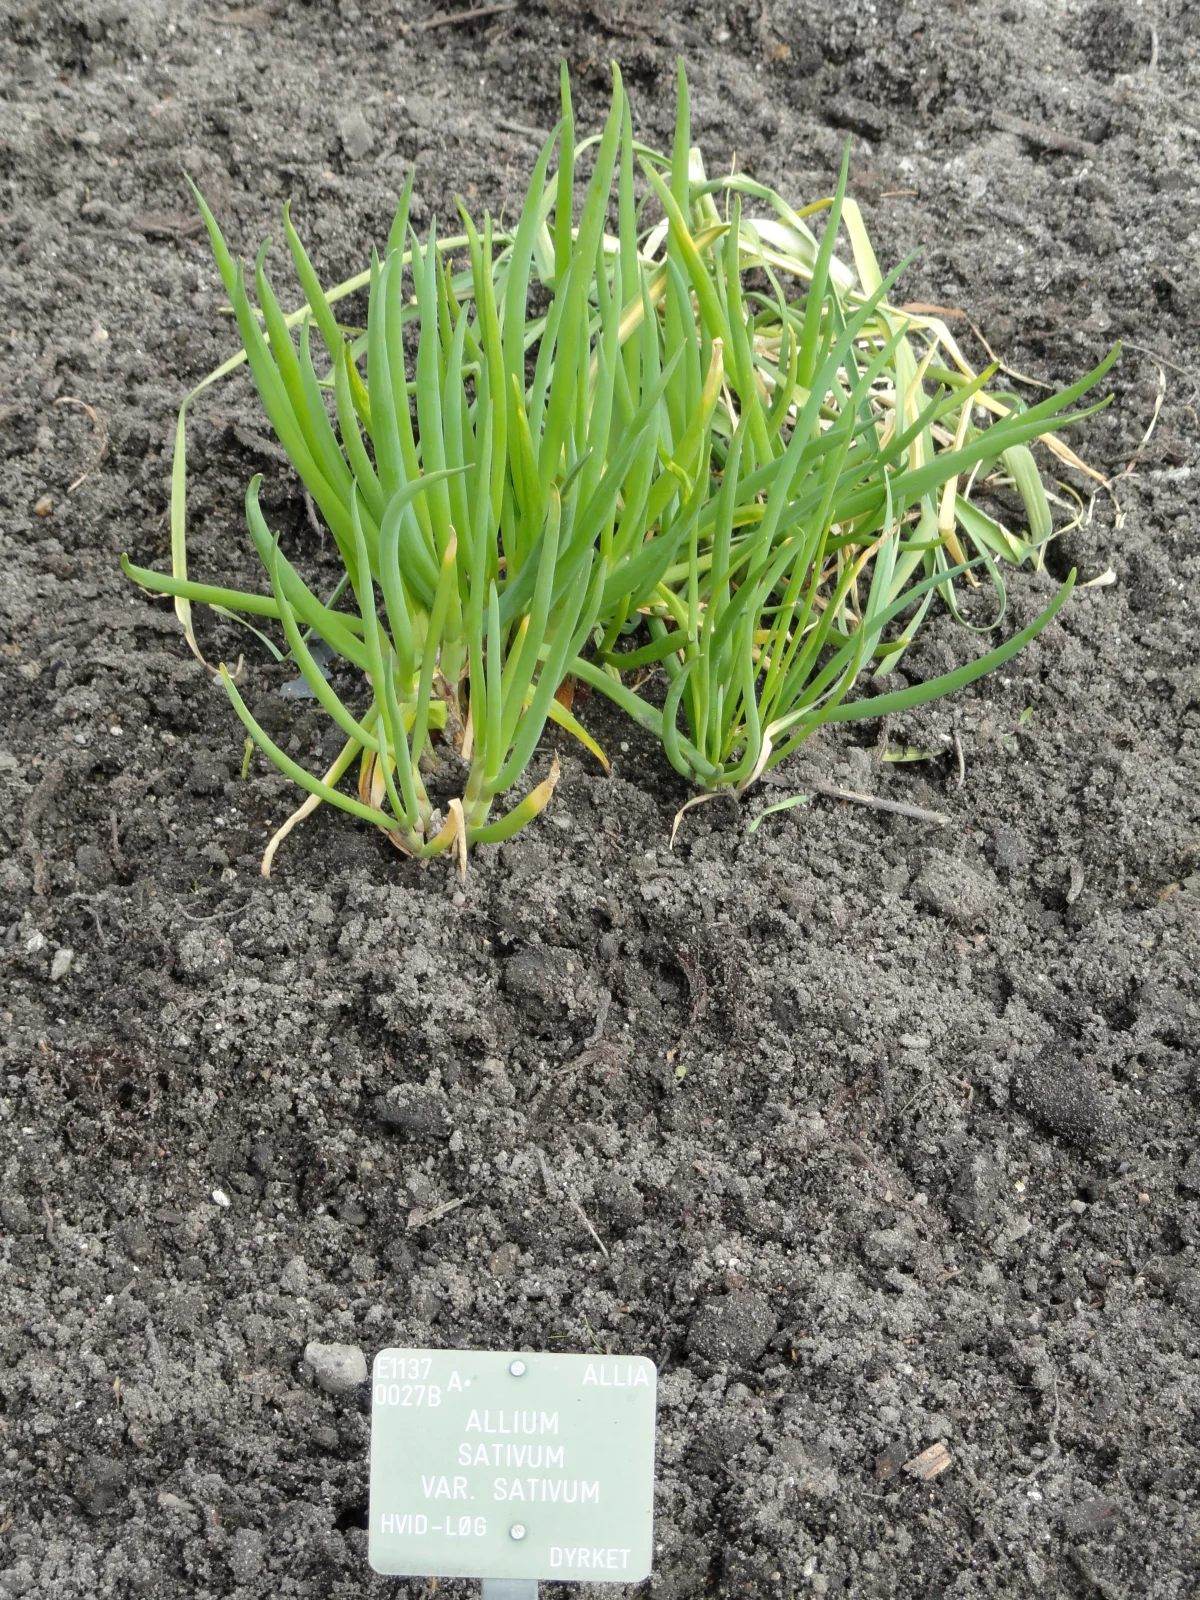
While botanical leaf signals remain your definitive harvest trigger, regional calendar benchmarks help you schedule pre-harvest irrigation cutoffs and prepare indoor curing infrastructure:
6. The Pre-Harvest Dry-Down: The 14-Day Water Cutoff
One of the most catastrophic mistakes in allium culture is irrigating garlic right up until harvest day. While garlic requires consistent soil moisture through spring vegetative growth and early bulbing—principles we explore in our guide on soil moisture physics and transpiration principles—maintaining wet soil in the final fortnight ruins harvest quality.
When the lowest two leaves begin yellowing (approximately 10 to 14 days before your anticipated harvest date), shut off all supplemental irrigation completely. This dry-down period triggers three vital physiological benefits:
- Wrapper Desiccation & Toughness: As moisture recedes, outer leaf sheaths tighten around the cloves and transition into tough, parchment-like protective paper rather than remaining soft, sponge-like, and vulnerable to fungal spores.
- Soil Release: Bone-dry soil crumbles cleanly away from the roots and wrapper skins during extraction. Harvesting from soggy soil leaves mud caked across wrappers, trapping moisture and promoting Aspergillus black mold and Botrytis neck rot during curing.
- Weather Emergency Protocol: If an unexpected multi-day summer rainstorm threatens your garden right during the harvest window, do not leave mature garlic in saturated ground. Pull the crop immediately, even if it is 3 days earlier than planned. Excess moisture in warm July soil causes rapid secondary root growth and splits mature wrappers within 48 hours.
7. How to Harvest Garlic Without Damaging the Bulbs
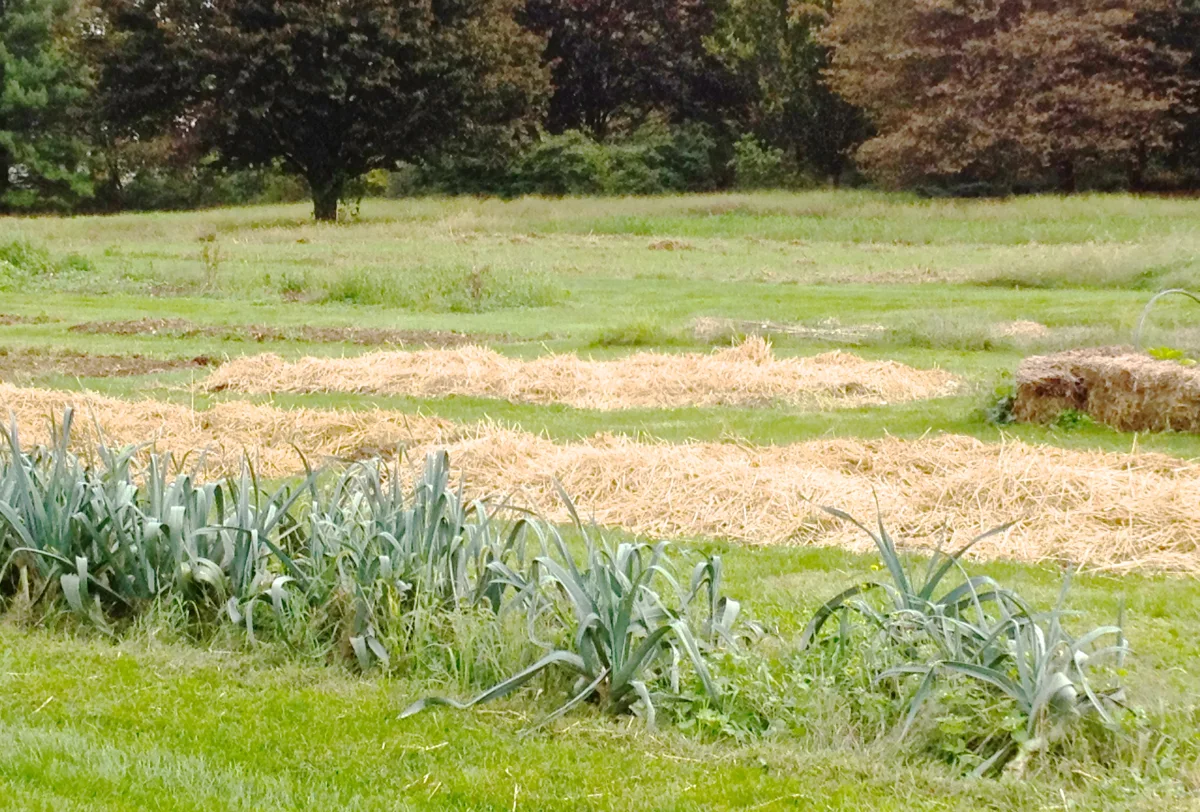
Never harvest garlic by grasping the stem and yanking upward like a weed. The junction where the pseudostem joins the basal plate is fragile. Tugging snaps the neck, tearing open the airtight wrapper seal and exposing the tender interior clove core to airborne mold spores, as documented by agricultural extension standards from Oregon State University Extension Service.
Choose a Dry Morning
Harvest on a dry, sunny morning after dew has evaporated. Never harvest in active rain or during scorching midday heat, which stresses exposed clove tissues.
Insert Fork 6 Inches Out
Set the tines of a sturdy spading fork 5 to 6 inches away from the stalk. Plunge the tines straight down into the soil to a depth of 8 to 10 inches.
Pry & Lever Upward
Gently lever the fork handle backward. This lifts the entire subterranean soil block, severing deep anchoring roots and loosening compacted dirt around the bulb.
Cradle & Lift by Base
Reach down beneath the loosened soil. Grasp the bulb itself or the base of the stem right where it meets the basal plate, and lift gently upward without yanking.
Brush Soil; Never Wash
Tap the root ball gently against your palm to dislodge dry dirt. Never wash freshly dug garlic with water; adding moisture invites mold spores into curing layers.
8. Damage Control: What to Do If You Harvested Too Early or Too Late
Even experienced growers occasionally misjudge seasonal weather anomalies. If a test pull reveals you harvested off-schedule, execute these preservation triage protocols:
- Scenario A: Harvested Too Early (Small heads, smooth bulbs, thick wet stems): Premature garlic will not cure into long-storing pantry heads because wrappers are too juicy and necks never completely seal. Treat this crop as ‘Green Garlic’ or gourmet fresh garlic. It possesses a sweeter, milder flavor with juicy, tender cloves. Roast entire heads whole with olive oil, slice the tender green pseudostems into stir-fries like leeks, or mince and freeze in olive oil inside silicone ice cube trays for year-round culinary use.
- Scenario B: Harvested Too Late (Burst wrappers, split cloves, exposed naked garlic): Over-mature bulbs cannot be cured in bunches, as dirt and moisture trapped between bare cloves trigger rapid mold. Salvage the harvest immediately: break heads apart into individual cloves, peel away dirt-caked skins, and dehydrate them into homemade gourmet garlic powder. Alternatively, submerge whole peeled cloves in raw local honey to create medicinal fermented garlic honey, or pickle cloves in a 5% apple cider vinegar brine.
9. Frequently Asked Questions About Garlic Harvest Timing
❓ What happens if you harvest garlic too early? ▾
❓ Can you leave garlic in the ground too long? ▾
❓ Should I wait for garlic leaves to turn completely brown before harvesting? ▾
❓ How do I know when softneck garlic is ready compared to hardneck? ▾
❓ Can you eat garlic straight out of the ground before curing? ▾
10. The Post-Harvest Transition: 5 Golden Rules for Curing and Long-Term Storage
📋 The 5 Golden Rules for Curing & Long-Term Storage
Rule 1: Never Cure in Direct Sunlight
Direct UV sunlight and scorching heat literally cook the cloves, turning starches bitter. Always cure in a dark, shaded, breezy location like a covered porch or shed.
Rule 2: Maximize 360° Air Circulation
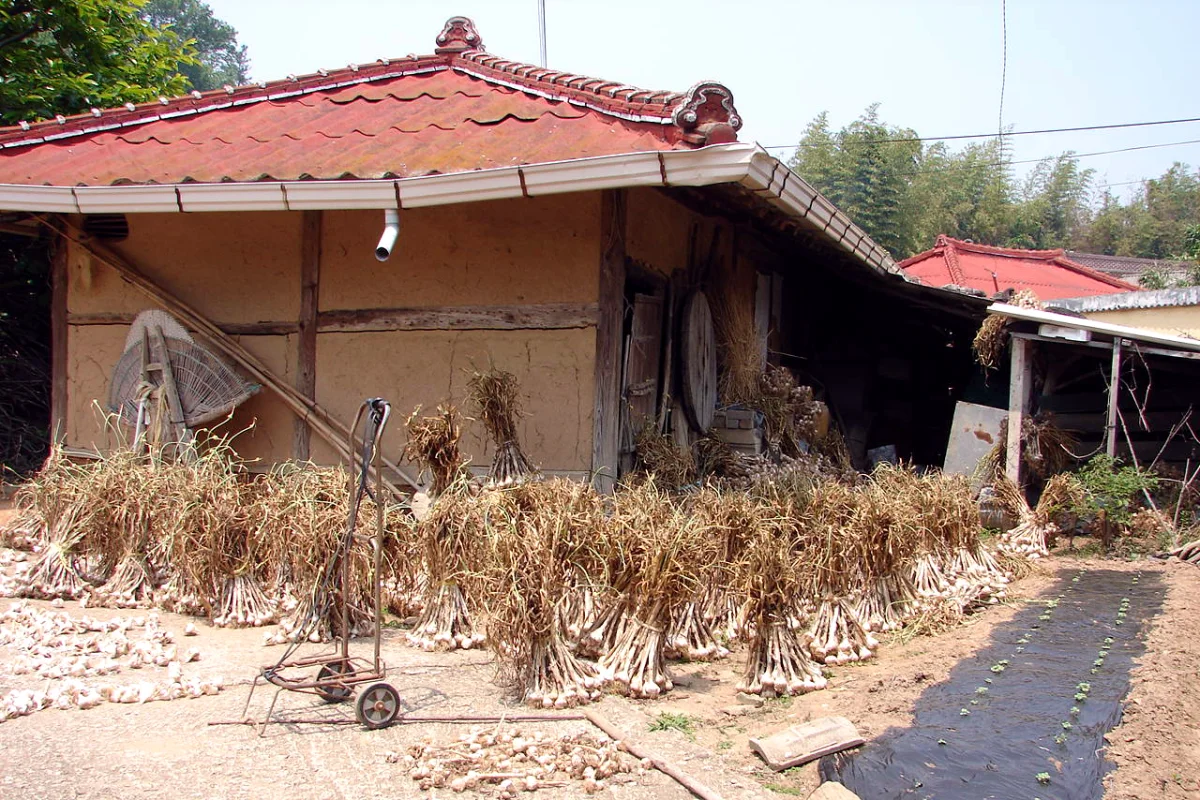
Spread plants in a single layer across wire drying screens or slatted tables. Alternatively, tie stems into loose bundles of 6 to 8 and hang from rafters with an oscillating fan.
Rule 3: Allow 2 to 3 Weeks Drying
Do not rush curing. Bulbs require 14 to 21 days for neck moisture to retreat completely. Curing is complete when wrapper skins feel like dry onion paper and roots snap like wire.
Rule 4: Trim Leaving a 2-Inch Neck
Trim roots back to 1/2 inch and brush off remaining dry dirt. Cut the main stem 1.5 to 2 inches above the bulb. Never cut flush against the cloves, which breaks the storage seal.
Rule 5: Maintain Cool, Dark Pantry Air
Store cured bulbs in open mesh onion bags at 55°F to 60°F (13°C to 15°C) and 55% to 65% humidity. Never store in the refrigerator, where cold humidity triggers rapid sprouting.