Published: Autumn 2026 | Field Tested Across 5-Gallon, 10-Gallon Fabric Grow Bags, Terracotta Pots, and Patio Planters | Comprehensive 2026 Edition
⚡ Quick Answer: Growing Garlic in Containers
To master growing garlic in containers and harvest fat, multi-clove heads, use containers at least 10 to 14 inches deep (such as 10-gallon fabric grow bags) with clear drainage. Fill with a high-aeration potting mix (50% potting soil or coco coir, 25% compost, 25% perlite at pH 6.2–6.8). In autumn (late September to November), plant certified disease-free cloves pointy-side up, 2 to 3 inches deep, spaced 5.5 inches apart (7 to 9 cloves per 10-gal bag). Mulch with 3 to 4 inches of straw. Protect root zones from deep winter freezes by clustering containers against a sheltered foundation or storing in an unheated garage (28°F–38°F). In spring, feed with high-nitrogen fertilizer, cut flower scapes in June to boost bulb size by 30%, withhold water 14 days before harvest, and cure bulbs for 3 weeks in the shade.
Growing garlic in containers allows patio gardeners, apartment dwellers, and suburban homesteaders to harvest fat, pungent allium bulbs without dedicating permanent raised beds or wrestling with stony native dirt. In-ground garlic beds tie up precious garden real estate for nine continuous months—from October planting through July harvest. For growers dealing with soil-borne white rot (Sclerotium cepivorum), persistent root-knot nematodes, or poorly draining clay that suffocates bulbs over wet winters, containers offer complete substrate control. Just as mastering how to grow potatoes in bags eliminates the back-breaking labor of digging spuds, container garlic cultivation streamlines the entire planting, feeding, and curing cycle.
Yet container garlic carries a notorious reputation among beginners for producing puny, marble-sized heads or single solid ’rounds.’ The cause is almost never poor soil fertility. It stems from two physical oversights: insufficient root depth and winter thermal shock. Unlike in-ground beds insulated by the earth’s infinite geothermal mass, an elevated 5-gallon pot experiences ambient sub-zero air from all 360 degrees. If the potting mix freezes rock solid for weeks, tender feeder roots desiccate and perish. Understanding how moisture transpires in pots—principles we explore in our guide on soil moisture physics and transpiration principles—is essential for sustaining robust root crowns throughout fluctuating winter freezes.
Success requires matching container volume to clove biology, building an open-structured potting mix that drains freely in November rains, and insulating containers through sub-zero winter spells. Whether you are expanding your homestead yields alongside your tips for planting tomatoes or optimizing a sunny balcony garden, this tested framework provides every cultural step to pull heavy, full-clustered garlic heads from fabric grow bags and patio containers.
📊 Key Takeaways: Container Garlic Essentials
- Depth dictates bulb circumference: Garlic sends vertical feeder roots down 10 to 12 inches. Pots shallower than 10 inches stunt root architecture, yielding loose clusters or marble-sized cloves. Use containers at least 10 to 14 inches deep.
- Spacing threshold is 5 to 6 inches: Cloves packed too tightly compete aggressively for root volume and moisture. A standard 10-gallon grow bag supports exactly 7 to 9 cloves; a 5-gallon container maxes out at 3 to 4.
- Overwintering requires a thermal buffer: In USDA Zones 3 through 6, exposed container root blocks freeze solid in winter air. Group containers against a south-facing foundation, wrap them in insulating bubble wrap, or overwinter them in an unheated garage.
- Phase your spring nutrition: Supply high nitrogen (dilute fish emulsion or blood meal) during initial spring leaf emergence to construct 8 to 10 broad leaves. Cut synthetic nitrogen completely by mid-May and switch to bone meal and potassium sulfate to fuel underground bulb swelling.
- Mandatory water cutoff 14 days before harvest: Stop watering when the lower 3 leaves brown. Saturated soil at harvest softens wrappers, invites fungal rot, and ruins post-harvest curing.
1. Container Garlic Growing vs. In-Ground Beds: The Real Pros & Trade-offs
Adopting growing garlic in containers transforms how a small-space garden operates. Instead of surrendering prime garden plots for three-quarters of the calendar year, mobile containers let you capitalize on microclimates and bypass diseased soil entirely. For urban growers practicing growing vegetables indoors or managing compact rooftop terraces, container alliums deliver restaurant-quality harvests without large acreage.
The primary biological advantage is pathogen evasion. White rot (Sclerotium cepivorum) produces sclerotia resting structures that linger viable in garden soil for up to twenty years. Once a garden bed contracts white rot, planting any allium there triggers catastrophic crop loss. Fresh, sterile soilless potting blends eliminate this risk, ensuring pristine white wrappers at harvest.
Portability provides another major edge. In early spring, when sun angles sit low, you can shift fabric bags into sunny courtyard pockets to maximize photosynthetic absorption. When torrential June cloudbursts threaten to waterlog ripening bulbs, containers can be tucked beneath porch eaves to dry out. The trade-off is water management and thermal instability: soil in fabric bags dries twice as fast in summer heat, and root zones freeze far harder during bitter winter freezes without proper insulation.
2. Hardneck vs. Softneck: Selecting the Right Cultivars for Pots
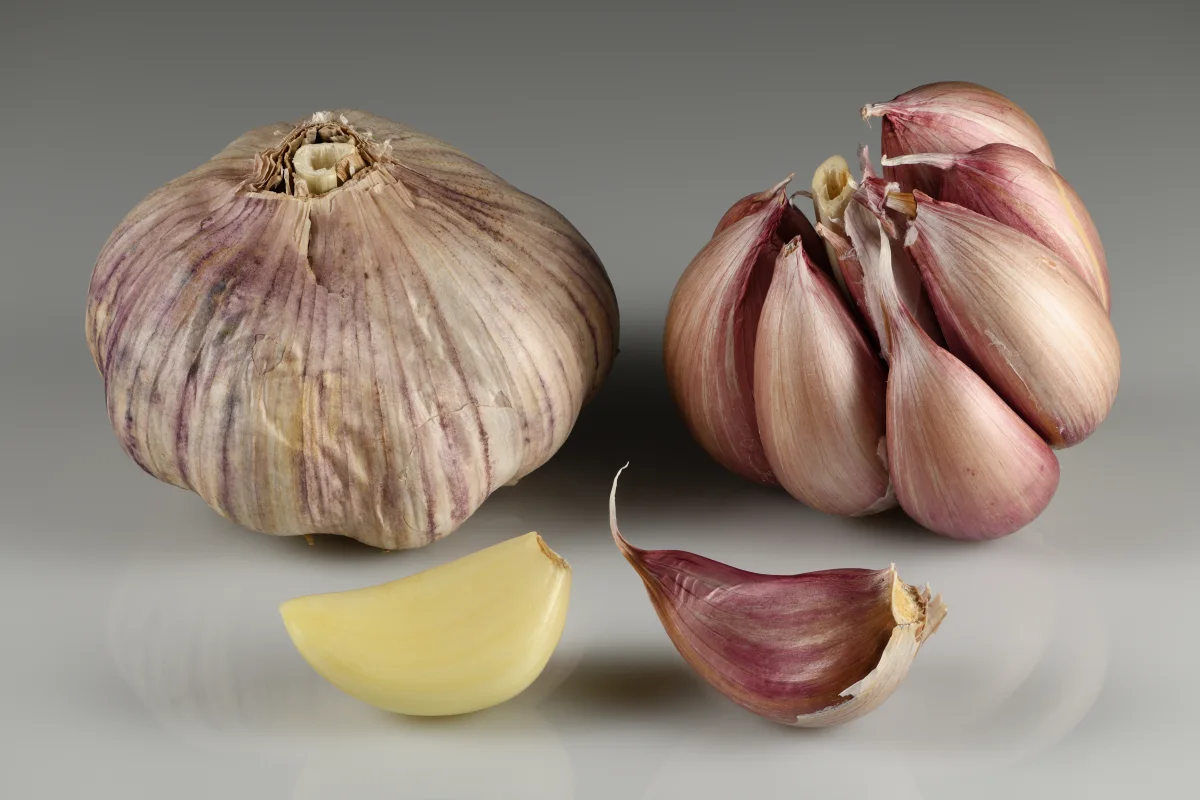
Garlic splits into two distinct botanical subspecies: hardneck (Allium sativum var. ophioscorodon) and softneck (Allium sativum var. sativum). Matching your regional climate and container setup to the right subspecies determines whether your crop forms distinct cloves or remains a single disappointing round, as verified by allium field trials from Cornell University Cooperative Extension.
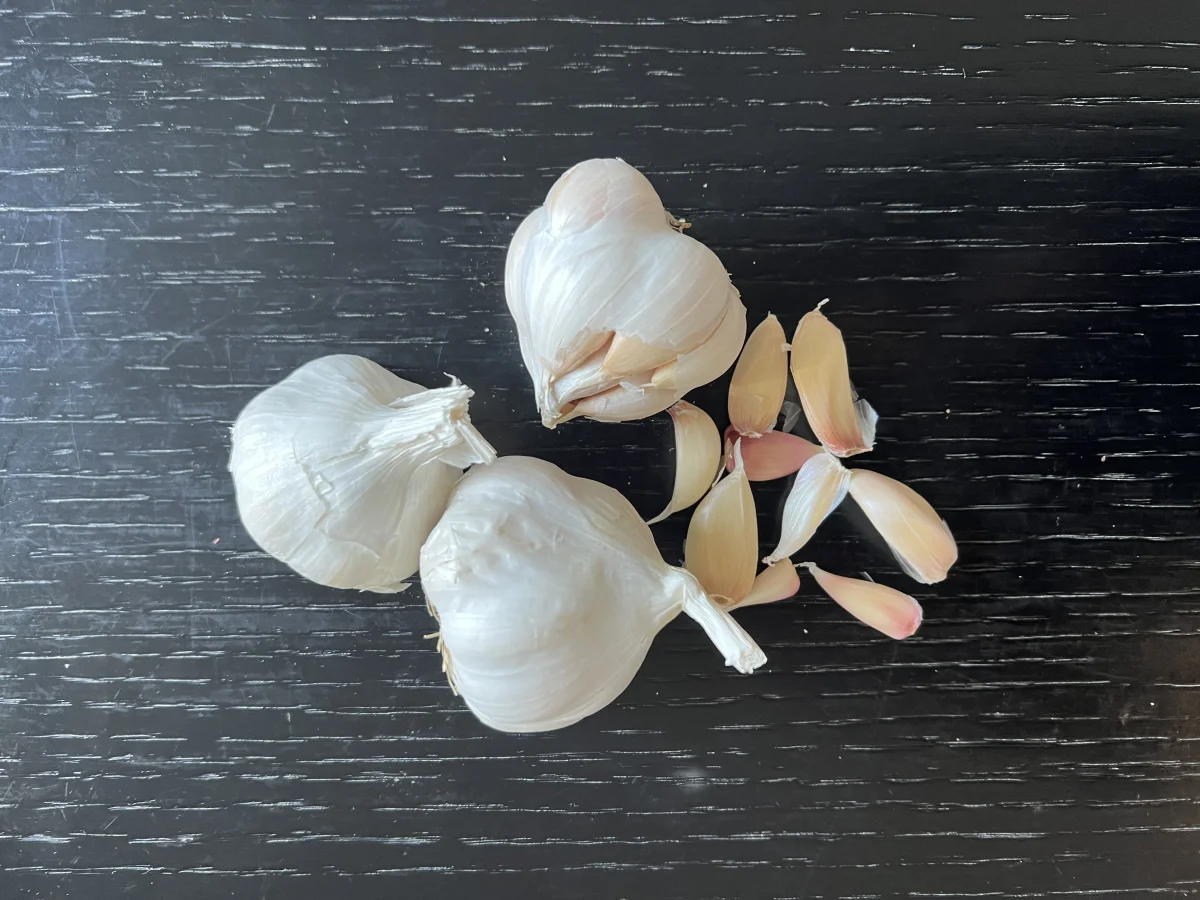
Hardneck cultivars require vernalization—a mandatory physiological resting spell of 40 to 45 days at soil temperatures between 34°F and 40°F (1°C to 4°C). This biological chilling signals the central vegetative shoot to differentiate into individual cloves. Gardeners in warm Southern zones (USDA 8b through 10) who attempt to grow unchilled hardneck garlic in patio pots will harvest solid, scallion-like rounds. If you reside in the South, choose softneck Artichoke strains or artificially pre-chill seed heads in a paper bag inside your refrigerator crisper drawer for six weeks prior to autumn planting.
3. The Container Sizing Blueprint: Depth, Volume & Clove Spacing Math
Garlic appears deceptively compact above ground. Beneath the mulch, however, its fibrous root system drives downward with remarkable vigor, searching for moisture and mineral phosphorus. Shallow planters under 8 inches deep force roots to hit plastic bottoms and circle tightly, prematurely signaling to the bulb that soil resources are exhausted.
📐 Container Garlic Spacing & Geometry Blueprint
Observe the spatial planting geometries required to maximize bulb circumference and prevent underground root competition across four popular container formats:
5-Gallon Bucket / Pot
12″ Diameter • 12″–14″ DepthGeometry: 5″ equilateral triangle spacing. Keeps cloves 3″ away from plastic container walls where winter freeze/thaw root damage occurs.
10-Gal Fabric Grow Bag
16″ Diameter • 12″ DepthGeometry: 1 central hub + 6 outer cloves on a 5.5″ hexagonal grid. Maximum root aeration, uniform bulb growth, and zero pot circling.
24″ Window Box / Trough
24″ Length • 10″ Width • 10″ DepthGeometry: Alternating zigzag pattern maximizes diagonal root distance (5″ between cloves) across narrow balcony troughs without crowding.
Half-Whiskey Barrel
26″ Diameter • 18″ DepthGeometry: Concentric circle layout (1 center + 5 inner + 12–14 outer). High thermal mass buffers freezing; yields 20+ plump storage bulbs.
Container Capacity Benchmarks:
- 5-Gallon Container (12-inch diameter, 12-inch depth): Plant 3 to 4 cloves maximum. Perfect for testing a single gourmet variety on a small apartment balcony.
- 10-Gallon Fabric Grow Bag (16-inch diameter, 14-inch depth): Plant 7 to 9 cloves spaced 5.5 inches apart. This represents the gold standard for container garlic: optimal root volume, easy to carry, and excellent side drainage.
- 15-to-20-Gallon Tubs or Half-Whiskey Barrels (24-to-26-inch diameter): Plant 18 to 22 cloves in staggered concentric rings. The large thermal volume protects root blocks against sub-zero winter temperatures without requiring additional exterior insulation.
4. Formulating the Anti-Rot Soil Mix: Drainage & Acidity
Never shovel native backyard dirt into a container for garlic. Topsoil contains heavy clay and silt particles that settle into an impermeable, cement-like block after weeks of winter rain. Cold, oxygen-deprived soil suffocates the basal plate of the clove, inviting Fusarium basal rot and Penicillium blue mold decay before spring arrives.
🌱 The High-Drainage Container Allium Substrate Formula
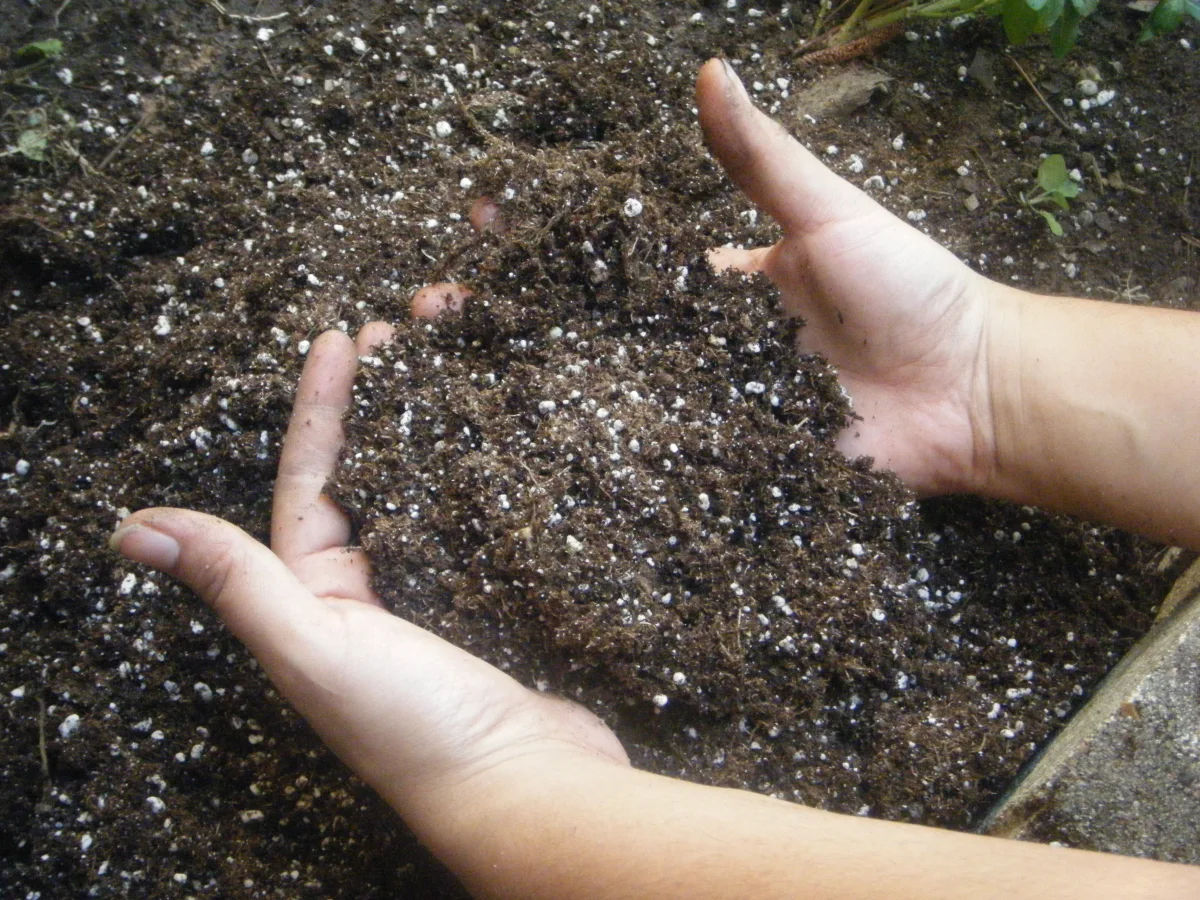
To guarantee rapid macropore drainage and prevent overwintering clove rot, blend this tested ratio:
- 50% High-Grade Potting Soil or compressed coconut coir blocks: Provides a light, weed-free, moisture-retentive structural foundation.
- 25% Screened Finished Compost or Aged Worm Castings: Supplies beneficial soil microbiology and gentle organic micronutrients.
- 20% coarse horticultural perlite or horticultural vermiculite: Keeps the root zone well-aerated and prevents soil compaction over nine long months.
- 5% Coarse Horticultural Builder’s Sand: Adds essential physical grit and container ballast against strong winter winds.
- Mineral Amendments (per 10-gallon bag): 1 cup steamed bone meal (phosphorus for deep root anchoring) and 1/2 cup greensand or sulfate of potash.
5. Step-by-Step Planting: Depth, Orientation & Fall Timing
Planting timing dictates winter survival. Plant garlic cloves 2 to 4 weeks after the first light autumn frost, when daytime soil temperatures hover between 50°F and 60°F (10°C to 15°C). In Northern zones (USDA 3–5), this corresponds to late September through mid-October. In Central zones (USDA 6–7), late October through mid-November is prime. Southern gardeners (USDA 8–10) should plant from late November through mid-December.
The objective is root establishment without premature leafy top-growth. You want the clove to send a robust web of white feeder roots deep into the substrate before the freeze sets in, while keeping green shoots tucked beneath the surface. Shoots that poke 6 inches above the soil in December risk frostbite during sub-zero Arctic blasts.
Crack Heads on Planting Day
Keep garlic heads intact until the exact afternoon you plant. Separating cloves days in advance dries out the basal plate. Select only the largest, plump outer cloves; reserve small slivers for cooking.
Keep Papery Husks Intact
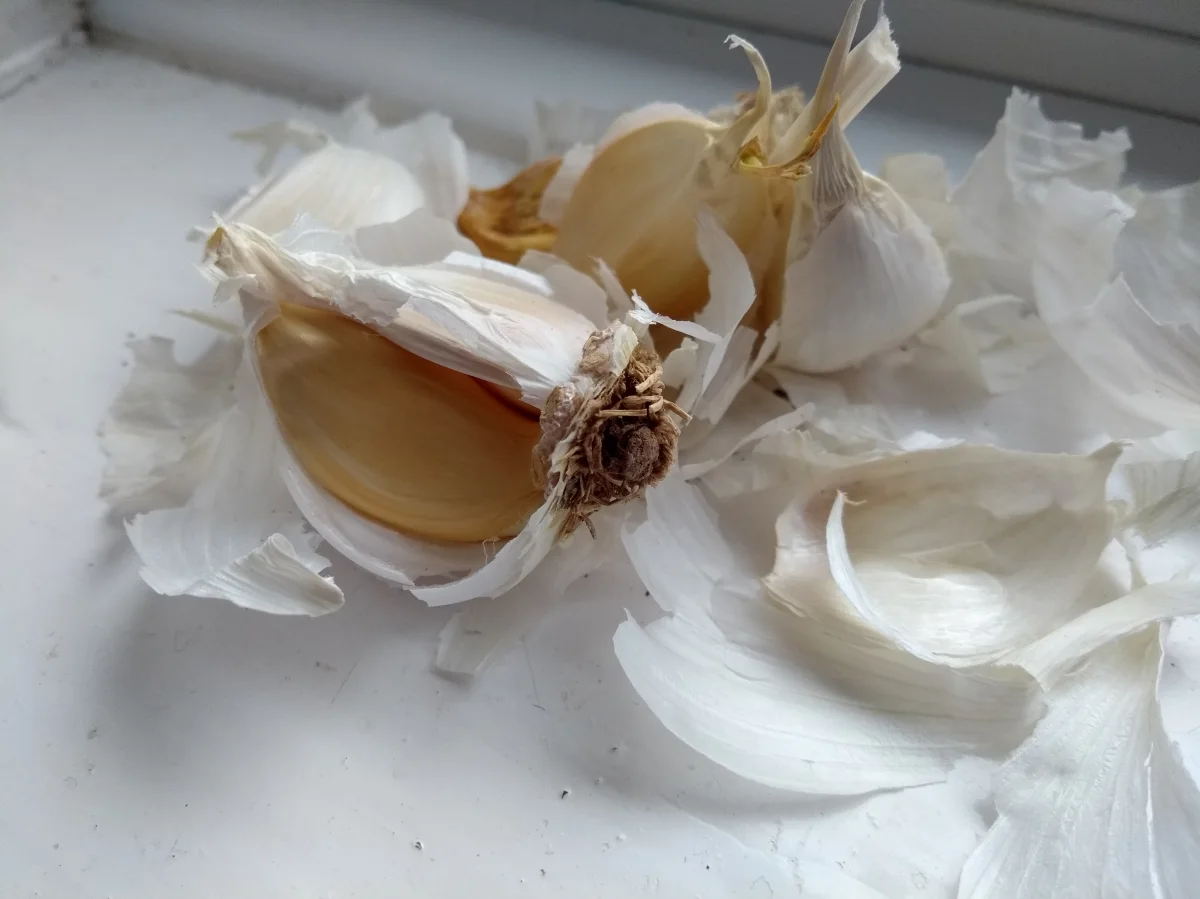
Never peel garlic cloves before planting. The papery tunic acts as a vital biological armor protecting the clove against fungal spores and damp soil bacteria during the initial 30-day rooting phase.
Basal Down, Pointy Tip Up
Orient the flat, rough root plate facing downward into the mix, with the sharp pointed tip pointing straight toward the sky. Planting upside down wastes critical energy as the sprout attempts a U-turn.
Plant 2 to 3 Inches Deep
Bury cloves so the top of each clove sits exactly 2 inches beneath the soil line. In cold Northern climates (Zones 3–5), increase depth to 3 inches for enhanced thermal insulation against winter air.
Water & Apply Straw Mulch
Water deeply until runoff drains freely from the bottom seams. Once excess moisture drains, cap the soil with 3 to 4 inches of clean, seed-free golden straw or shredded leaves to lock in winter moisture.
6. Overwintering Containers: Solving the Fatal Root-Freeze Trap
Garlic cloves planted in the ground are buffered by subterranean soil that rarely drops below 28°F to 32°F (-2°C to 0°C), even when sub-zero blizzards howl above. Elevated containers, however, possess zero thermal mass. When ambient air plunges to 5°F or -10°F (-15°C to -23°C), the root ball in an unprotected fabric bag freezes solid within 36 hours. Repeated freeze-thaw cycles rip delicate root hairs and desiccate the bulb, as demonstrated by research from University of Minnesota Extension Garlic Research.
Implement one of these proven overwintering protocols based on your USDA Hardiness Zone:
- Zones 3 through 5 (Bitter Sub-Zero Climates): After planting in October, allow pots to remain outdoors for 3 to 4 weeks so roots anchor into the mix. Before the first sustained ground freeze (late November), move containers into an unheated garage, garden shed, or cold cellar. Soil temperatures will remain between 25°F and 38°F—cold enough to satisfy the 40-day vernalization requirement, but warm enough to prevent destructive deep-freezing. Check soil monthly and add 1 cup of water or snow to ensure the potting mix never turns bone-dry. Return containers to full outdoor sun in March as soon as daylight temperatures climb above freezing.
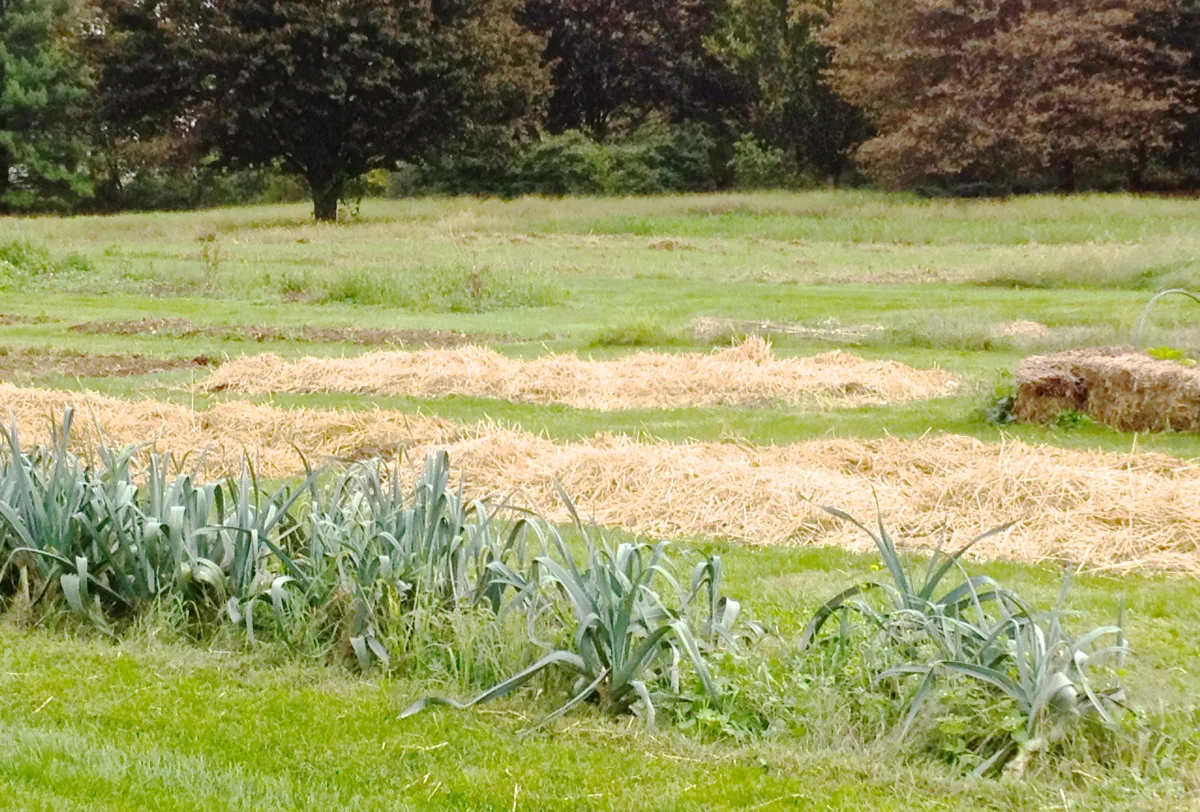
- Zones 6 and 7 (Moderate Frost Climates): Cluster all containers tightly against a south- or east-facing exterior brick foundation wall, which radiates residual domestic warmth. Wrap the exterior perimeter of the pots with heavy-duty foil bubble insulation or burlap stuffed with dry straw. Top with 4 inches of straw mulch. In heavy snow regions, snow cover serves as an excellent natural insulating blanket.
- Zones 8 through 10 (Warm Winters): Overwintering freeze is not the threat here; lack of winter cold hours is. Ensure you planted pre-chilled seed garlic or low-chill softneck varieties. Keep containers in a partially shaded patio spot through December to keep soil temperatures below 55°F, shifting them to maximum sun in February.
7. Spring & Summer Care: Phased Feeding & Moisture Management
Garlic growth divides into two distinct physiological chapters: the Foliar Stage (March to mid-May) and the Bulbing Stage (mid-May to July). Feeding must adapt strictly to this shift according to guidelines from Penn State Extension Allium Production Program.
Watering rules in containers: In April and May, actively growing garlic foliage transpires water rapidly. Fabric grow bags lose moisture through their sidewalls, so check moisture levels every two days. Insert your finger 2 inches into the soil; if dry, water deeply until water seeps from bottom seams. Never allow containers to turn bone-dry during bulbing in May and June, or cloves will stall in size.
8. Garlic Scapes: The 30% Yield Boost Technique
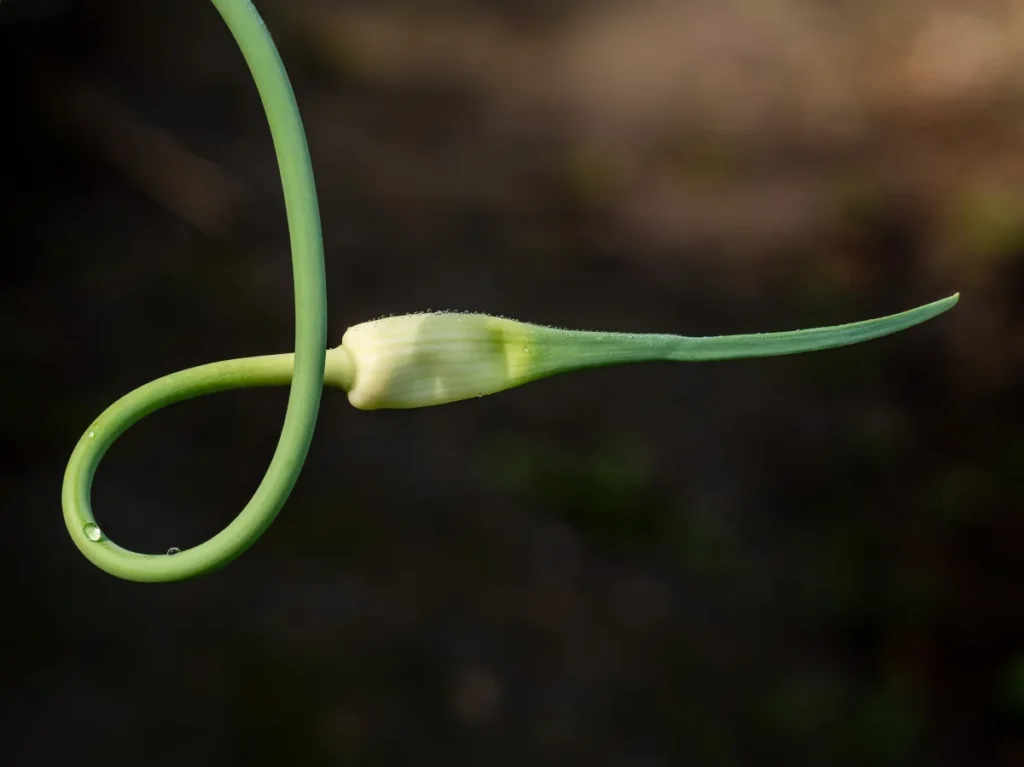
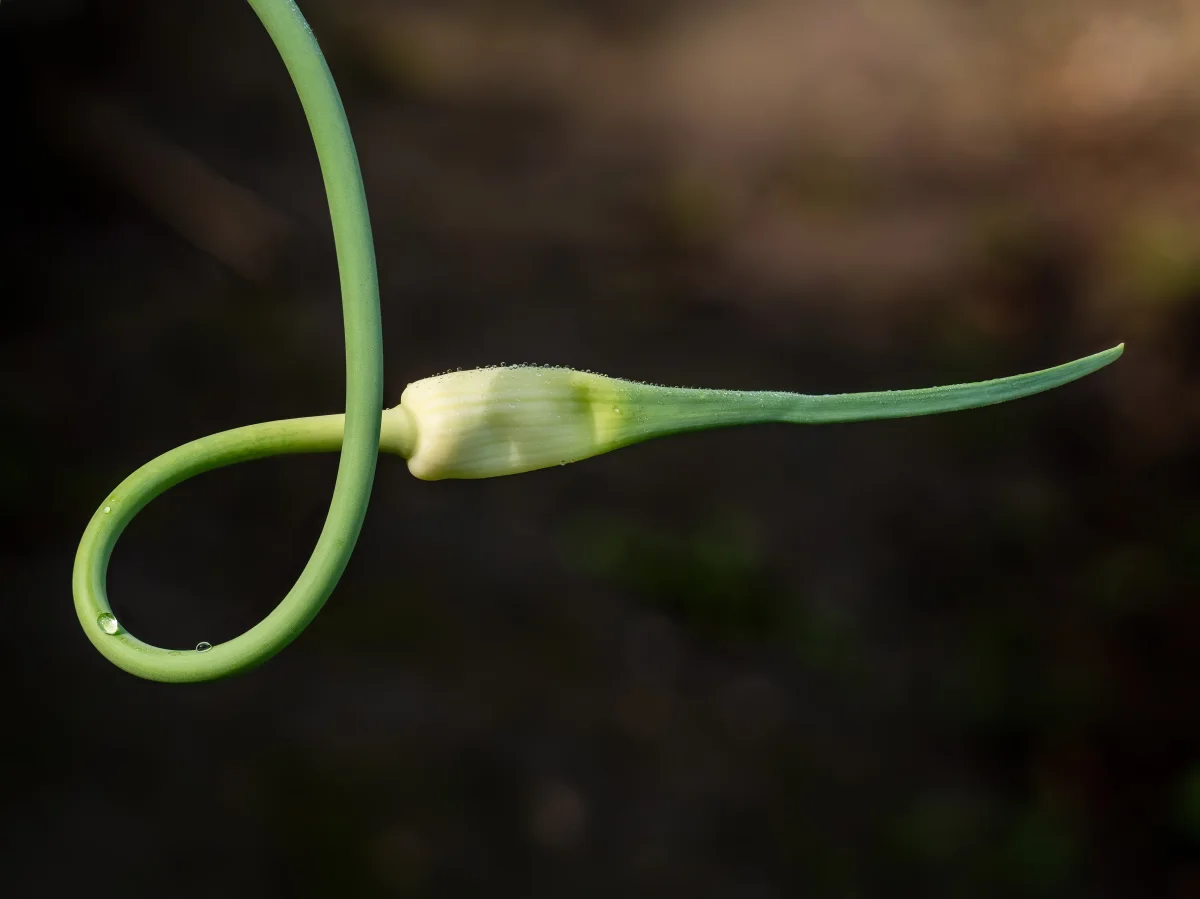
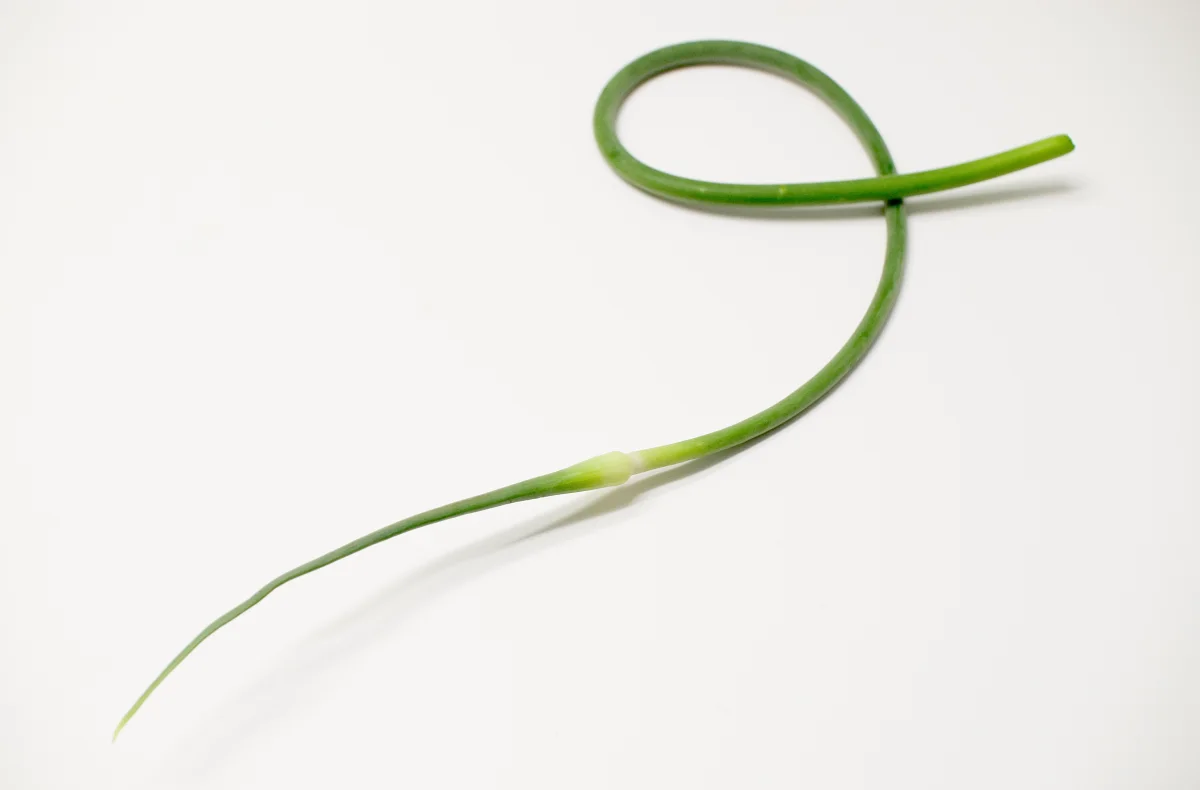
Around late May or early June, hardneck garlic varieties undergo a dramatic transformation. The central stalk shoots upward, producing a curved, swan-like green stem tipped with a swelling flower bud (umbel). This structure is the garlic scape.
Leaving the scape intact diverts vital photosynthetic carbohydrates away from underground bulb development toward producing bulbils (tiny aerial seed-cloves). Controlled agricultural trials consistently show that cutting or snapping scapes increases final cured bulb diameter by 25% to 30%.
The ideal harvest window arrives when the scape completes its first full 360-degree loop or coil, but before it straightens back up. Take clean garden shears or simply grasp the tender stem just above the topmost foliage leaf and snap it sideways with your fingers. The fresh scape makes a loud ‘pop.’ Scapes are a gourmet culinary harvest—tender, garlicky, and exceptional when grilled, blended into raw pesto, or pickled.
9. Harvesting, Curing & Long-Term Storage
Harvest timing dictates storage success. Harvest too early, and cloves are small, soft, and watery with wet necks that invite mold. Harvest too late, and the subterranean parchment wrappers rupture in the soil, leaving individual cloves split open to rot. To identify the exact ratio of browning lower leaves before lifting your bulbs, consult our photo guide on when to harvest garlic. Much like following strict temperature and humidity standards in our guide on how to store potatoes long term, curing garlic properly ensures your harvest remains fresh for up to nine months.
The 5-Green-Leaf Rule: In late June or July, observe your plants daily. As maturity nears, leaves brown from the ground upward. When the bottom 3 to 4 leaves are dry and straw-colored, but the top 5 to 6 leaves remain vibrant green, harvest immediately. Each green leaf corresponds to one intact protective parchment wrapper around the subterranean bulb.
The ‘Tip and Sift’ Harvest: Harvesting container garlic eliminates the risk of puncturing bulbs with garden forks. Simply tip the fabric bag over onto a clean tarp or wheelbarrow. The loose, perlite-rich potting mix spills away easily. Pull bulbs gently by the base of the stem, brushing loose soil away with your fingers. Never wash freshly harvested garlic with water.
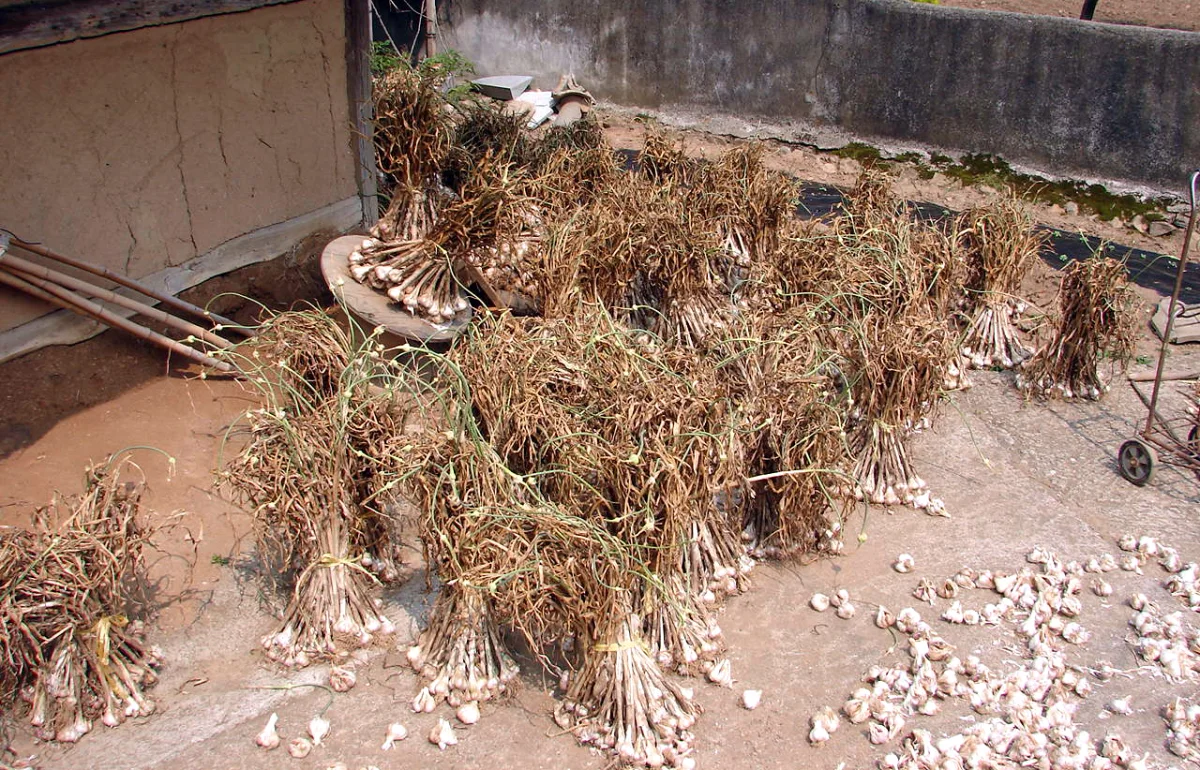
Curing Protocol: Lay garlic plants in a single layer on wire drying racks or slatted tables in a dry, well-ventilated, shaded space (such as a covered porch, shed, or garage) for 14 to 21 days. Never cure garlic in direct sun, which literally cooks the cloves. Once roots feel like brittle wire brushes and the main stem is dry to the core, trim roots to 1/2 inch and cut stems 2 inches above the bulb. Store in mesh bags in a dark pantry at 55°F to 60°F (13°C to 15°C) and 50% to 60% relative humidity.
10. Frequently Asked Questions About Container Garlic Growing
❓ What is the single biggest challenge of container garlic growing? ▾
❓ Can I grow garlic in containers using grocery store garlic? ▾
❓ How many garlic cloves can I plant in a 5-gallon container? ▾
❓ Can I plant garlic in pots in spring instead of autumn? ▾
❓ Why did my container garlic produce one solid round bulb instead of separate cloves? ▾
11. Container Garlic Master Seasonal Calendar & Checklist
📋 Year-Round Container Garlic Action Calendar
Sept / Oct: Sourcing & Soil
- Order certified seed garlic (Hardneck for cold zones, Softneck for mild zones).
- Blend potting mix: 50% peat/coir, 25% compost, 20% perlite, 5% sand + bone meal.
- Select pots at least 10 to 12 inches deep with clear drainage holes.
Oct / Nov: Planting Day
- Crack garlic heads immediately before planting; keep papery husks intact.
- Plant cloves pointed-tip up, 2 to 3 inches deep, spaced 5.5 inches apart.
- Water thoroughly until runoff appears; top with 3 inches of straw mulch.
Dec to Feb: Overwintering
- Zones 3–5: Move pots into unheated garage (28°F–38°F); water lightly once a month.
- Zones 6–7: Cluster against south house wall; wrap pots in bubble wrap or burlap.
- Zones 8–10: Keep pots in partial shade to maintain chill hours below 55°F.
March to May: Spring Growth
- Move containers into full outdoor sunlight (6–8+ hours daily).
- Feed with high-nitrogen fish emulsion every 10–14 days to maximize leaf counts.
- Maintain consistent moisture like a wrung-out sponge; never let pots dry out.
May / June: Scapes & Bulbing
- Cut scapes on hardneck varieties as soon as they form a full 360-degree loop.
- Halt synthetic nitrogen feeding; top-dress with bone meal and potassium sulfate.
- Grill, pickle, or blend harvested scapes into gourmet fresh garlic pesto.
July: Harvest & Curing
- Cut off water completely 14 days before harvest when bottom 3 leaves brown.
- Harvest when 5–6 top leaves are green; tip container onto clean tarp.
- Cure in a warm, breezy, shaded porch for 14 to 21 days; trim roots and store at 55°F.