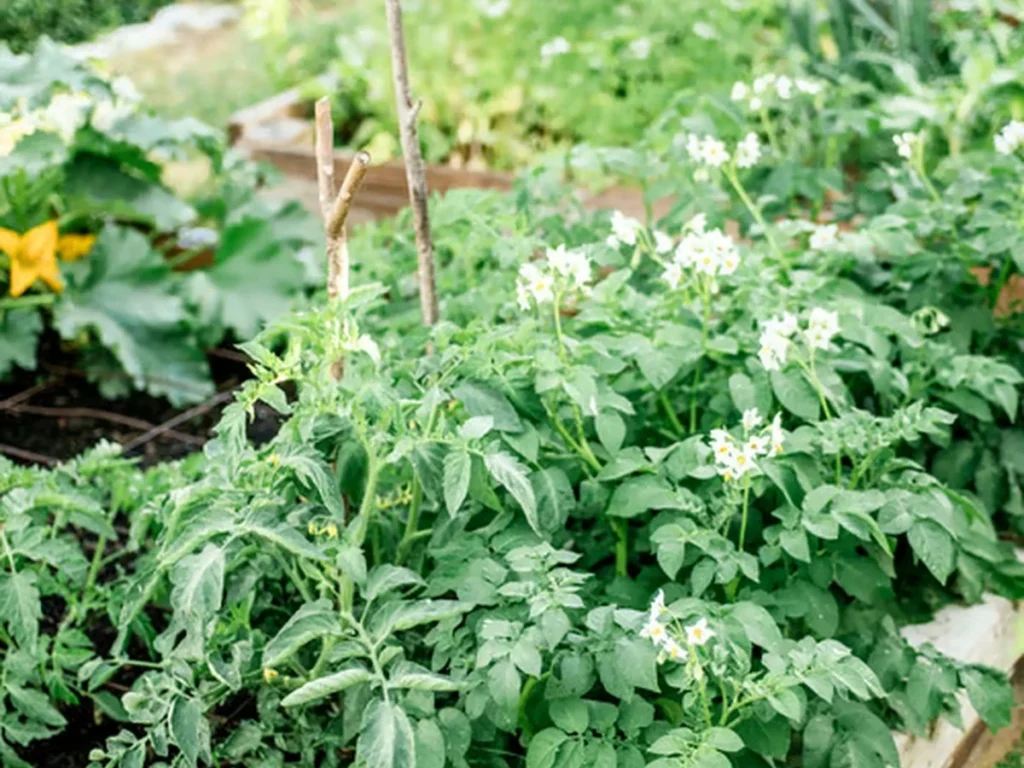
Published: Spring 2026 | Field Tested Across Raised Beds, In-Ground Plots, Patio Containers, and Outdoor Passive Hydroponics
⚡ Quick Answer: Essential Tips for Planting Tomatoes Outdoors
For thriving, productive tomato plants, wait until morning soil temperatures at a 4-inch depth consistently reach 60°F to 65°F before transplanting. Strip the lower leaves and bury 60% to 75% of the seedling stem—either vertically for stocky transplants or in a 4-to-5-inch horizontal trench for leggy starts—to activate adventitious root growth along the buried stem. Amend planting holes with compost, steamed bone meal, and mycorrhizal fungi while skipping high-nitrogen fertilizers that delay fruit set. Provide sturdy vertical trellises on planting day, maintain deep root-zone moisture under a 3-inch straw mulch layer to eliminate blossom end rot, and remove 45-degree suckers only on indeterminate vining varieties.
Few gardening moments match the satisfaction of plucking a warm, sun-ripened tomato straight off the vine. Yet for many backyard growers, spring enthusiasm dissolves into mid-summer frustration: leggy transplants that snap in the wind, leaves yellowing from the soil up, blossoms dropping unpollinated in July heatwaves, and fruit turning black on the bottom before it ever turns red.
Commercial nurseries often sell tall, flowering transplants that look ready for harvest on the garden center bench. In reality, these plants are frequently root-bound, starving for nitrogen, and shocked by the sudden transition to outdoor elements. Starting your plants right—or learning how to start a vegetable garden from seed—gives you full control over seedling vigor from day one.
Growing productive tomatoes outdoors is not about luck. It comes down to understanding root morphology, soil chemistry at the root zone, steady moisture delivery, and selecting the right growing setup for your space. Whether you are working with an in-ground garden patch, raised cedar planters, fabric patio grow bags, or an outdoor passive hydroponic tub, these practical tips for planting tomatoes provide the tested steps to get maximum yields from your plants this season.
📊 Key Takeaways: The Foundations of Outdoor Tomato Success
- Check soil temperature, not just the air: Tomatoes set into soil cooler than 60°F experience severe root stalling and cold-induced phosphorus lockup (visible as purple leaf undersides). Wait until a soil probe at a 4-inch depth reads a steady 60°F–65°F.
- Bury the stem: Tomatoes are among the few garden vegetables capable of forming adventitious roots along their buried stems. Burying 60% to 75% of the seedling creates a deep, drought-resilient root system.
- Know your plant type before pruning: Determinate (bush) varieties produce their entire crop within a compact window; pruning their suckers directly destroys your yield. Only prune indeterminate (vining) varieties to maintain single-leader or double-leader airflow.
- Blossom end rot is an irrigation problem: Dumping crushed eggshells into the soil will not fix black sunken bottoms on your fruit. The issue is almost always uneven soil moisture preventing the plant from transporting calcium up through the xylem.
- Outdoor hydroponics eliminate soil disease: If early blight or fusarium wilt ruins your garden every summer, growing patio tomatoes in passive Kratky reservoirs using outdoor hydroponic methods sidesteps soil-borne pathogens entirely.
1. Understanding Tomato Growth Habits: Determinate vs. Indeterminate
Before digging a single planting hole or purchasing stakes, you need to understand the growth habit printed on your seed packet or plant tag. Tomatoes fall into two distinct botanical categories: determinate (bush) and indeterminate (vining). Planting the wrong type for your chosen space or applying the wrong pruning technique is one of the most common reasons home growers end up with disappointing harvests.
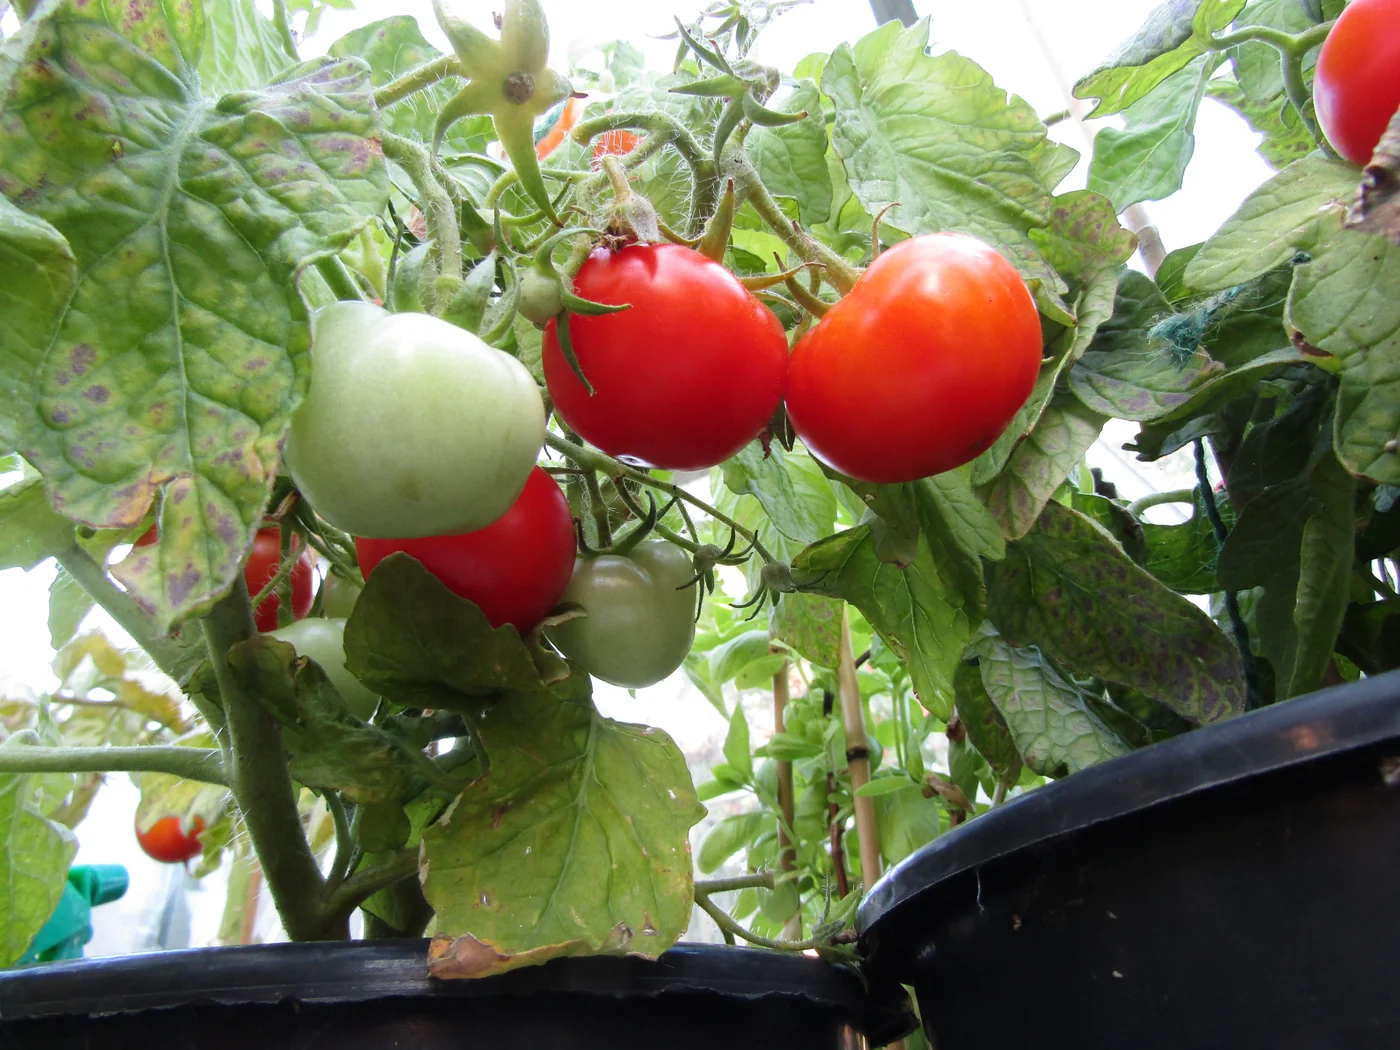
Determinate varieties grow to a fixed height (typically 3 to 4 feet), form terminal flower clusters at the branch tips, and produce their harvest across a concentrated 3-to-5-week window. Because their ultimate stature is genetically programmed, they require sturdy cage support rather than tall trellises. Never prune suckers from a determinate tomato plant. Every sucker forms flower buds; removing them directly reduces the total fruit the plant can produce. Compact patio cultivars like the micro-dwarf Orange Hat tomato exemplify this bush growth habit in small spaces.
Indeterminate varieties keep growing, flowering, and setting fruit until autumn frost kills the vine. In warm zones with long summers, these plants easily stretch 8 to 12 feet long. They require serious vertical support (tall stakes, cattle panel arches, or overhead string lines) and deliberate sucker management to prevent a tangled, disease-prone wall of foliage.
2. Timing Your Outdoor Planting: The 60°F Soil Temperature Rule
The biggest mistake gardeners make each spring is planting by calendar dates or the vague promise of the “last frost date.” Air temperature can be deceptive. A sunny 72°F afternoon in early May often hides soil that is still hovering at a chilly 48°F. When planning your spring schedule, one of the most critical tips for planting tomatoes is verifying root zone temperatures before any transplanting takes place.
When you place a warm-weather nightshade into cold soil, the root hairs go dormant. The plant cannot draw up phosphorus from the surrounding earth, which causes the undersides of the leaves to turn a distinct purplish-bronze color. Growth stalls completely, and the transplant can remain stunted for weeks even after ambient temperatures climb. Learning proper plant timing and what you’re growing in raised beds prevents this early season bottleneck.
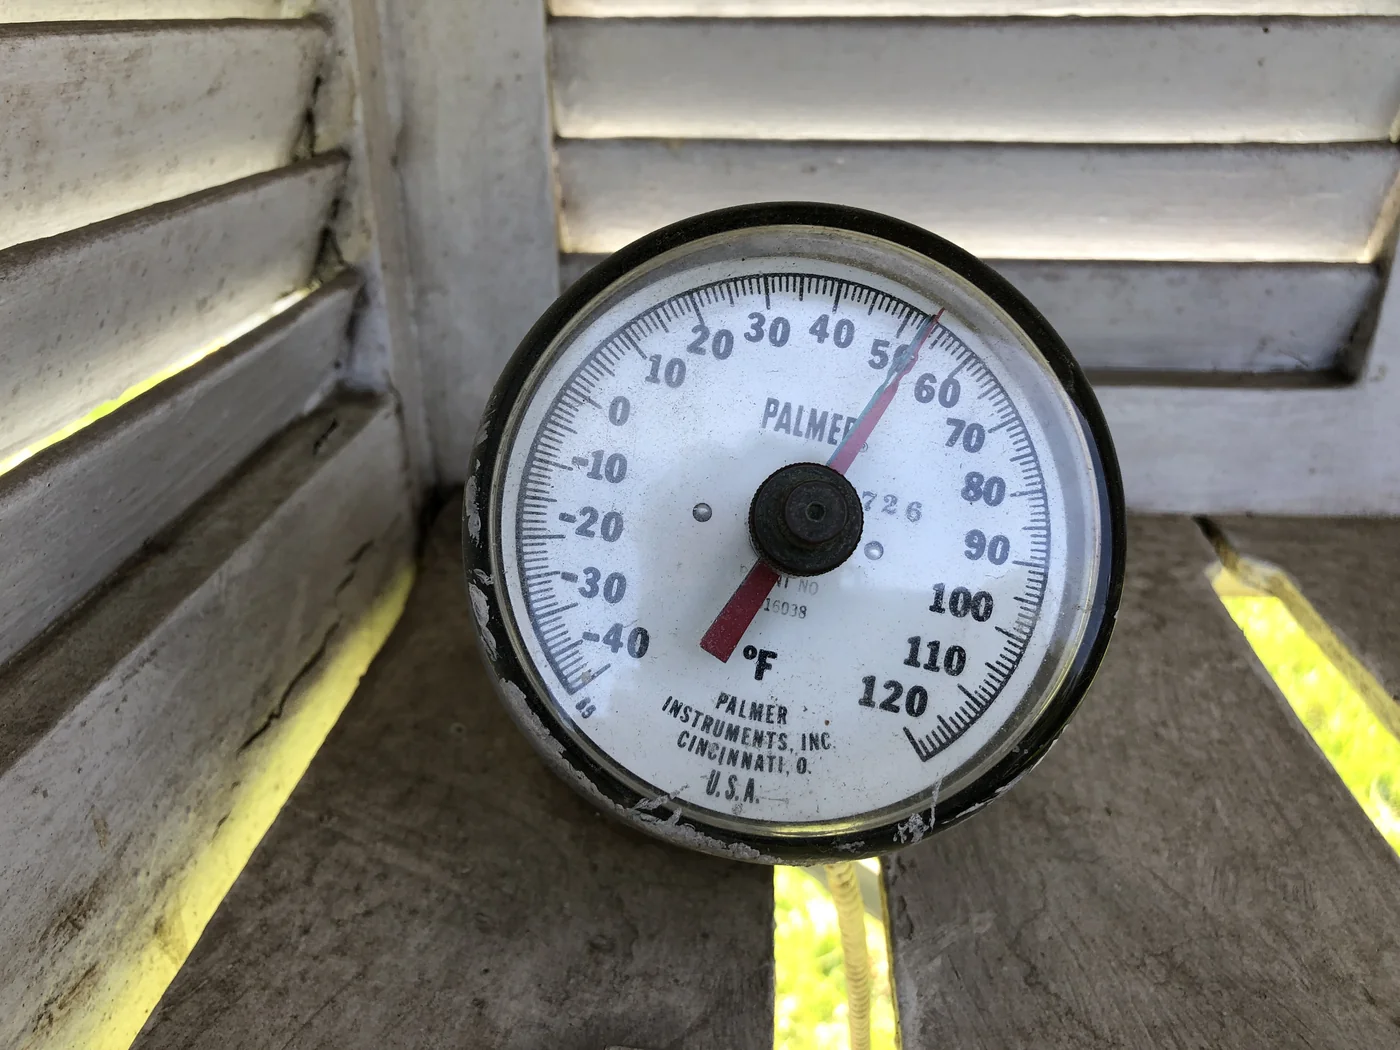
Before planting, push a dial soil thermometer 4 inches deep into your garden bed at 9:00 AM. Do not plant your tomatoes outside until the morning soil temperature consistently measures at least 60°F, with 65°F being the ideal baseline.
📅 7-Day Seedling Hardening-Off Protocol
- Days 1–2: 2 Hours in dappled shade with zero wind exposure.
- Days 3–4: 4 Hours of gentle morning sun (8:00 AM – 12:00 PM) and mild ambient breeze.
- Days 5–6: 8 Hours in full outdoor sunlight under normal garden conditions.
- Day 7: 24 Hours outdoors overnight (provided nighttime temperatures remain above 50°F).
- Day 8: Transplant directly into beds, patio grow bags, or outdoor hydroponic tubs!
Transplants grown indoors on windowsills or under grow lights lack the waxy cuticle layer that protects leaves from outdoor sun and drying winds. Follow this structured 7-day hardening-off schedule to prevent scorched foliage and fatal transplant shock.
3. Soil Preparation & Planting Hole Chemistry
Tomatoes are heavy feeders with deep root systems that demand well-draining, biologically active soil with a pH between 6.2 and 6.8. In this slightly acidic range, essential micronutrients—particularly iron, manganese, and phosphorus—remain readily available for root absorption.
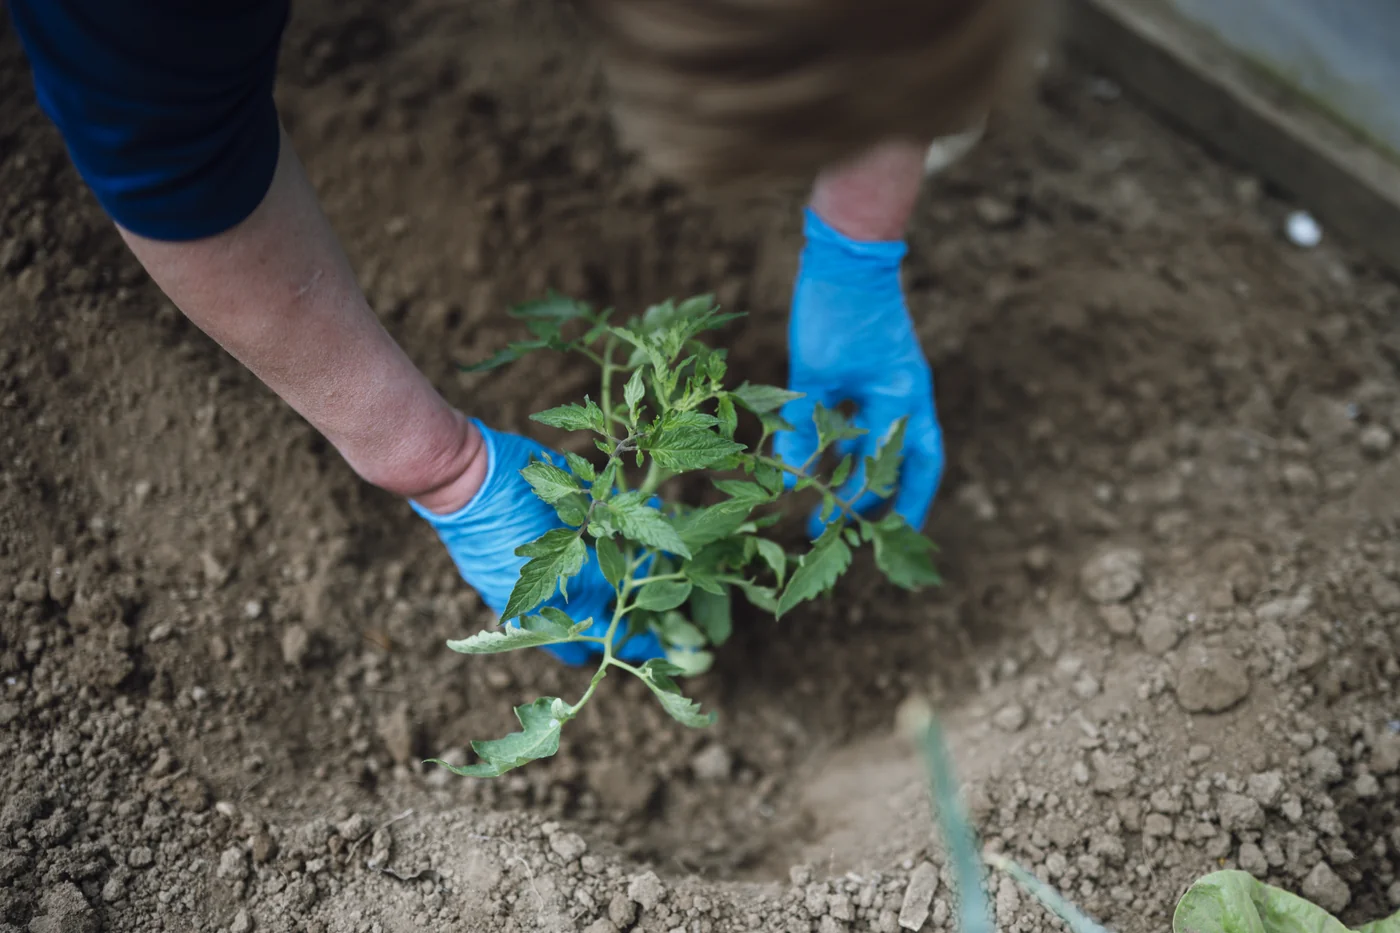
Avoid high-nitrogen synthetic fertilizers on planting day. Heavy doses of synthetic nitrogen force the plant to produce tender, emerald-green foliage at the expense of root development. This soft leafy growth attracts early-season aphids and hornworms while delaying flower set. Instead, build each planting hole (10 to 12 inches deep) with slow-release organic amendments:
- 1 to 2 cups of well-aged compost or worm castings: Supplies diverse microbiology, humic acids, and gentle, continuous macro-nutrition.
- 1/4 cup steamed bone meal or soft rock phosphate: Provides a slow-release source of phosphorus and calcium right where developing feeder roots can reach it over the first 60 days.
- 1 tablespoon organic balanced granular fertilizer (4-4-4 or 3-4-6): Supplies balanced base nutrition without burning young tender roots.
- Mycorrhizal fungi inoculant: Dust powder directly onto the root ball. Among our biological tips for planting tomatoes, this symbiotic inoculation expands effective root surface area up to 300%.
- Moisture & Aeration Amendments: When building raised beds or potting mixes, blending in washed coconut coir blocks and coarse horticultural perlite or horticultural vermiculite creates the fluffy, airy soil structure tomato roots crave.
If working with dense clay, avoid digging a smooth, glazed bucket-shaped hole with a shovel. Smooth clay walls act like a subterranean swimming pool, trapping water during spring downpours and rotting the root ball. Use a garden fork to score and fracture the sides and bottom of the hole, blending in organic matter to encourage roots to push outward into the surrounding soil.
4. Practical Tips for Planting Tomatoes: Deep Planting vs. Trench Planting
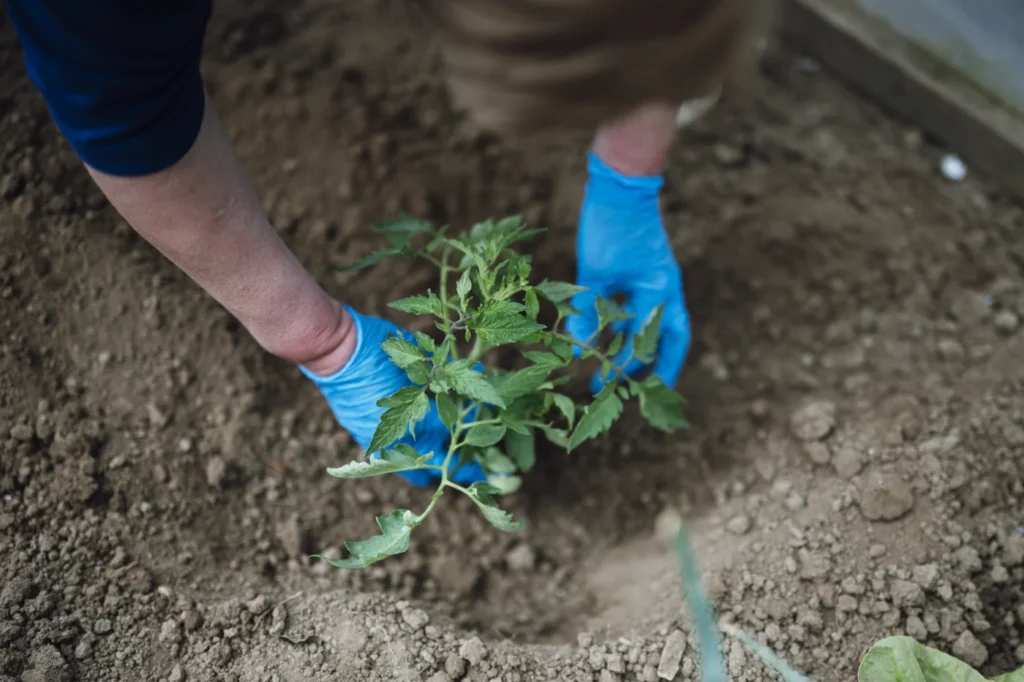
Unlike nearly every other garden vegetable, tomatoes should never be planted at the same depth they sat in their nursery pot. The fine, fuzzy hairs lining a tomato stem are adventitious root initials. When buried in dark, moist soil, these cells rapidly differentiate into functional roots. Burying a substantial portion of the stem creates an extensive root system capable of pulling moisture from deep in the soil during hot summer stretches.
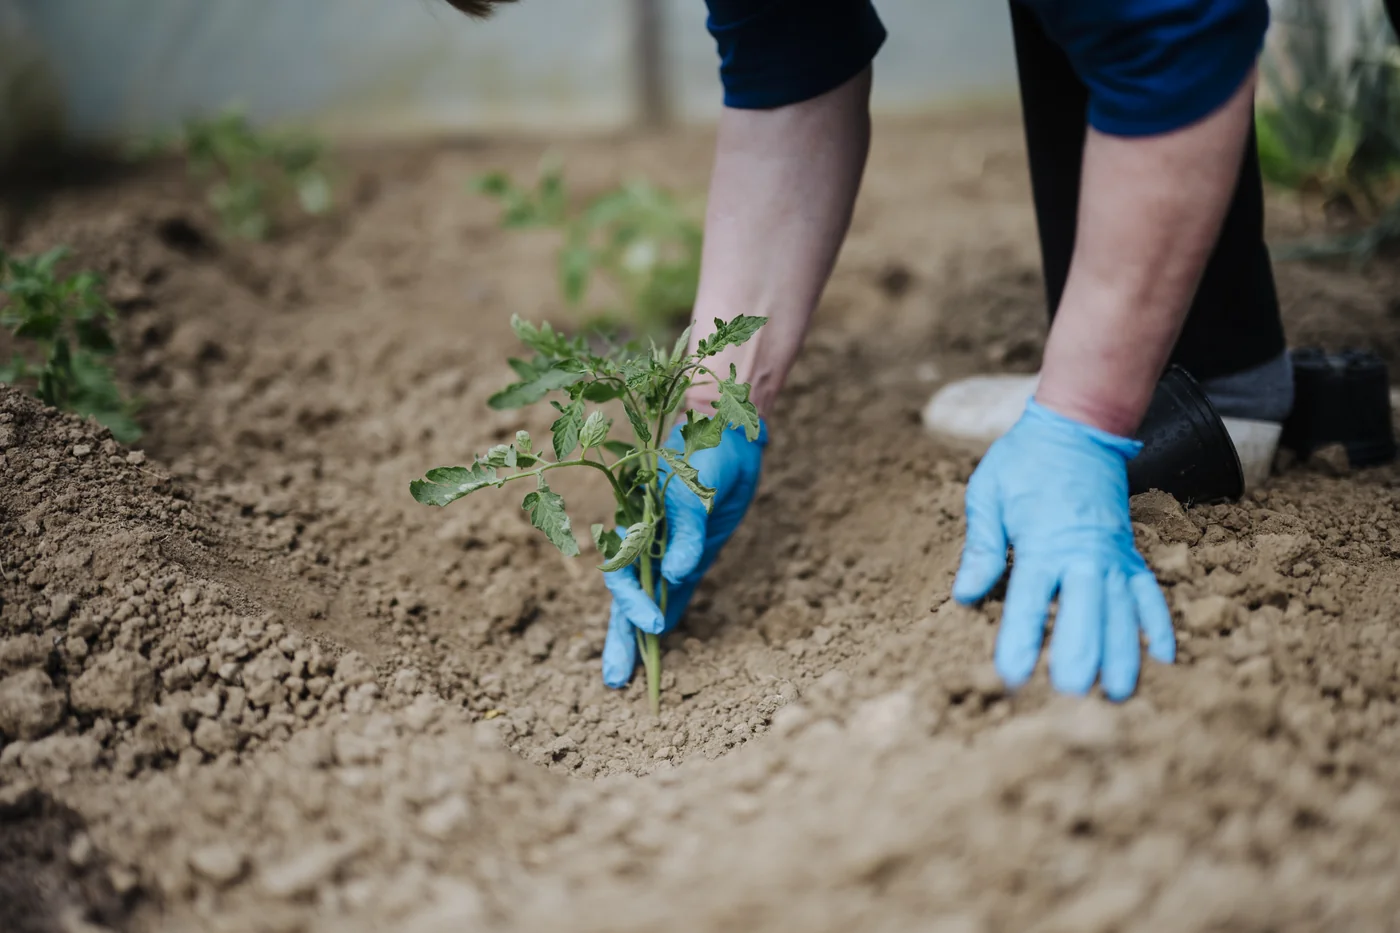
Method A: Vertical Deep Planting (For Stocky 6-to-10-Inch Transplants)
Vertical deep planting is the classic procedure for sturdy, compact seedlings with thick stems:
- Pinch off the lower leaf stems cleanly against the main stalk, leaving only the top 3 or 4 sets of leaves.
- Dig a narrow hole deep enough so that 60% to 75% of the total plant height will sit below the surface.
- Dust the exposed root ball with mycorrhizal fungi inoculant.
- Set the seedling vertically into the base of the hole, backfill with amended soil, and press down gently to eliminate air pockets around the stem.
- Water deeply with a diluted seaweed extract solution to minimize transplant shock.
Method B: Horizontal Trench Planting (For Tall, Leggy Transplants)
If your transplants grew tall and thin on a windowsill or got leggy waiting for cold weather to break, digging a 14-inch-deep vertical hole is counterproductive. Soil ten inches below ground is noticeably colder and contains far less oxygen and microbial activity. Instead, dig a horizontal trench:
- Prune off all lower branches along the stem, keeping only the cluster of leaves at the very top.
- Dig a horizontal trench 4 to 5 inches deep along the length of the garden bed.
- Lay the root ball at one end of the trench and position the bare stem horizontally along the bottom.
- Carefully curve the top leafy section of the plant upward so it emerges above ground level. Support the upright stem with a small mound of soil.
- Backfill the trench completely. The entire buried horizontal stem will develop a thick root system along the warm, oxygen-rich upper layer of the bed, while the leafy top grows upright toward the sun within 48 hours.
5. Three Outdoor Growing Setups Compared: In-Ground, Containers, and Passive Hydroponics
You do not need an acre of tilled farm ground to produce high tomato yields. For modern gardeners, adaptable tips for planting tomatoes include choosing between three proven systems: traditional ground beds, aerated fabric containers, or passive hydroponic Kratky reservoirs.
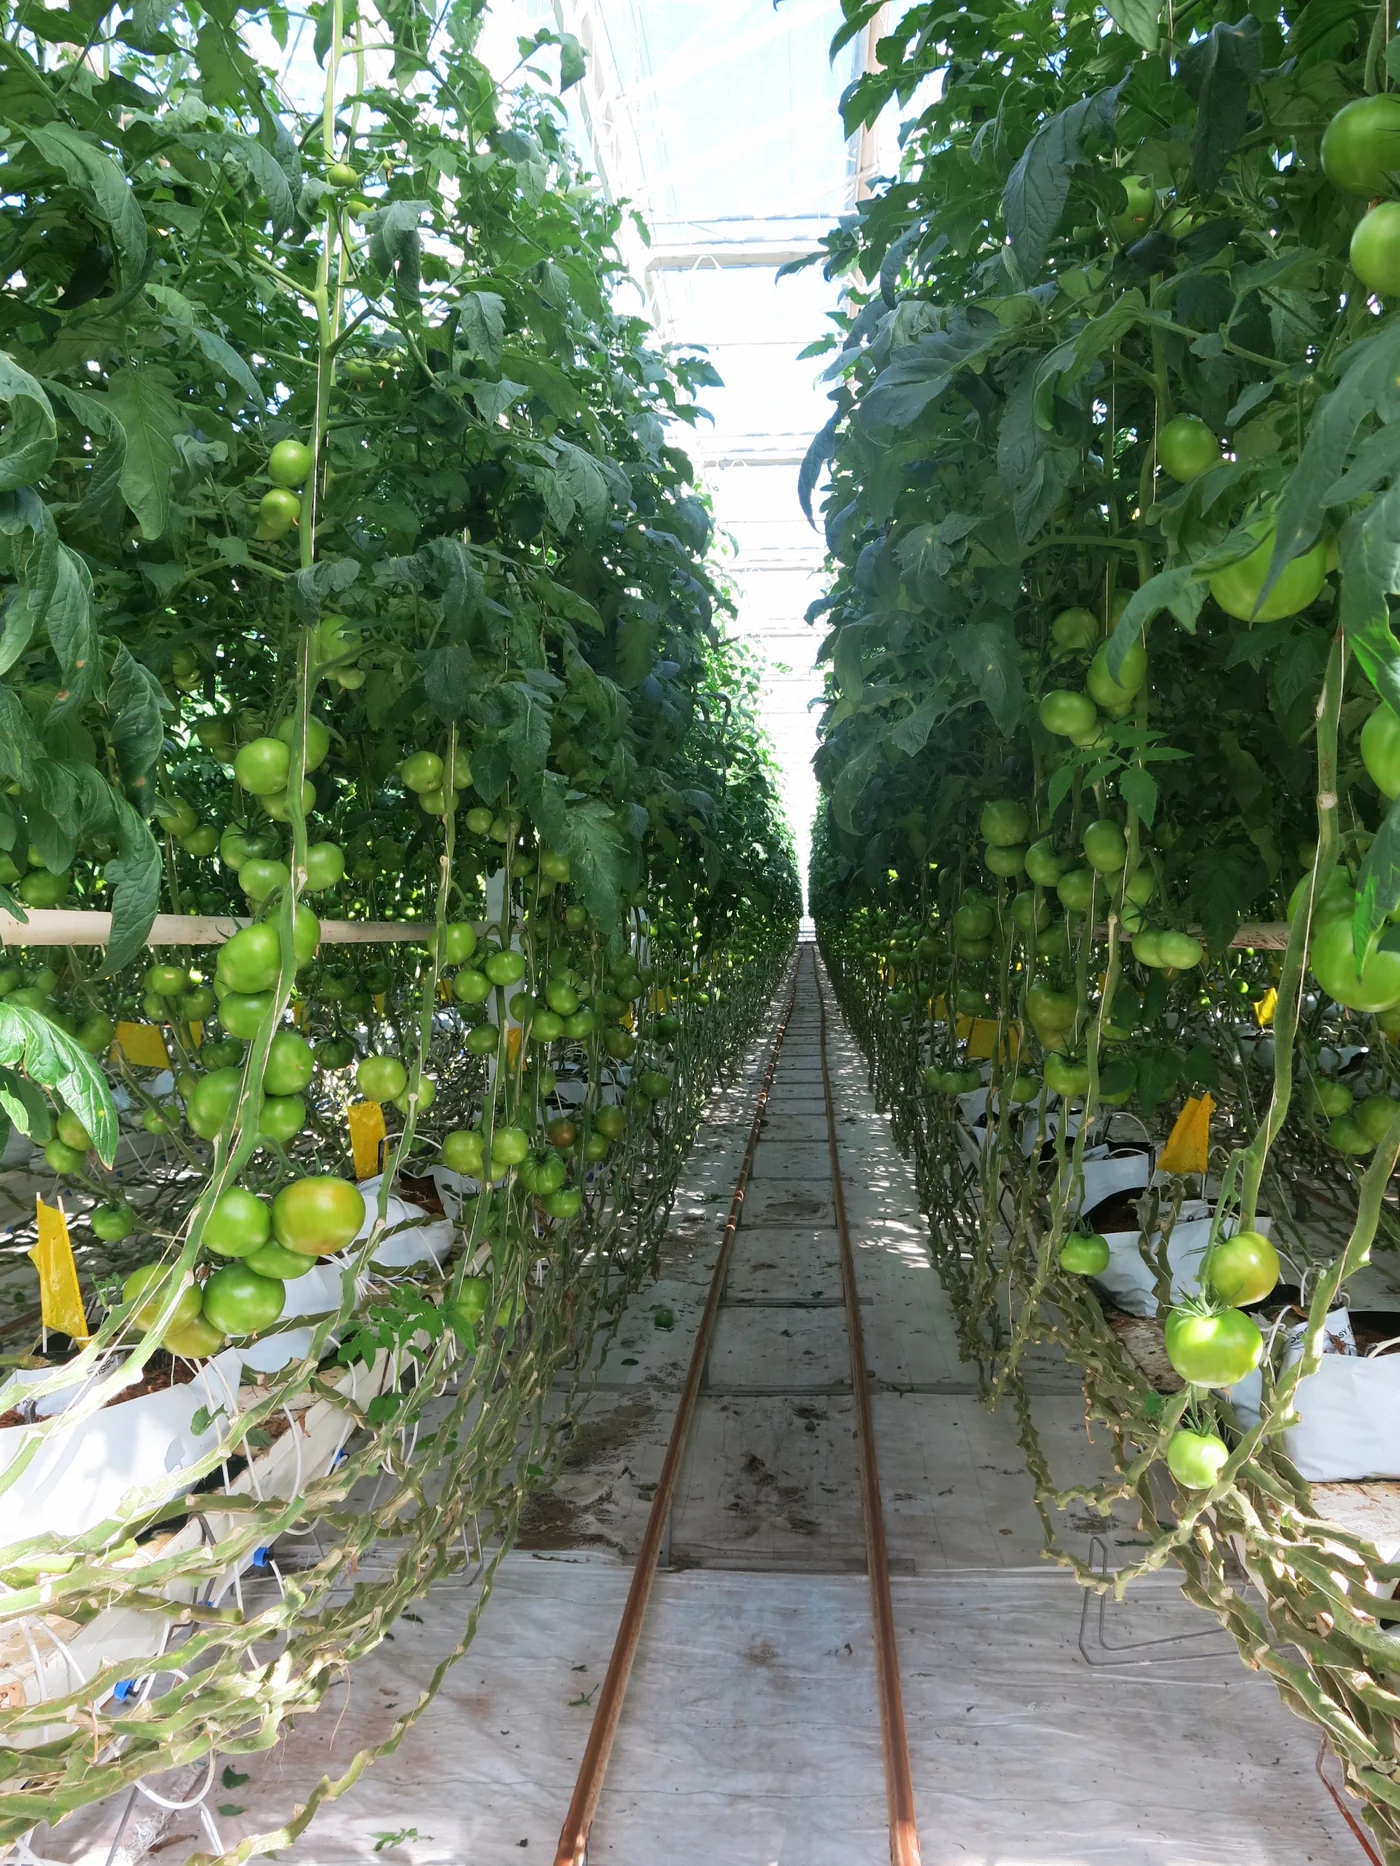
• In-Ground & Raised Beds: Traditional garden soil and raised cedar beds offer the greatest thermal buffer for root systems. Because the earth insulates roots against afternoon temperature spikes, in-ground plants experience less moisture stress than small containers. Space indeterminate plants 24 to 36 inches apart in rows 3 to 4 feet wide.
• Fabric Grow Bags & Patio Containers: When growing on concrete patios, decks, or small urban areas, container size is critical. Never attempt to grow an indeterminate tomato in a standard 5-gallon hardware bucket; the root system quickly becomes root-bound. Use 7–10 gallons for determinate bush varieties and 15–20 gallons for indeterminate vining varieties. Fabric grow bags naturally air-prune circling roots.
• The Outdoor Passive Kratky Hydroponic Setup (No Pumps or Electricity): If soil-borne fungal diseases, nematodes, or garden weeds regularly ruin your crops, passive outdoor hydroponics using the Kratky method is an effective alternative. This system uses no electrical cords, solar panels, air pumps, or water chillers. (For growers expanding into recirculating Dutch buckets or deep water culture, a compact submersible water pump or hydroponic air pump can be added for active nutrient circulation).
🧪 The Tested MasterBlend Kratky Formula
Fill a food-grade 25-gallon tub with clean water and dissolve the standard MasterBlend formula in this strict chemical sequence to prevent precipitation:
- Step 1: 50 grams MasterBlend 4-18-38 dissolved completely in warm water first.
- Step 2: 25 grams Epsom Salt (Magnesium Sulfate) dissolved second.
- Step 3: 50 grams Calcium Nitrate dissolved last to prevent calcium lockout and precipitation.
- pH Adjustment: Adjust final solution pH to 5.8 – 6.3 using standard pH down adjuster.
The upper root zone absorbs atmospheric oxygen in the moist air gap beneath the lid, while lower roots drink water and dissolved mineral ions from the reservoir. Enjoy zero weeds, zero soil blights, and rapid fruit set!
6. Tomato Support Systems: Trellises, Florida Weave, and Cages
A healthy indeterminate tomato plant can easily produce 25 to 40 pounds of vegetative foliage and fruit by midsummer. Installing structural support early—on the day you plant—is one of the most critical tips for planting tomatoes that safeguards roots from being damaged by stakes driven into the soil later in the season.
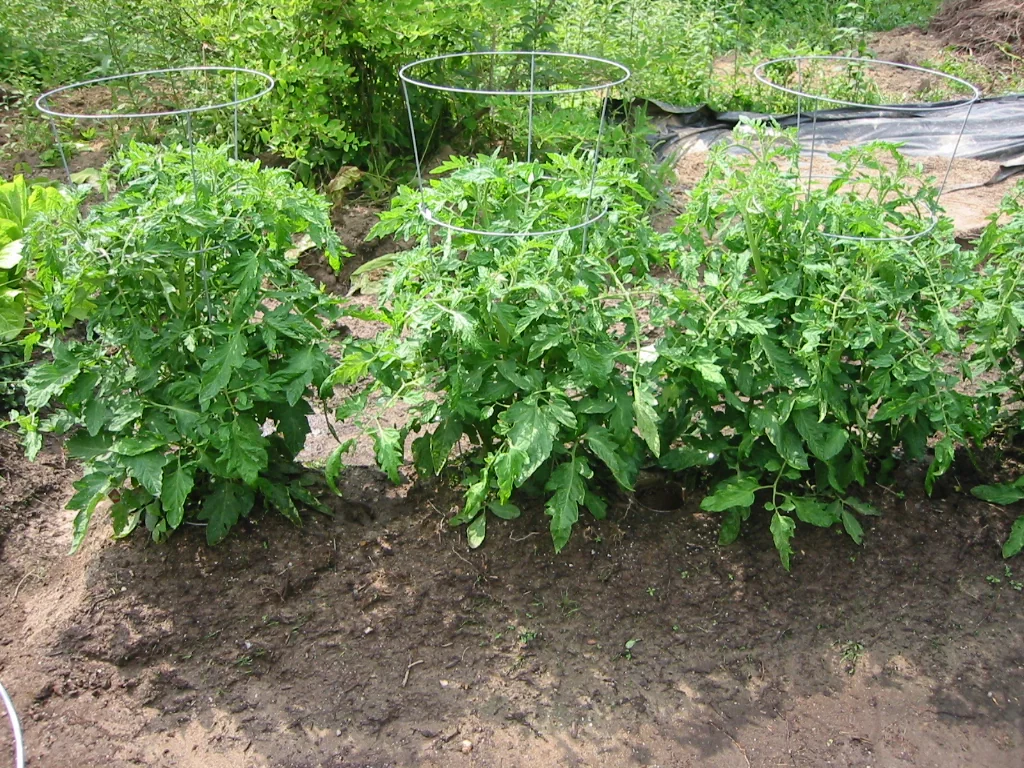
- The Flaw of Lightweight Wire Cages: Those bright, cone-shaped wire cages sold at big-box stores are suitable only for small container varieties or compact determinate bush plants. By mid-July, the top-heavy growth of an indeterminate heirloom will easily bend the thin wire and pull the plant down into the dirt, exposing fruit to rot and soil pathogens.
- The Florida Weave: Drive heavy-duty steel T-posts 18 to 24 inches into the ground every two to three plants along the row. Tie poly baling twine to the end post at a height of 10 to 12 inches above the soil. Walk down the row, weaving the string tightly in front of one plant and behind the next. Wrap the twine around intermediate posts and weave back along the opposite side, sandwiching the stems securely between the strings. Add a new horizontal course every 8 to 10 inches.
- Heavy Cattle Panel Arches and Overhead Trellises: For vertical single-leader growing, nothing matches heavy galvanized cattle panels or an overhead conduit frame using roller-hooks and UV-resistant poly string. Clip the main leader to the vertical line using plastic greenhouse tomato clips every 12 inches. This keeps the canopy elevated, provides excellent airflow, and makes harvesting effortless.
7. Pruning, Sucker Management, and Summer Airflow
Pruning tomatoes is not about hacking away foliage; it is a deliberate practice to maximize air circulation through the canopy and channel photosynthetic energy into fruit sizing and ripening rather than endless leafy stems.
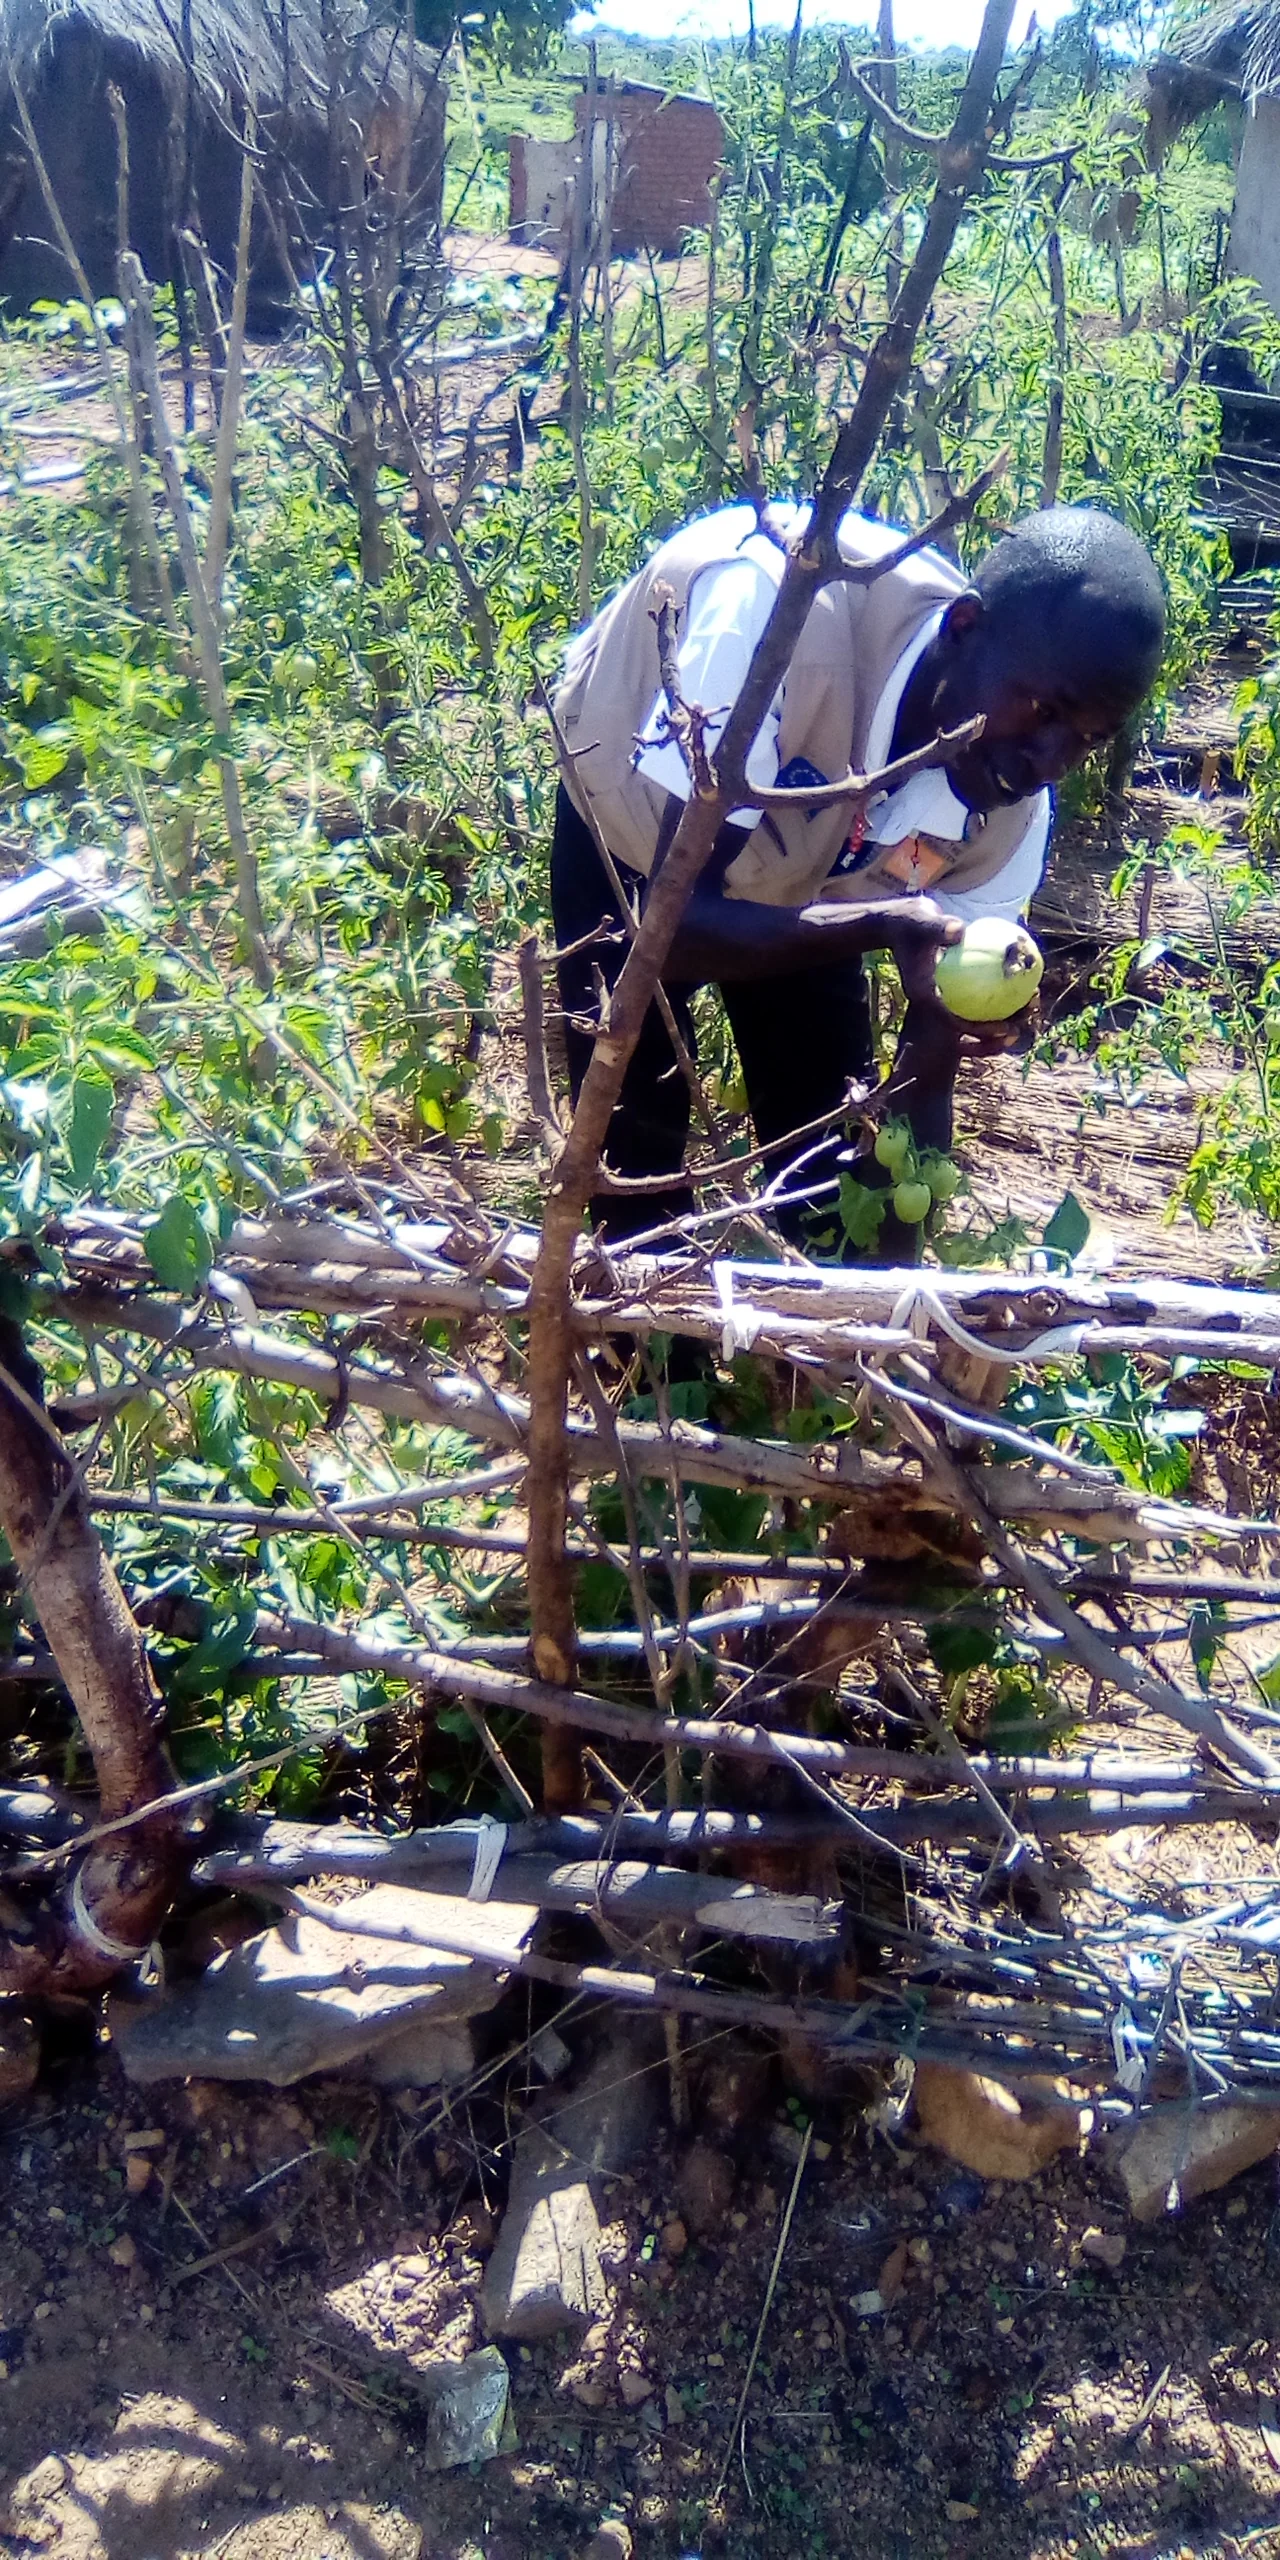
• How to Identify and Remove Suckers: Look at the point where a horizontal leaf branch meets the vertical main trunk. That 45-degree angle is the leaf axil. When the plant grows actively, a new vegetative shoot sprouts directly from that joint. This shoot is called a sucker. Left unchecked, every sucker behaves like an entirely new plant, developing its own main trunk, leaves, flowers, and additional suckers.
• Determinate bush varieties: Do not prune. Suckers on determinate plants develop flower clusters that contribute to your overall harvest.
• Indeterminate vining varieties: Remove suckers while they are young (2 to 4 inches long) by snapping them cleanly sideways with your thumb and forefinger on a sunny morning. This allows the small wound to callus over quickly, reducing the window for airborne fungal spores to enter.
• The Ground Clearance Rule: Early blight spores live natively in garden soil. When heavy rain hits bare ground, fungal spores splash onto the lowest leaves, turning them yellow with brown target-pattern rings. Once your tomato plant reaches 3 feet in height, use clean garden shears to cut away all lower leaves and branches within 12 to 18 inches of the soil surface.
8. Watering & Mulching: Preventing Blossom End Rot and Splitting
Blossom end rot ruins fruit just as it begins to color, turning the blossom end into a leathery, sunken, dark-brown or black scar. A persistent garden myth claims blossom end rot is caused by a lack of calcium in the soil, leading growers to bury eggshells, Epsom salts, or calcium antacid tablets in the planting hole. In the vast majority of cases, agricultural soil tests show more than enough calcium is present in the ground.
Calcium is an immobile plant nutrient. Unlike nitrogen or potassium, which move freely through plant tissue to wherever demand is highest, calcium travels exclusively through the xylem stream via transpiration. As water evaporates off the foliage, it pulls dissolved calcium upward through the plant like water through a straw. When the soil dries out between waterings, transpiration slows down or stops. The fastest-growing cells at the furthest tip of the developing fruit suddenly run out of the calcium required to build strong cell walls. The cell membranes collapse, die, and turn black. For potted tomatoes or fast-draining raised beds, applying our watering tips for planting tomatoes alongside a targeted Cal-Mag calcium supplement ensures consistent calcium uptake.
💧 Watering and Splitting Defense Protocols
- Soaker Hoses & Drip Lines: Water deeply at the soil line for 45 to 60 minutes twice a week instead of light daily surface sprinkling. Keeping foliage dry eliminates 90% of foliar blight infections.
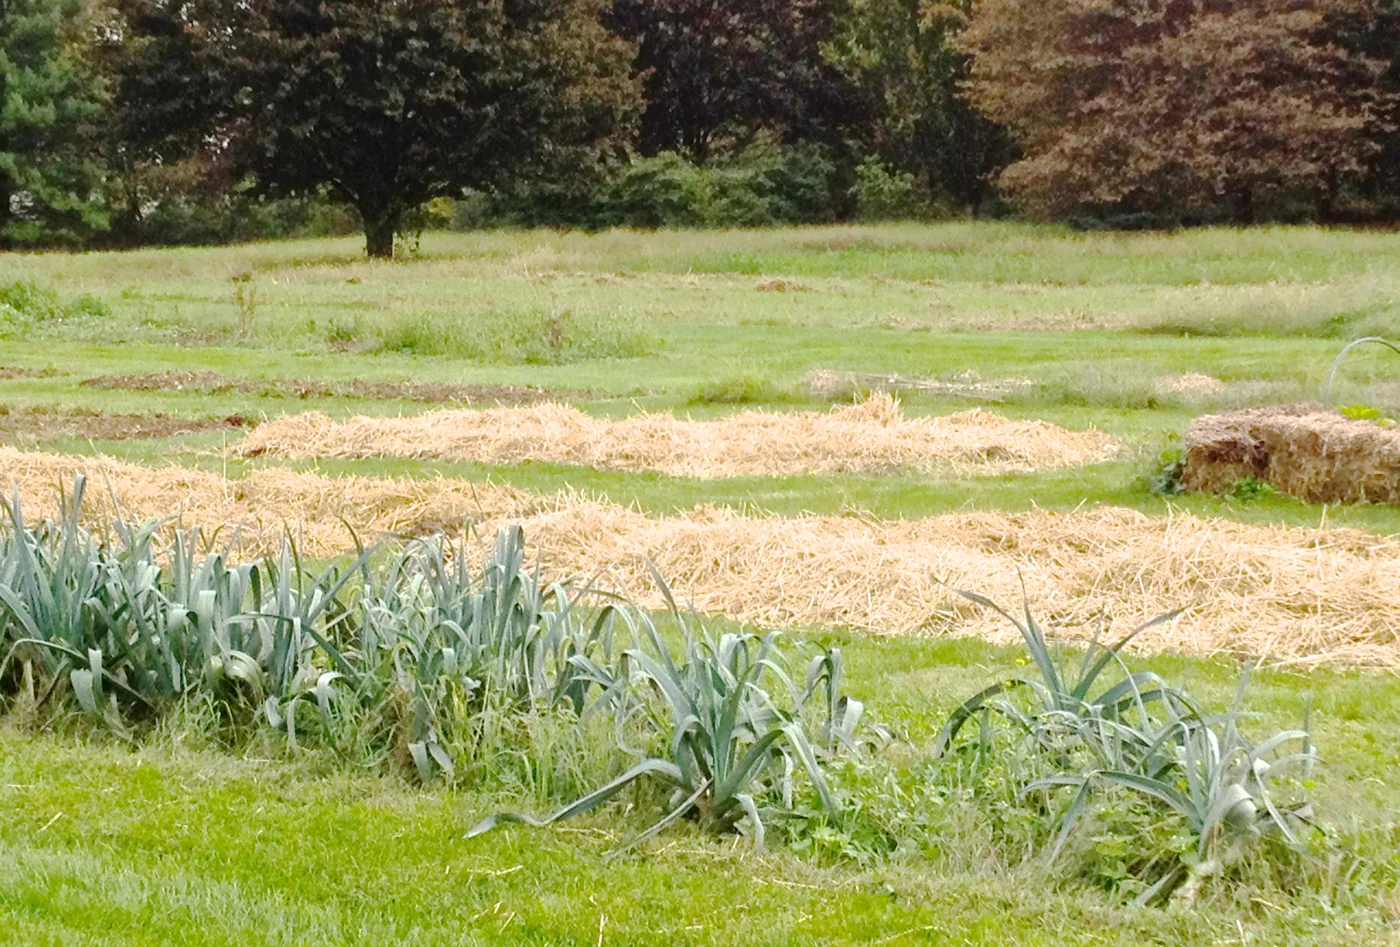
- 3-Inch Mulch Layer: Spread clean wheat straw, shredded leaves, or pine bark across the bed to stop evaporation and cool root zones.
- Pre-Rain Harvest: When heavy summer thunderstorms are forecast, harvest every tomato showing any sign of breaker stage color. Sudden heavy rainfall causes rapid water intake, swelling the fruit pulp faster than the skin can stretch, leading to catastrophic fruit cracking.
9. Summer Heat Wave Survival: Preventing Blossom Drop
When summer temperatures climb, gardeners are often surprised to see tomato plants covered in yellow blossoms that suddenly dry up, turn brown, and drop off without setting a single fruit. This is called blossom drop.
Tomato flowers are self-pollinating. Each flower contains both male and female structures; gentle vibrations from the wind or visiting native bees shake pollen from the anthers onto the central stigma. However, tomato pollen is temperature-sensitive. If daytime temperatures exceed 90°F, or if nighttime temperatures remain above 75°F, pollen becomes sticky or sterile. Fertilization fails, and the plant sheds the unpollinated flower. Extended heatwaves above 98°F can cause the plant to enter self-preservation mode, pausing all fruit production until cooler weather arrives. These seasonal cooling tips for planting tomatoes protect your blossom set during intense heatwaves:
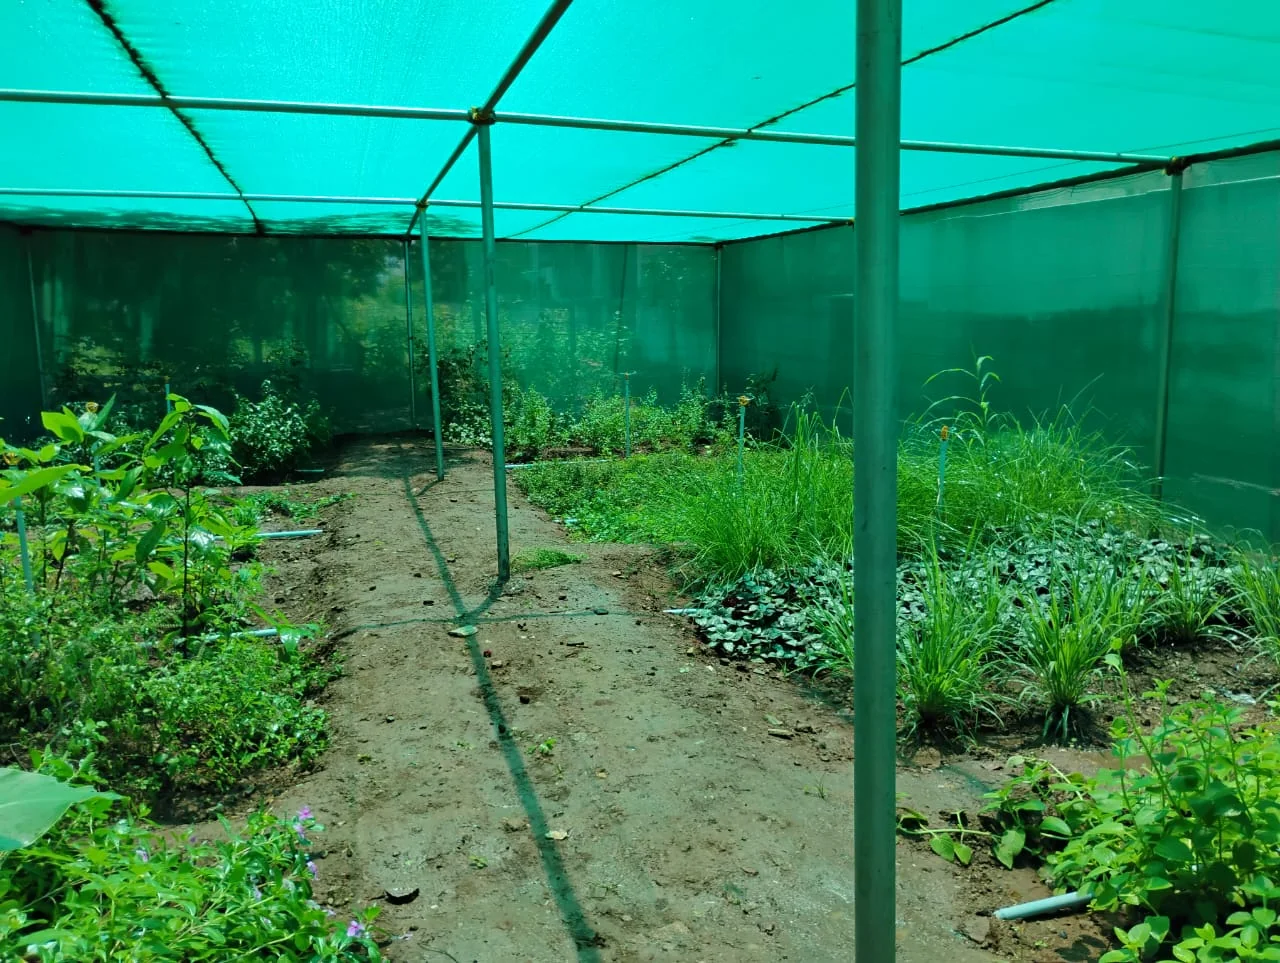
- Erect 30% to 40% Shade Cloth: Hang a woven agricultural shade cloth 2 to 3 feet above your tomato trellises, positioned to block intense afternoon sun from 1:00 PM to 5:00 PM. This lowers canopy temperatures by 8°F to 12°F, often keeping the bloom zone just cool enough for successful pollination.
- Vibrate Flower Clusters in the Morning: Between 8:00 AM and 10:00 AM—after morning dew evaporates but before daytime heat peaks—gently tap your trellis lines, stakes, or the back of flower clusters with an electric toothbrush or your fingertips. This simple vibration releases viable pollen onto the stigma before midday heat sets in.
- Keep Hydration Steady: Do not let soil swing between bone-dry and saturated. A steady moisture supply helps plants cool themselves naturally through leaf transpiration.
Diagnostic Troubleshooting Guide
Quickly identify and address common outdoor tomato issues before they harm your harvest:
Frequently Asked Questions
The Season-Long Tomato Checklist
Keep these seasonal tips for planting tomatoes handy throughout the year to maintain healthy foliage and maximize your harvest from spring through fall:
🌱 Spring (Planting Day)
- Verify soil temperature reads 60°F+ at 4-inch depth.
- Harden off indoor transplants over 7 full days.
- Prune bottom branches; bury 60% to 75% of stem horizontally or vertically.
- Blend worm castings, bone meal, and organic 4-4-4 into planting hole.
- Install sturdy stakes, cattle panels, or Florida Weave on day one.
🌿 Early Summer (Vegetative Growth)
- Apply 2 to 3 inches of clean straw mulch, keeping it clear of main trunk.
- Clear lower branches within 12 to 18 inches of ground for air circulation.
- Snap off 45-degree suckers on indeterminate vines when 2 to 4 inches long.
- Water deeply with drip lines twice a week for steady moisture.
☀️ Mid-Summer (Heat & Fruit Set)
- Suspend 30% shade cloth if ambient daytime temperatures exceed 90°F.
- Vibrate flower clusters gently between 8:00 AM and 10:00 AM.
- Pick tomatoes at “breaker stage” before heavy thunderstorms.
- Scout leaf undersides for hornworms, droppings, or early blight spots.
🍂 Late Summer (Ripening & Wrap-Up)
- “Top” indeterminate plants 4 weeks before first frost to finish existing fruit.
- Stop high-nitrogen feeding to accelerate ripening of green fruit clusters.
- Harvest all remaining mature green fruit before hard frost hits.
- Remove spent foliage and sanitize trellises before winter storage.