
⚡ Quick Answer
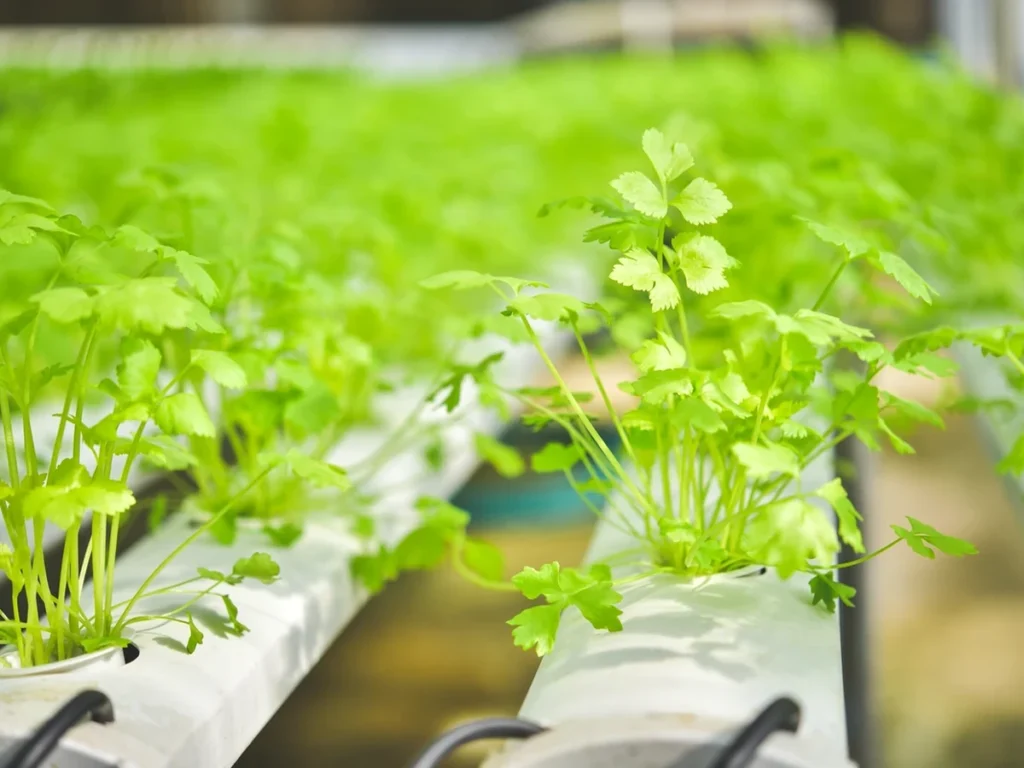
Hydroponics lets you grow plants in nutrient-rich water instead of soil, producing up to 3× more yield in the same space. Beginners can start with a simple Deep Water Culture (DWC) system for under $100. The key to success is maintaining your pH between 5.5–6.5 and changing your nutrient solution every 1–2 weeks.
✓ Key Takeaways: Beginner Hydroponic Essentials
- Growth Speed: Hydroponic vegetables mature 25% to 40% faster than soil-grown equivalents because mineral ions deliver directly to root tissue without soil friction.
- Entry Cost: You can build a passive, zero-electricity Kratky setup for under $15 or an active 5-gallon Deep Water Culture (DWC) system for under $65.
- The 3 Core Parameters: Over 90% of beginner plant failures stem from inadequate light intensity (PPFD below 250 μmol/m²/s), improper pH (outside 5.5–6.5), or uncalibrated nutrient concentration.
- Best Beginner Crops: Butterhead lettuce, sweet basil, and baby spinach provide harvestable yields within 30 to 45 days while tolerating early nutrient fluctuations.
What Is Indoor Hydroponics (and How Root Absorption Works)
Hydroponics is the cultivation of terrestrial plants without soil by submerging root systems in an oxygenated water solution containing bioavailable mineral salts. Soil acts primarily as a mechanical anchor and moisture reservoir; plants absorb only the inorganic mineral ions dissolved in water.
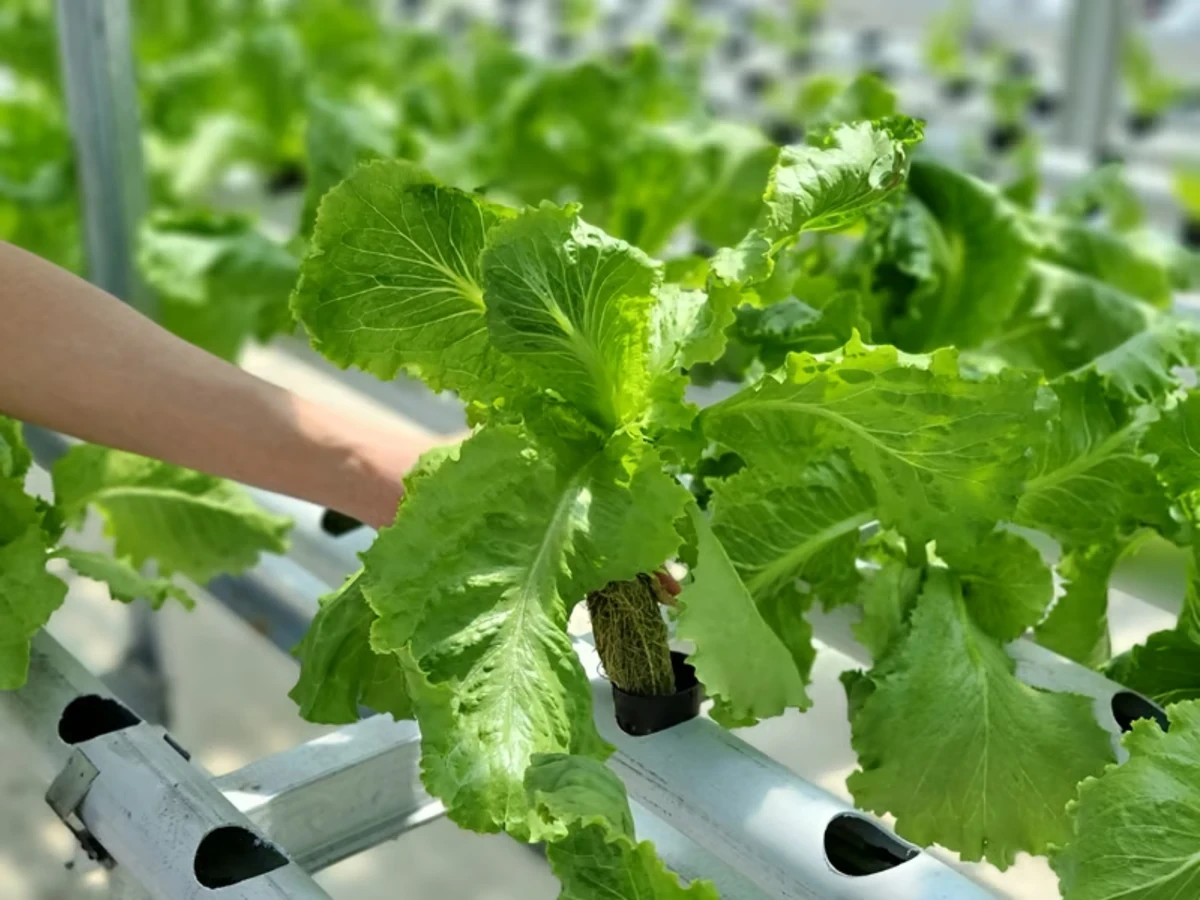
According to research from the UMass Amherst Extension Greenhouse Program, roots in traditional potting mixes expend substantial energy pushing through compacted media in search of water and nutrients. In a hydroponic reservoir, mineral ions and dissolved oxygen bathe root membranes directly, allowing the plant to redirect metabolic energy into rapid vegetative canopy expansion.
Choosing Your Setup: Commercial Appliances vs. DIY Builds
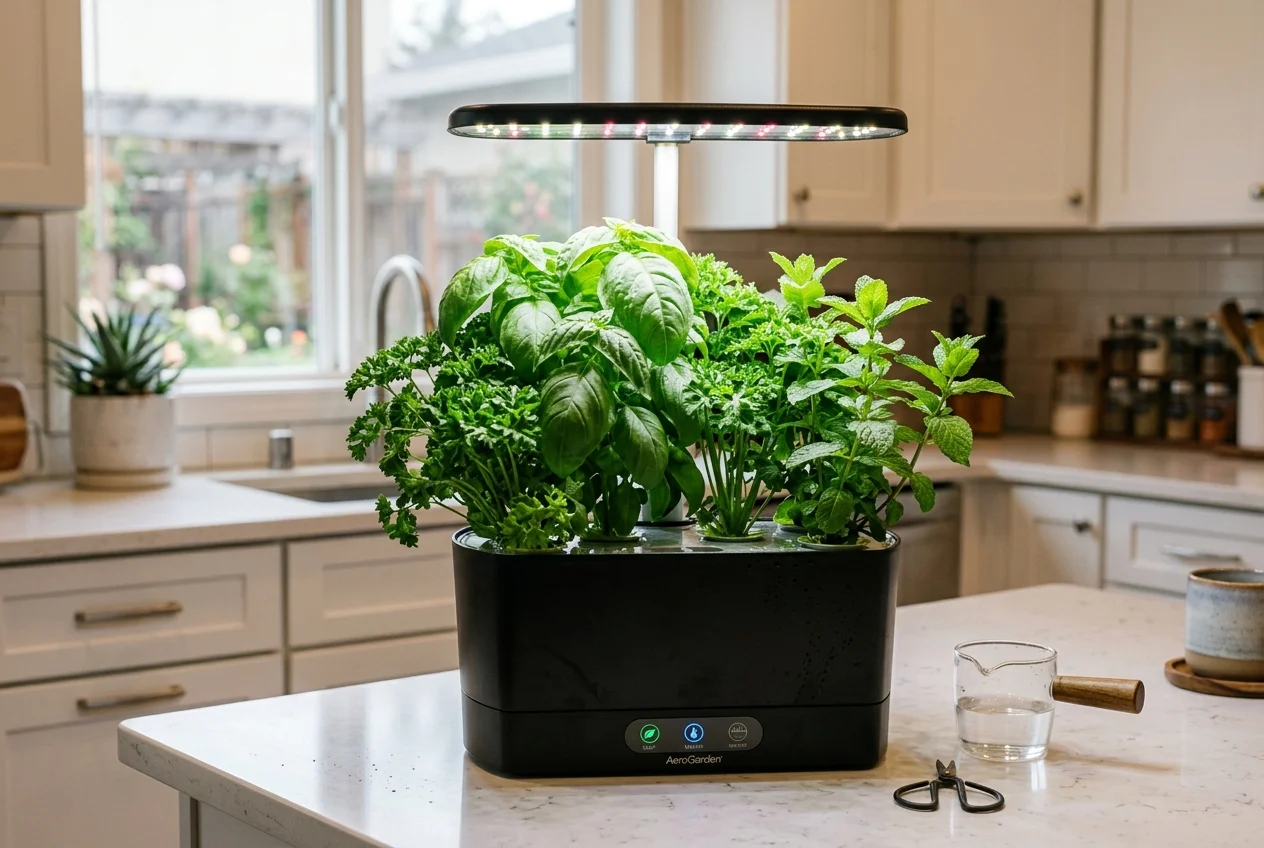
Beginners face a primary decision: purchase an all-in-one smart garden appliance or build a custom setup using hardware-store components. Neither approach is universally superior; each balances financial cost against operational control.
Custom Milestone Timeline: Indoor Growing Cycle Planner
Map out your germination schedules, photoperiod hours, nutrient change dates, and expected harvests with our free interactive planner.
The Two Best Beginner Systems: Kratky and Deep Water Culture (DWC)
For novices, avoiding plumbing pumps, complex drainage timers, and overflow risks is paramount. The following two systems offer maximum crop reliability with minimal moving parts.
1. The Kratky Method (Passive Non-Circulating Hydroponics)
Developed by Dr. Bernard Kratky at the University of Hawaii, this passive technique requires no electricity, pumps, or airstones. Seedlings sit in net cups suspended above a sealed reservoir. For a budget-friendly project you can start on any windowsill using recycled glass, see our complete guide to mason jar hydroponics.
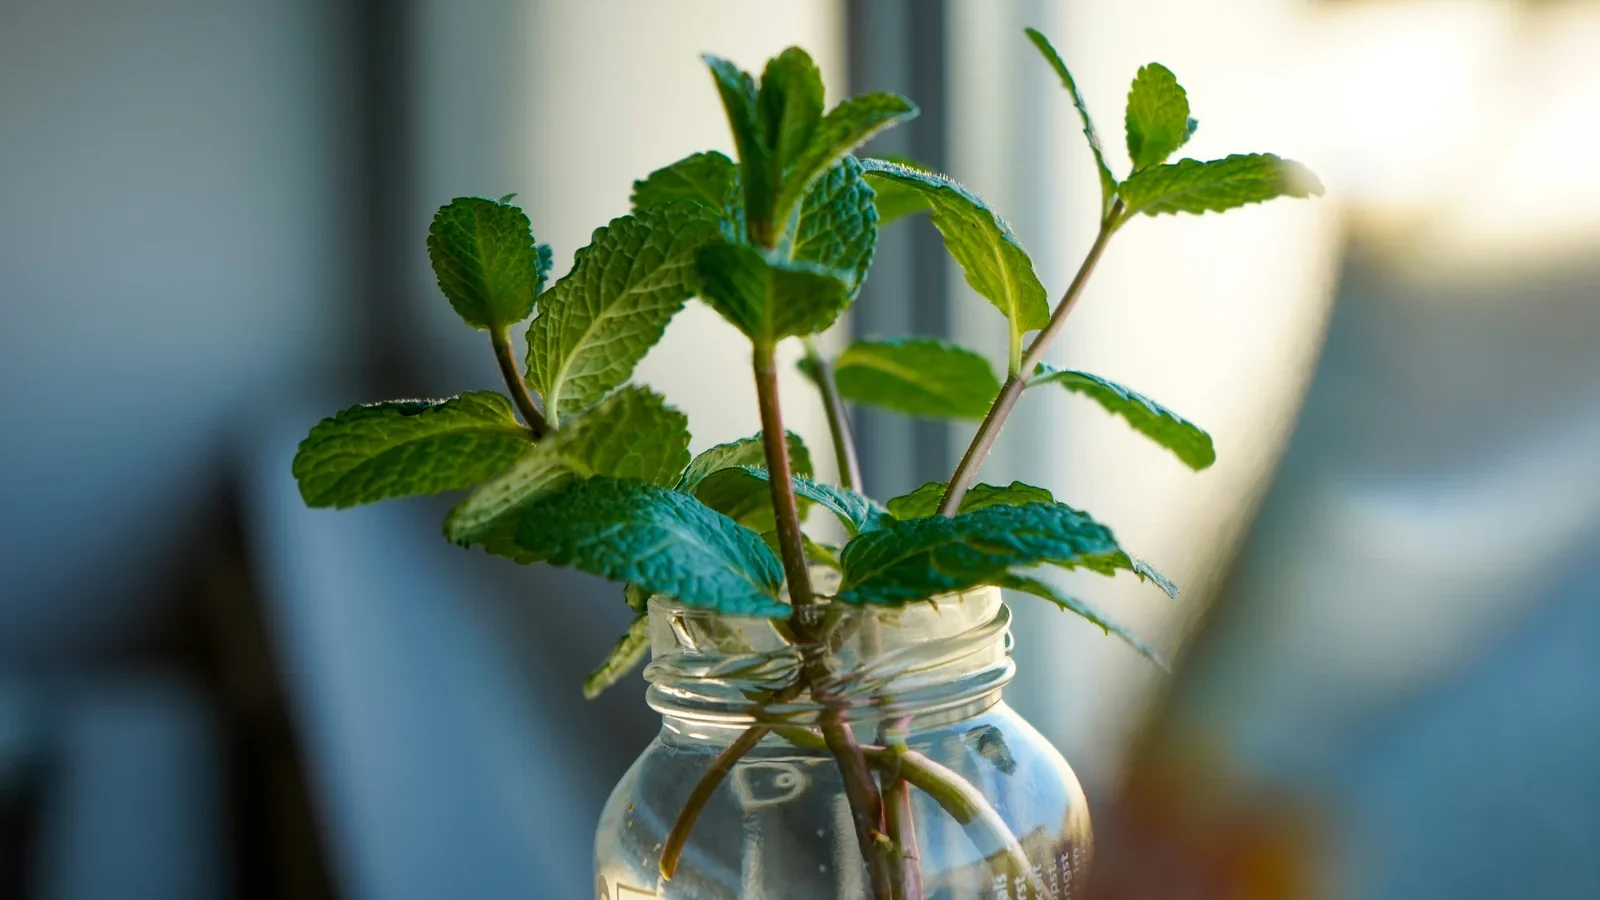
As the plant consumes water, the liquid level recedes, exposing an expanding air pocket above the water surface. The upper root tissue adapts to absorb atmospheric oxygen, while the lower root tips drink nutrient water. Kratky is ideal for quick leafy crops like butterhead lettuce and cilantro.
2. Deep Water Culture (DWC) (Active Aerated Hydroponics)
Deep Water Culture suspends plant roots directly in a reservoir continuously aerated by an aquarium air pump and porous air stone. By super-saturating water with dissolved oxygen (DO levels above 6 to 8 mg/L), root metabolic uptake reaches peak efficiency.
According to Controlled Environment Agriculture guidelines from Cornell University CEA, maintained dissolved oxygen prevents Pythium root rot and accelerates leafy biomass by up to 30% over non-aerated solutions. DWC handles larger, hungrier plants like basil, kale, and dwarf tomatoes.
How to Build a 5-Gallon DWC System for Under $65 (Step-by-Step)
Follow this exact 5-step hardware assembly to construct a durable, residential-grade Deep Water Culture reservoir that yields continuous fresh greens year-round.
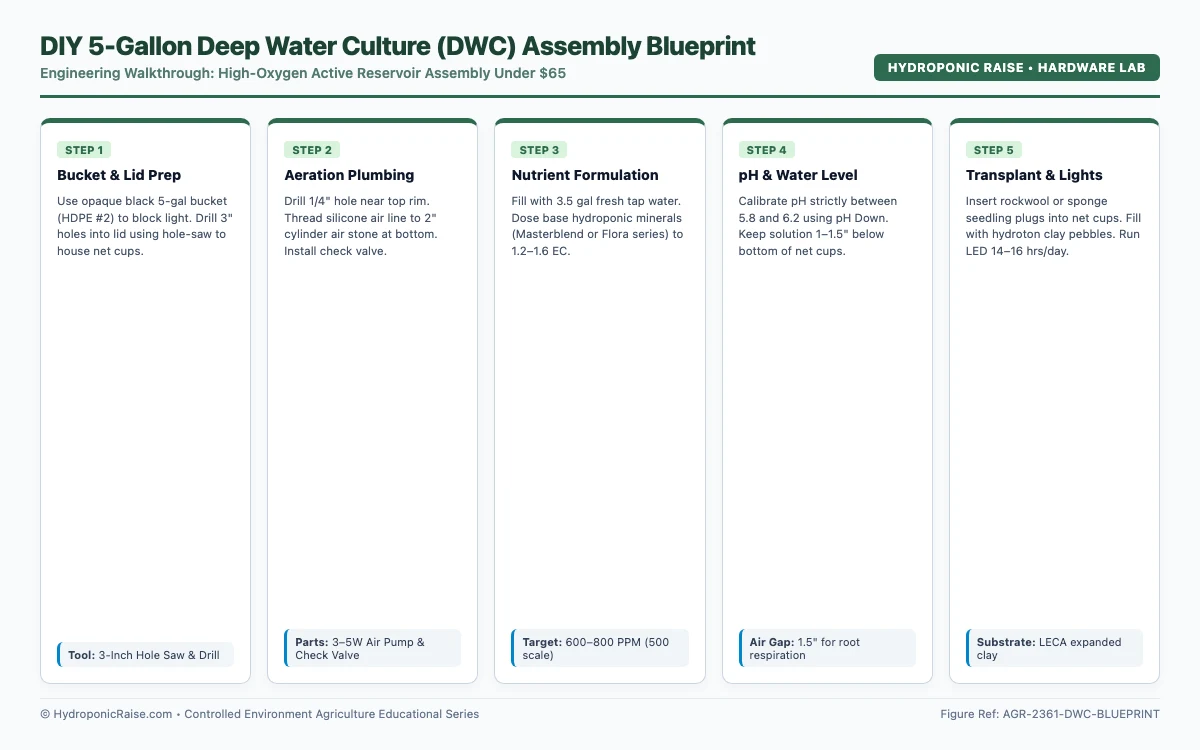
Step 1: Prep the Food-Grade Bucket and Lid
Acquire an opaque, black or dark-blue food-grade 5-gallon bucket (HDPE #2) and matching lid. Do not use translucent white buckets; light penetration triggers rapid green algae blooms. Using a 3-inch hole-saw attachment on a drill, cut two or three equidistant holes into the lid to hold standard 3-inch net cups.
Step 2: Install Aeration Plumbing
Drill a 1/4-inch hole near the top rim of the bucket just beneath the lid line. Thread silicone airline tubing through the hole and attach an 8-inch cylindrical micro-pore air stone at the bottom of the bucket. Connect the exterior end to a 3-watt to 5-watt adjustable aquarium air pump positioned above reservoir water level.
Step 3: Mix the Mineral Nutrient Solution
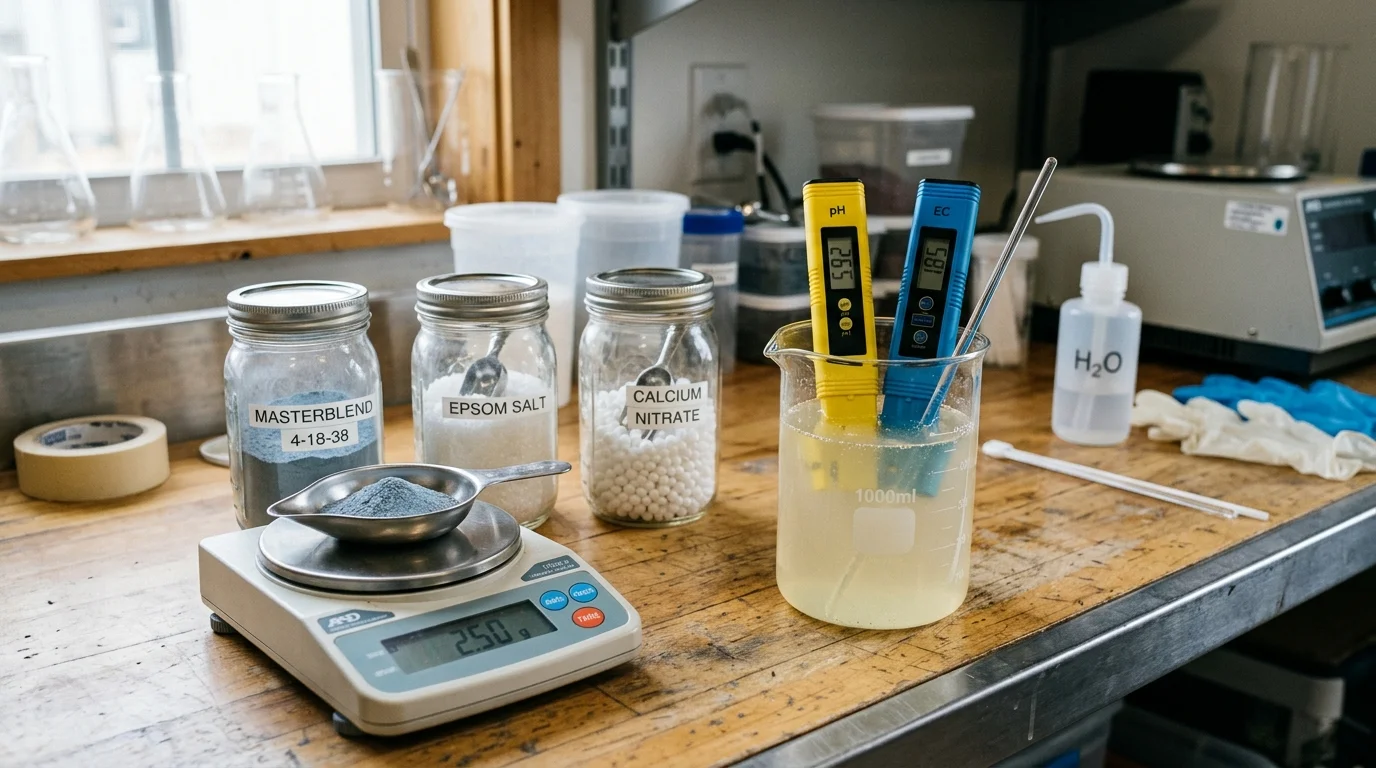
Fill the reservoir with 4 gallons of filtered tap or reverse-osmosis water. Mix a standard complete 3-part mineral fertilizer (such as General Hydroponics FloraSeries) at 50% recommended strength. Always dissolve micro-nutrients first, followed by nitrogen and phosphorus compounds, stirring thoroughly between additions to prevent mineral lockout.
Step 4: Calibrate Solution pH and Water Line
Submerge a calibrated digital pH pen or use liquid pH test drops. Adjust acidity until readings sit between 5.8 and 6.2 using phosphoric acid (pH Down) or potassium carbonate (pH Up). Ensure the water level touches only the bottom 1/4-inch of the net cups; do not fully submerge the starter cubes.
Step 5: Transplant Seedlings and Set Photoperiod
Insert rooted rockwool or polymer sponge seedlings into the net cups, surrounding them with pre-rinsed expanded clay pebbles (hydroton) for structural stability. Suspend a full-spectrum LED light 10 to 14 inches above the canopy on a digital timer set for 14 hours on and 10 hours off.
Interactive Tool: Hydroponic Nutrient & pH Calculator
Calculate exact nutrient dosage (in mL or grams) and dial in your target EC, PPM, and pH thresholds for every growth stage.
Practical Realities: Electricity Costs, Nutrient Timing, and Algae Control
1. How Much Electricity Does Indoor Hydroponics Use per Month?
A common concern for new growers is utility expense. A standard beginner setup runs a 45-watt LED grow panel and a 3-watt air pump for 14 hours daily.
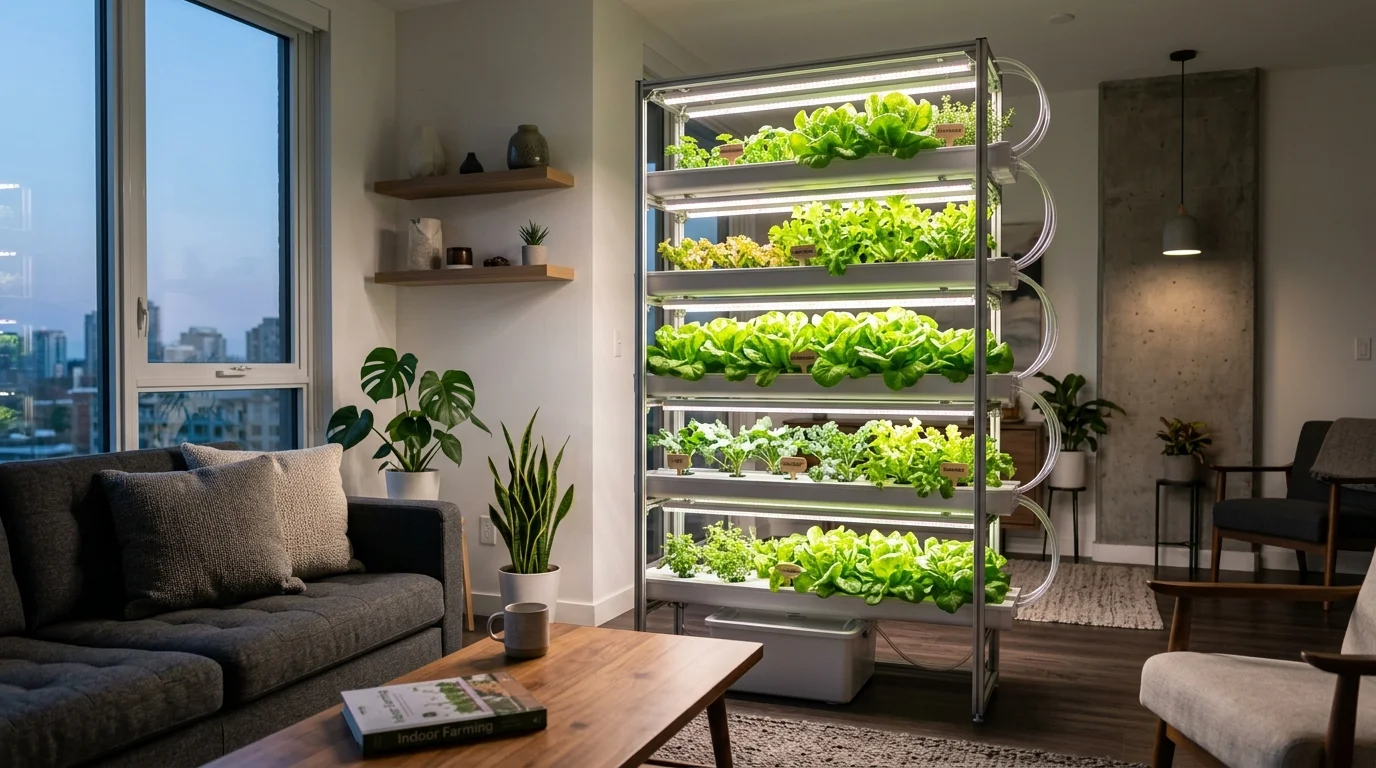
Total power consumption equals 48 watts × 14 hours = 672 watt-hours per day (approximately 20.16 kWh per month). Based on the U.S. national average residential electricity rate of $0.16 per kWh, running this entire hydroponic system costs approximately $3.23 per month.
2. How to Stop Algae Blooms and Root Rot (Pythium)
Algae requires only two elements to thrive: dissolved nutrients and direct light. If you notice green slime forming along your net cups or reservoir walls, light is penetrating the basin.
Eliminate algae by wrapping reservoirs in light-blocking tape or foil. To protect root systems from Pythium root rot, maintain water temperatures strictly between 65°F and 72°F (18°C to 22°C) and maintain constant dissolved oxygen aeration.
3. When to Transition from Half-Strength to Full-Strength Nutrients
Seedlings survive their first 10 days using endogenous energy stored within the seed cotyledons. Running full-strength mineral fertilizer on young seedlings causes osmotic dehydration, scorching leaf tips.
Maintain 25% nutrient strength (EC 0.6–0.8) during initial root emergence. Graduate to 50% strength at week 2, and switch to 100% full vegetative strength (EC 1.4–1.8) only after the plant establishes three complete sets of true leaves.
Frequently Asked Questions About Indoor Hydroponics
Is indoor hydroponics actually cheaper than buying grocery store produce?
Can I grow hydroponic vegetables in a sunny window without artificial grow lights?
What is the easiest crop to grow hydroponically for a complete beginner?
How often do I need to change reservoir water and nutrients?
Can I grow fruiting vegetables like tomatoes or peppers indoors hydroponically?
Master Hydroponic Nutrient & Water Chemistry Targets by Growth Stage
Different crops demand wildly different mineral strengths. While leafy greens thrive at 1.0 to 1.4 mS/cm, delicate fruiting plants like strawberries require precise phased EC staging (1.2 to 1.8 mS/cm) and strict aeration; learn more in our detailed manual on hydroponic strawberries.
Calibrated baseline chemical parameters for indoor closed-loop hydroponic reservoirs (DWC, NFT, Kratky, Ebb & Flow).
| Growth Phase | Target pH Band | Target EC (mS/cm) | Target PPM (500 Scale) | Root Zone Temp | Photoperiod (Hours) |
|---|---|---|---|---|---|
| Seedling / First Roots | 5.8 – 6.0 | 0.6 – 0.8 | 300 – 400 | 68°F (20°C) | 18 Hours ON / 6 OFF |
| Early Vegetative Canopy | 5.6 – 6.2 | 1.2 – 1.6 | 600 – 800 | 66°F (19°C) | 16 Hours ON / 8 OFF |
| Late Vegetative / Aggressive Growth | 5.5 – 6.2 | 1.6 – 2.0 | 800 – 1000 | 66°F (19°C) | 16 Hours ON / 8 OFF |
| Bloom / Fruit Formation | 5.8 – 6.3 | 2.0 – 2.6 | 1000 – 1300 | 65°F (18°C) | 12 – 14 Hours ON |
| Pre-Harvest Mineral Flush | 5.8 – 6.2 | 0.2 – 0.4 | 100 – 200 | 68°F (20°C) | 12 Hours ON |

Pingback: Indoor Hydroponic Gardening: Complete Guide for Beginners